Blog
The Warning Signs: Ceiling Water Damage You Can't Ignore
Ceiling water damage repair is a critical home maintenance task that requires immediate attention to prevent structural issues and mold growth. If you've finded water damage on your ceiling, here's what you need to know:
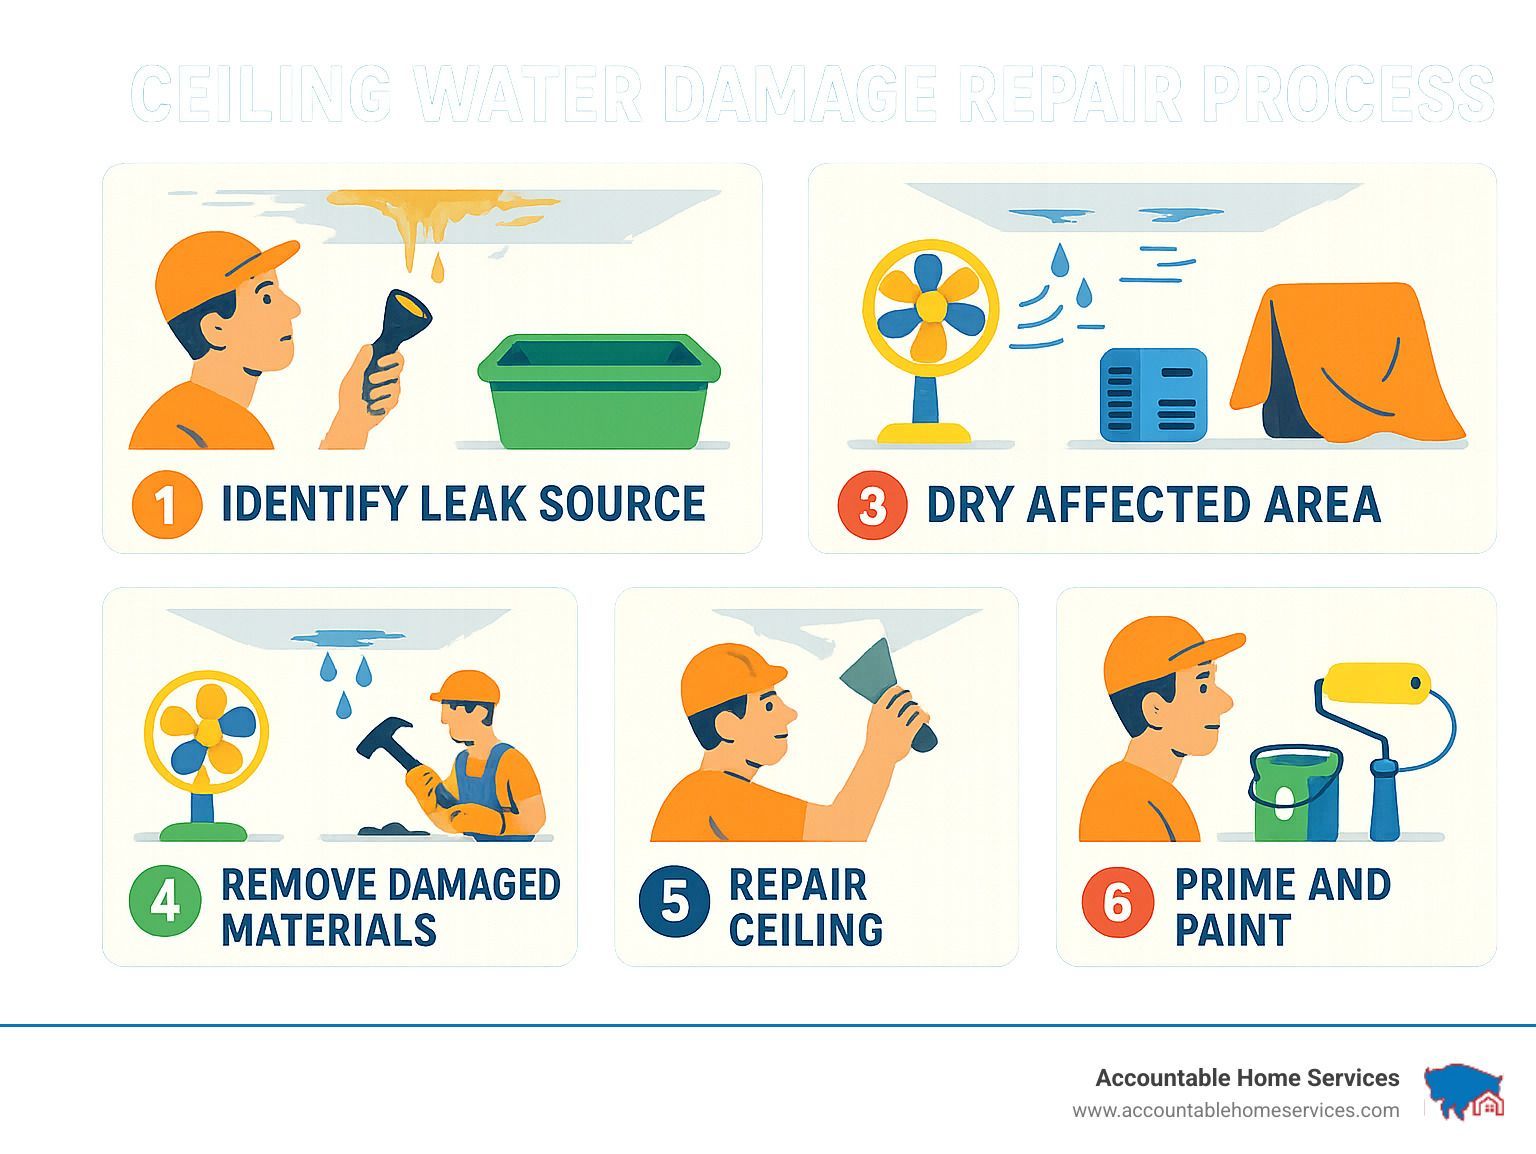
Quick Guide to Ceiling Water Damage Repair:
- Identify and stop the source of the leak first
- Contain the damage with buckets and tarps
- Dry the affected area completely with fans and dehumidifiers
- Remove damaged materials using proper safety equipment
- Repair the ceiling with new drywall or plaster
- Prime and paint the repaired area
That dreaded water stain on your ceiling isn't just an eyesore—it's a warning sign that demands immediate action. Water damage to ceilings can quickly escalate from a minor cosmetic issue to a serious structural problem, potentially leading to mold growth, compromised framework, and even ceiling collapse if left untreated.
According to industry estimates, the average cost to repair ceiling water damage starts at $303-$459 per patch as of 2025, with professional repairs costing between $45-$55 per square foot. These figures don't include fixing the source of the leak, which is an essential first step in any ceiling repair project.
What makes ceiling water damage particularly challenging is that the visible damage often represents only a fraction of the actual problem. Water can travel along joists and pipes, creating damage far from the original leak source. This "silent spread" is why prompt, thorough repair is crucial—even for seemingly minor stains.
The good news? With the right approach, many ceiling water damage repairs are manageable DIY projects for homeowners willing to invest a little time and effort. For more complex situations, knowing when to call in professionals can save you money and headaches in the long run.
I'm Mike Martinez, owner of Accountable Home Services, and I've guided hundreds of Denver homeowners through successful ceiling water damage repair projects, from minor patch jobs to complete restoration after major leaks.
Detect & Stop the Leak Early
That water stain on your ceiling isn't going to fix itself, and before you grab your toolbox, you need to play detective. Here in Denver, where we experience everything from bone-dry summers to snow-packed winters, ceiling leaks can happen for countless reasons year-round.
The first rule of ceiling water damage repair? Find and stop the source before you do anything else.
Common Signs of Ceiling Water Damage
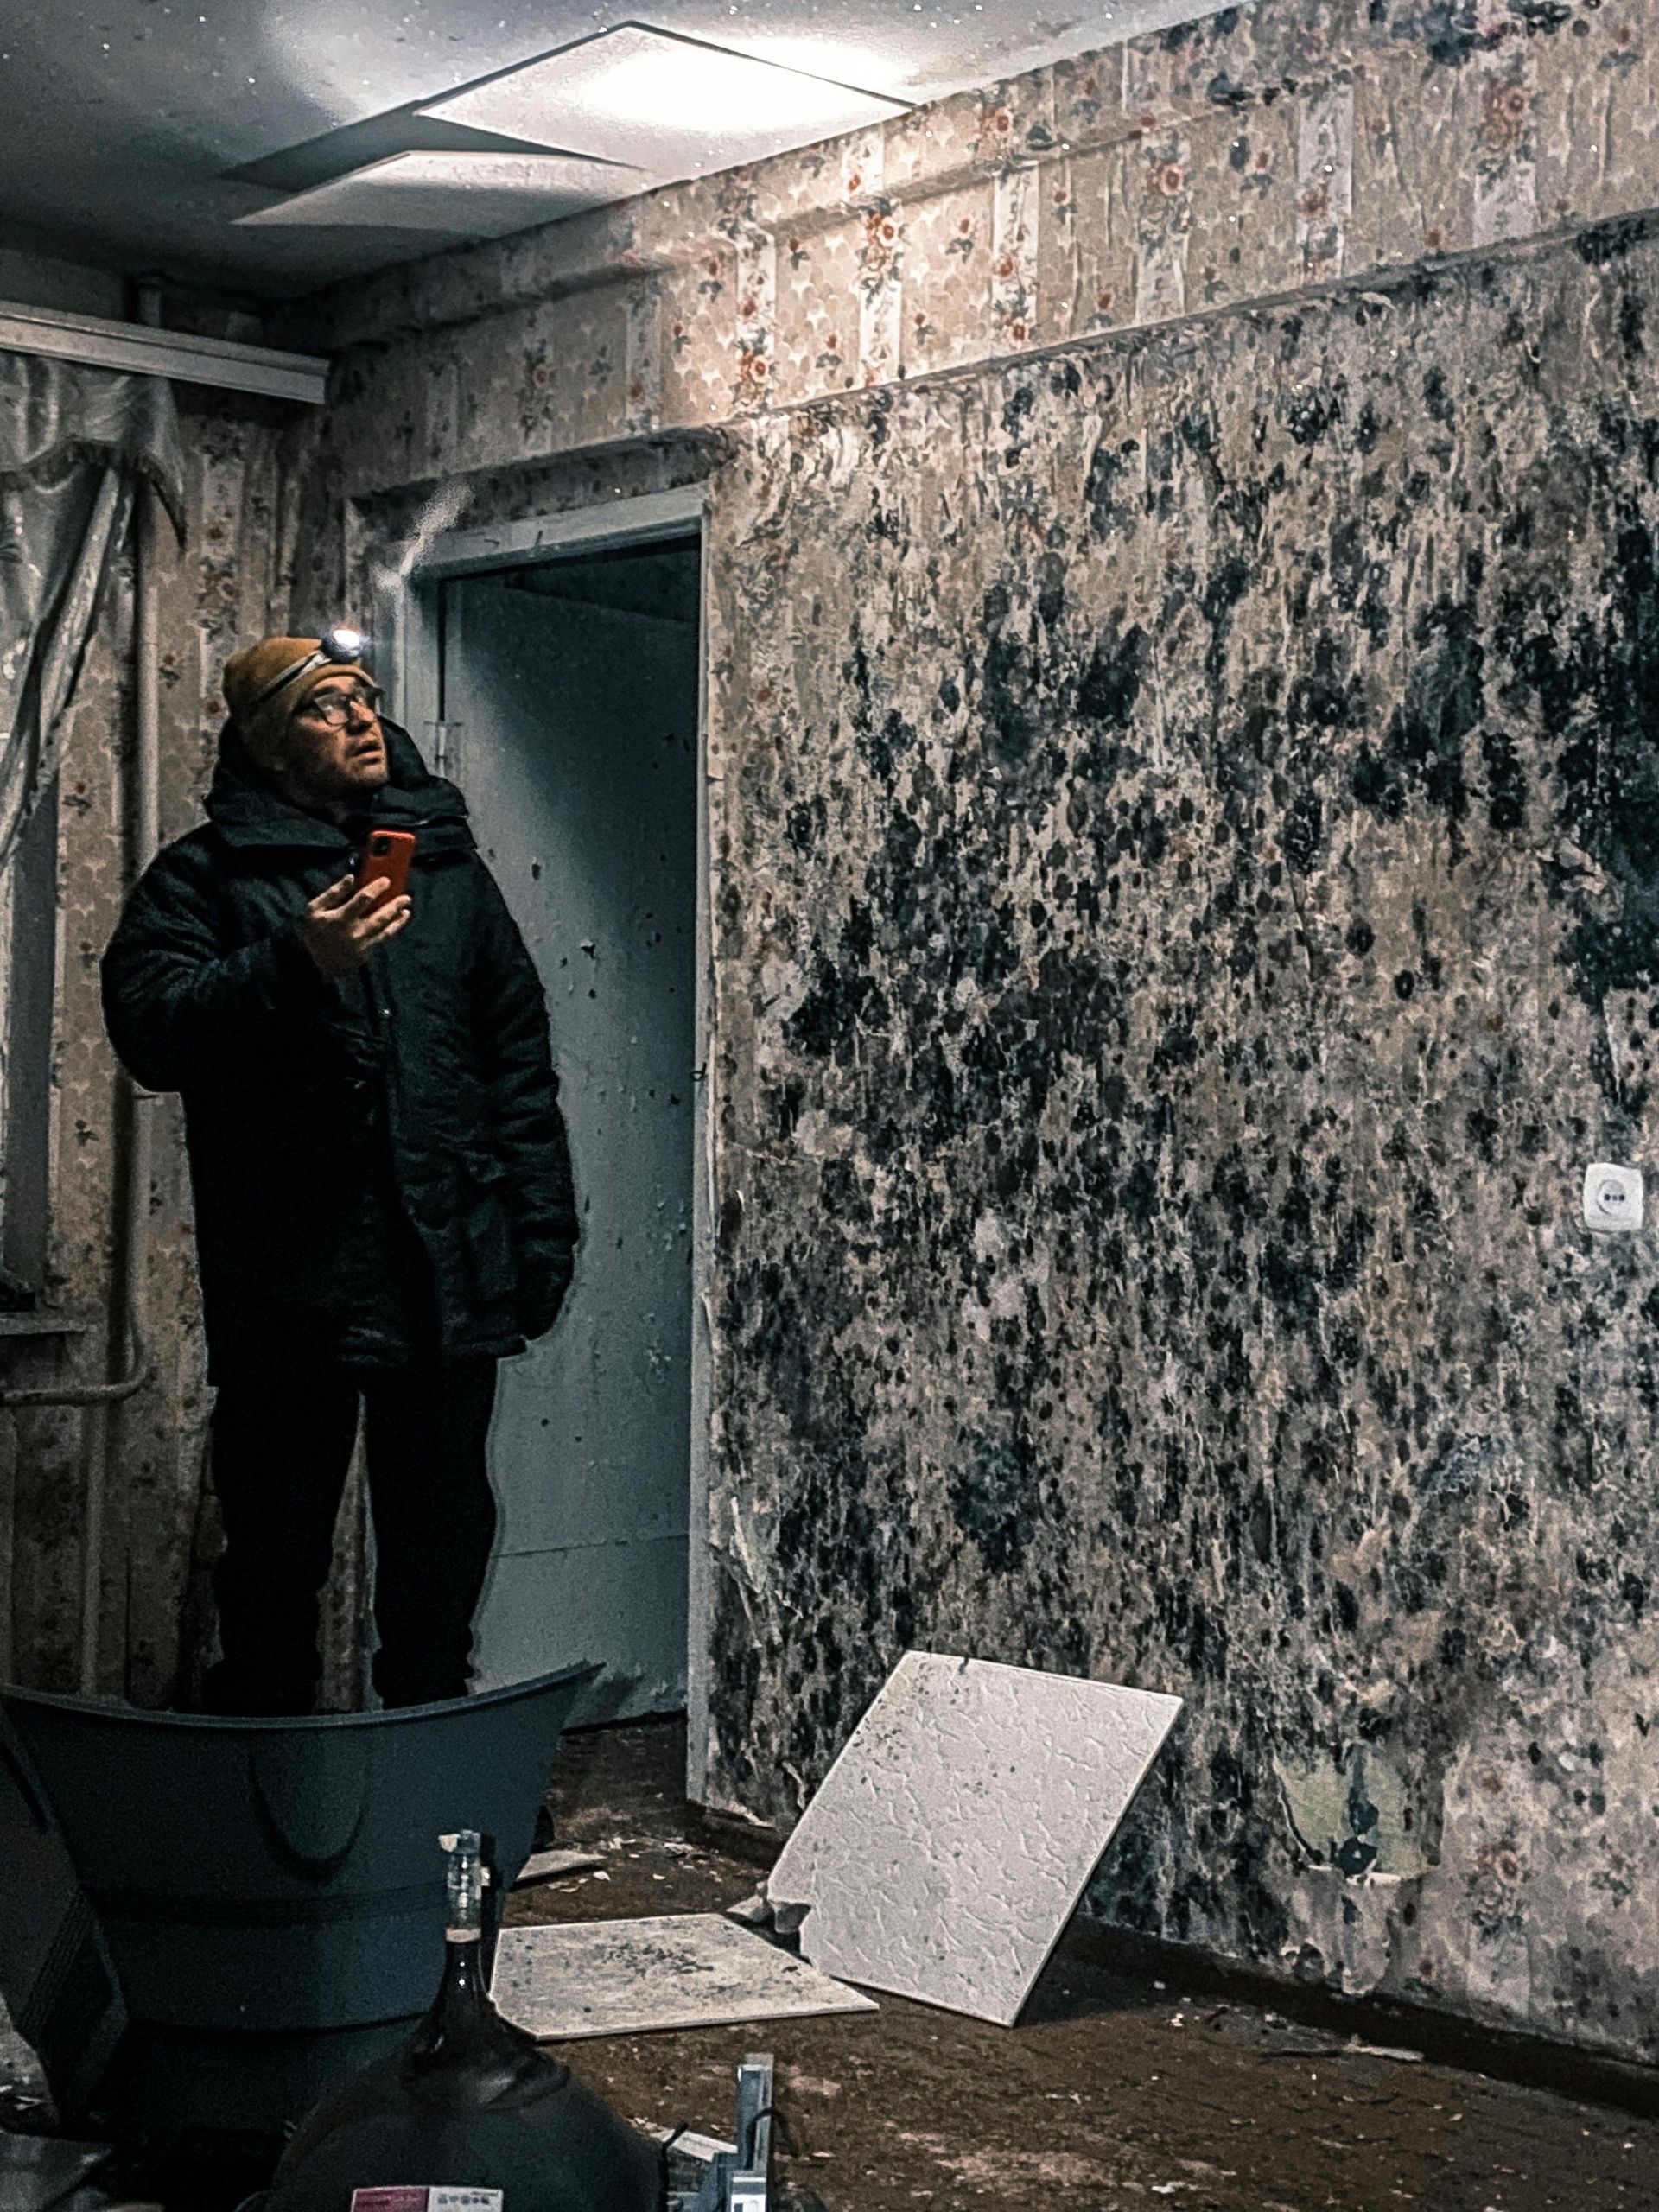
Your ceiling will tell you it's in trouble if you know what to look for. Those yellowish-brown rings aren't just unsightly—they're your home's way of waving a red flag. When water infiltrates your ceiling, it often leaves behind telltale discoloration with darker edges and a lighter center.
Pay attention if your paint starts bubbling or peeling away. Water weakens the bond between paint and drywall, creating those telltale bubbles that signal moisture lurking above. And don't ignore your nose—that sudden musty smell in a previously fresh-smelling room often means water has moved in where it doesn't belong.
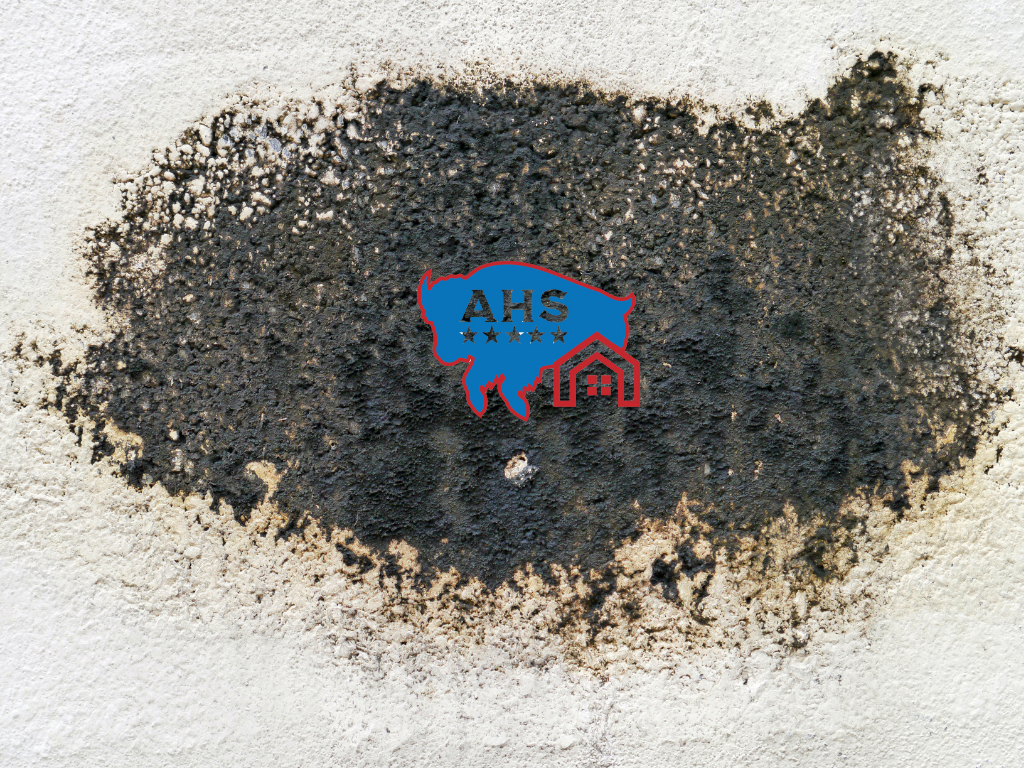
More serious warnings include sagging or bowed sections of ceiling. If your ceiling is starting to droop, water weight is building up, creating a potential collapse hazard that needs immediate attention. Visible mold growth—whether green, black, or white spotting—means you're dealing with both water damage and a developing health concern.
I've found Bob Vila's simple guideline particularly helpful when working with Denver homeowners: "Leaks on upper floors usually come from the roof, while leaks on lower floors typically point to plumbing issues." This rule of thumb can save you hours of searching in the wrong places.
Finding Hidden Sources
Water is sneaky—it often travels far from its entry point before making itself known. That's why professional water damage inspectors use several techniques to track moisture to its source:
Try the chalk outline method by tracing around the visible water stain with chalk or pencil. Check back in 24-48 hours—if the stain has grown beyond your outline, you've got an active leak that needs immediate attention.
A moisture meter is worth its weight in gold for ceiling water damage repair. These handheld devices detect dampness in building materials even before visible damage appears, helping you trace the moisture path back to its source.
For suspected slow leaks in hard-to-see areas, the tissue paper test works wonders. Simply place strips of tissue along pipes or joists in your attic—they'll quickly absorb and reveal moisture from leaks too small to spot with the naked eye.
When dry Denver weather makes roof leak detection challenging, try a simulated rain test. Have someone spray water on the roof while you watch from inside, starting low and working upward to identify the entry point.
Common culprits to investigate include missing roof shingles, damaged flashing around chimneys or vents, leaky supply lines or drain pipes, condensation from HVAC systems, clogged gutters forcing water under roofing materials, and ice dams (a winter special here in Colorado). Don't forget to check skylights and attic vents—these are frequent entry points for moisture.
Once you've found the source, take immediate action:
For plumbing issues, shut off the water supply to that fixture or the main valve if necessary. If you're dealing with a roof leak, cover the area with a properly secured tarp (if it's safe to do so). For HVAC condensation problems, turn off the unit until repairs can be made.
Most importantly, if water is near light fixtures or electrical outlets, turn off electricity to the affected room immediately. Water and electricity create a dangerous—potentially deadly—combination!
For complex leaks or if you're unsure about the source, professional water damage inspection can save you time and prevent further damage. At Accountable Home Services, we use thermal imaging and professional-grade moisture detection equipment to pinpoint even the most elusive leaks.
More info about Water Damage Inspection
Ceiling Water Damage Repair Made Simple: Tools, Drying & Patch Work
Once you've stopped the leak, it's time to roll up your sleeves and tackle the repair. Don't worry – with the right tools and a methodical approach, fixing your water-damaged ceiling is absolutely doable for many homeowners. I've guided countless Denver residents through this process, and I'm confident you can handle it too!
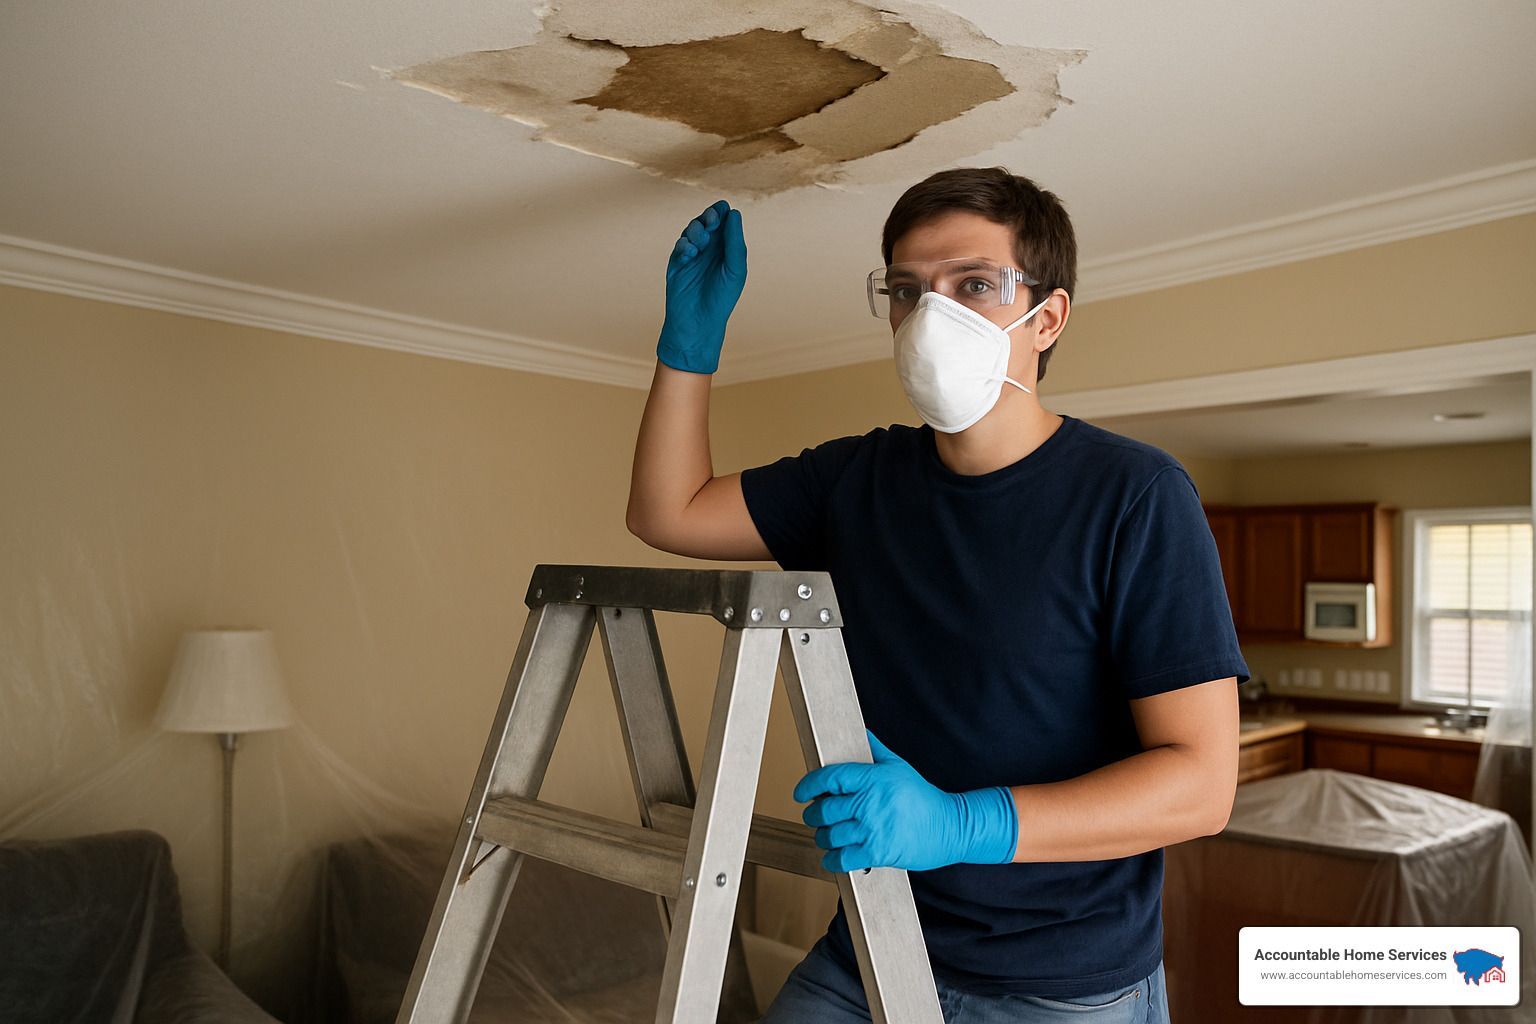
Safety Prep for Ceiling Water Damage Repair
Before you grab that first tool, let's talk safety. Water and electricity don't mix, and neither do rushed repairs and good outcomes.
First things first – turn off power to any fixtures in the damaged ceiling area. Head to your breaker box and flip those switches off. Better safe than sorry!
Next, gear up with proper protection. An N-95 respirator mask is essential – water damage often brings mold spores into the equation, and your lungs will thank you for the barrier. Safety goggles will protect your eyes from falling debris (trust me, ceiling work means looking up a lot), and a good pair of gloves will save your hands from scrapes and irritation.
When it comes to ladder safety, don't take chances. Use a sturdy ladder on level ground, and if possible, have a family member or friend hold it while you work. I've seen too many DIY disasters from wobbly ladder setups!
Before you start cutting and patching, take a moment to protect your space. Lay down drop cloths or plastic sheeting to catch the inevitable shower of drywall dust and debris. Your future self will appreciate not having to vacuum every corner of the room.
Finally, good ventilation is crucial – open those windows or set up fans, especially when you're applying primers and paints. Your nose (and anyone else in the house) will appreciate the fresh air flow.
Tools & Materials Checklist
Having everything ready before you start will make your ceiling water damage repair go much more smoothly. Here's what you'll need:
For tools, gather a utility knife or oscillating multi-tool for clean drywall cuts, a screwdriver or drill for removing fixtures and installing drywall, putty knives in various sizes for applying joint compound, sandpaper (150-220 grit), paint supplies (roller, tray, and brushes), a measuring tape and pencil, a moisture meter if available, and a shop vacuum for cleanup.
On the materials side, you'll need drywall (matching your existing ceiling thickness), 2×4 lumber for backing support, drywall screws, joint tape, all-purpose joint compound (avoid quick-setting compounds if you're new to this), stain-blocking primer like Kilz, ceiling paint matching your existing finish, plastic sheeting or drop cloths, and a bucket to catch any lingering drips.
If your ceiling has texture, add ceiling texture spray that matches your existing pattern and a practice board to test your application technique before tackling the real thing.
More info about Water Damage Restoration
Step-by-Step Ceiling Water Damage Repair Walkthrough
Let's break down this process into manageable steps that will lead to a professional-looking ceiling water damage repair:
1. Prepare the damaged area
If you notice a bulge in your ceiling where water has collected, don't panic! Place a bucket underneath, then carefully puncture the center with a screwdriver to release the water in a controlled way. This prevents a sudden ceiling collapse that could spread damage further. I've seen homeowners skip this step and end up with a much bigger mess than necessary.
2. Remove damaged material
Now for some careful demolition. Using your utility knife or oscillating tool, cut out the damaged drywall in a clean square or rectangle. Don't just cut around the visible stain – extend your cuts to the nearest ceiling joists on both sides. These joists will provide solid attachment points for your new patch.
A pro tip I share with all my Denver clients: Cut back to completely dry, sound material. Water-damaged drywall is like a ticking time bomb – even after drying, it can continue to deteriorate, sag, or harbor mold.
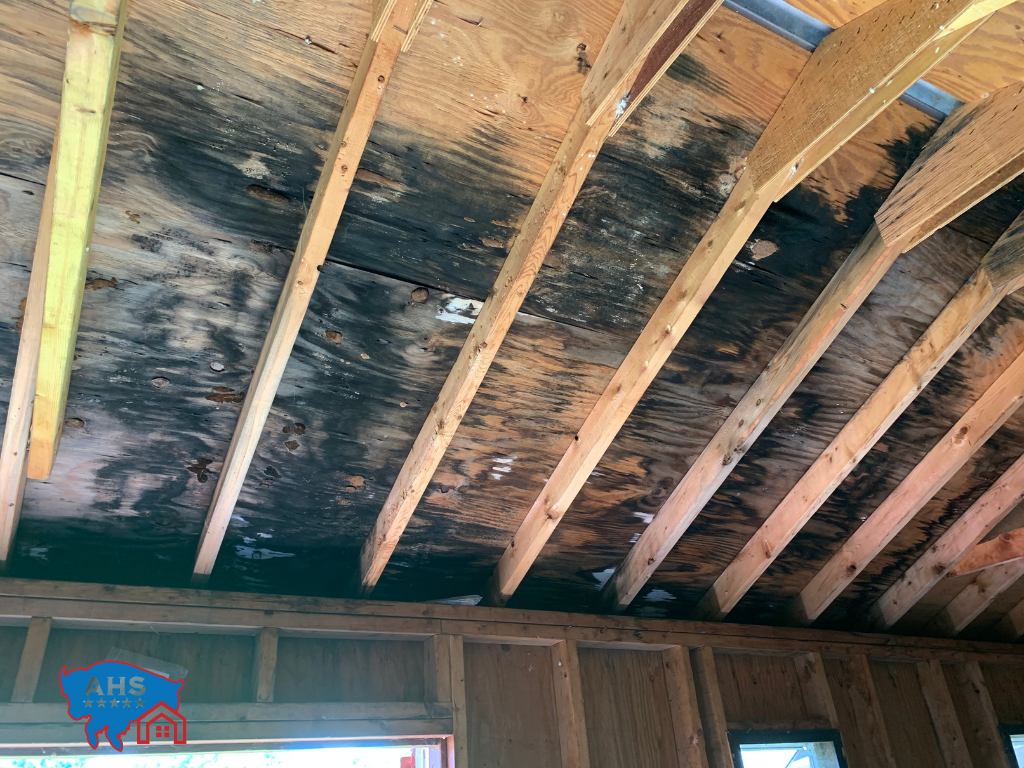
3. Inspect and dry the cavity
With the damaged section removed, you've got a perfect opportunity to assess what's happening above. Check for mold growth (look for black, green, or fuzzy spots), remove any wet insulation (it won't dry properly in place), and inspect for additional damage to joists or electrical wiring.
Now comes the patience part – thoroughly drying the cavity. Set up fans and a dehumidifier and give it at least 48 hours. Here in Denver's climate, we sometimes get lucky with faster drying times, but don't rush this step. If you have a moisture meter, use it to confirm the area is truly dry before proceeding.
4. Install backing support
For holes larger than 6 inches, you'll need to create support for your new drywall patch. Cut 2×4 lumber slightly longer than the hole, position them inside the ceiling cavity spanning the opening, and secure them to solid drywall with screws on both sides. These pieces create a framework to which you'll attach your new drywall patch.
5. Cut and install the drywall patch
Measure your opening carefully and cut your drywall patch about 1/4" smaller on all sides – this gives you some wiggle room for positioning. Secure the patch to your backing boards or ceiling joists with drywall screws every 6-8 inches, countersinking them slightly below the surface.
6. Tape and mud the seams
This is where art meets science! Apply a thin layer of joint compound around the seam, press paper joint tape into the wet compound (centering it over the seam), then apply another thin layer of compound over the tape. Feather the edges outward 8-12 inches to create a seamless blend. Then walk away and let it dry completely – usually 24 hours.
7. Apply second and third coats
Patience makes perfect here. Lightly sand between coats with 150-220 grit sandpaper, then apply a second coat of compound, extending it 2-3 inches beyond the first coat. After drying, apply a final thin coat feathered even wider. Your final sanding should create a smooth finish that blends perfectly with the surrounding ceiling.
8. Match texture (if applicable)
Most Denver homes have textured ceilings, which adds another step. Always practice on a scrap board first – ceiling texturing has a learning curve! Apply texture according to product instructions, working from the edges inward for better blending. Let the texture dry completely before moving to the final step.
9. Prime and paint
The finishing touches make all the difference. Apply stain-blocking primer to the entire repair area – this prevents any lingering water stains from bleeding through. Once dry, paint the entire ceiling for a uniform appearance. For best results, paint from one wall to the opposite wall in straight, overlapping lines.
Even if your damage was relatively small, I always recommend painting the entire ceiling. Water stains have an annoying habit of showing through regular paint, so that stain-blocking primer is your best friend!
With these steps, your ceiling water damage repair should leave you with a ceiling that looks as good as new – and the satisfaction of knowing you handled it yourself. Of course, if at any point the job seems too complex or you find additional issues, there's no shame in calling in professionals. That's what we're here for!
For more detailed guidance on drywall repair techniques, check out This Old House's comprehensive guide to drywall repair.
Budget, Insurance & Pro Help
Let's talk money—because when it comes to ceiling water damage repair, understanding the costs helps you make smarter decisions about whether to DIY or call in the pros.
Cost Comparison: DIY vs. Professional Repair
If you're handy with tools and have a weekend to spare, DIY ceiling repairs can save you significant cash. Most homeowners spend between $2-5 per square foot on materials for a basic repair. That small 16"×16" water stain might cost you just $50-100 in supplies—though if you need to buy tools, budget another $100-200.
On the flip side, professional repairs typically run $45-55 per square foot. That same 16"×16" patch job would cost $303-459 when done by experts (based on January 2025 rates). For more extensive damage requiring full ceiling replacement, you're looking at $1,349 to $6,222 depending on the size of the room and severity of damage.
Don't forget those hidden costs that can sneak up on you:
- Fixing whatever caused the leak in the first place (plumbing work can range from $175 for a simple fix to $3,000 for major repairs)
- Mold remediation if those nasty spores have taken hold ($500-6,000)
- Replacing soggy insulation ($1-2 per square foot)
- Repainting the entire ceiling for a consistent finish ($1-3 per square foot)

Insurance Coverage for Ceiling Water Damage
The million-dollar question: Will your insurance cover this mess? The answer depends entirely on what caused your ceiling damage.
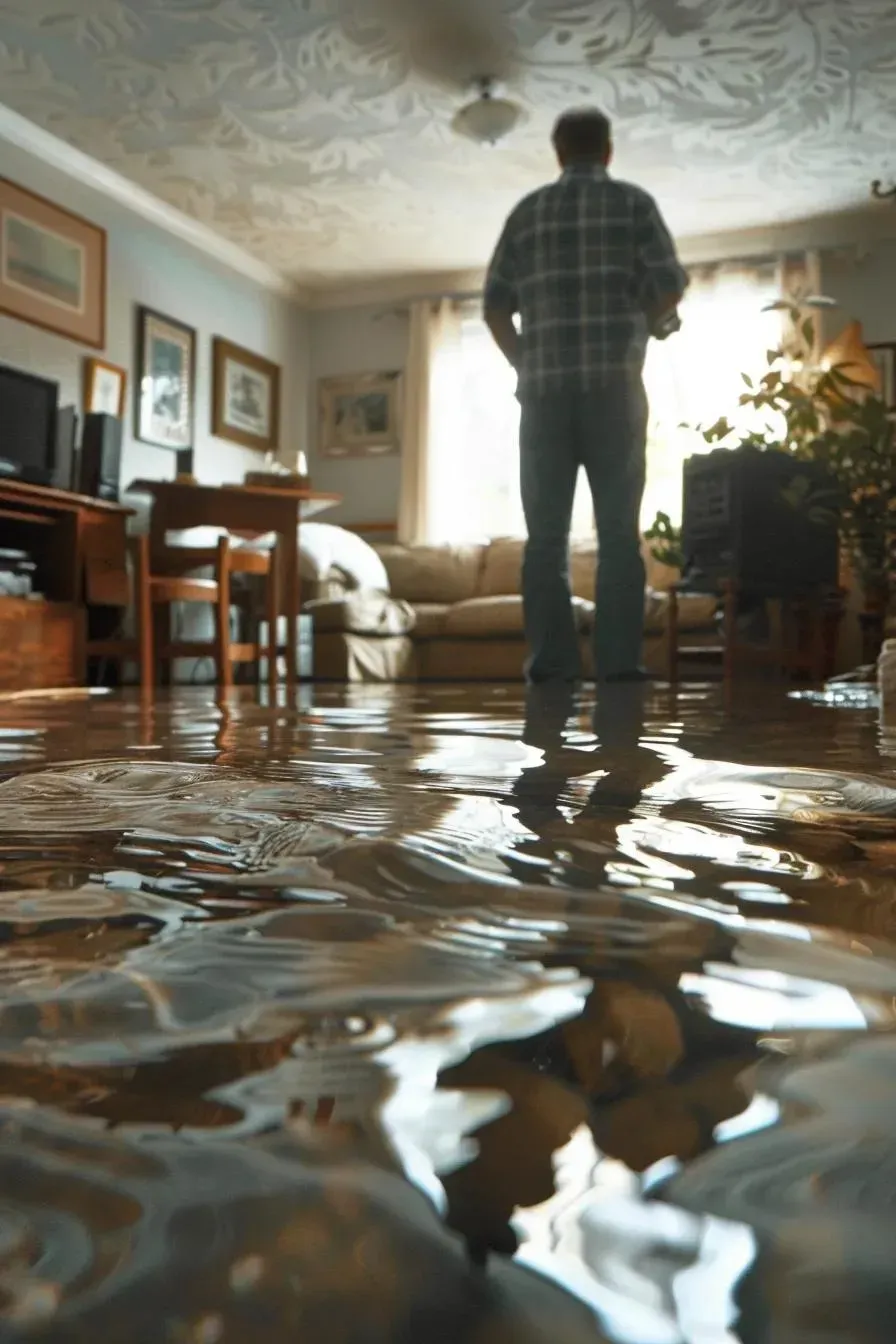
Good news if your damage resulted from sudden, unexpected events—insurance typically covers ceiling water damage repair caused by burst pipes, storm damage to your roof, or that washing machine that suddenly decided to flood your laundry room.
Bad news if the damage happened slowly over time. Most policies exclude long-term leaks, neglected maintenance issues, external flooding, or that slow drip you ignored for months. And while we're at it, mold remediation usually isn't covered unless it resulted directly from a covered event.
If you're filing a claim, documentation is your best friend. Take clear photos of everything before you start repairs, save samples of damaged materials if possible, document exactly what caused the water damage, and keep every receipt related to the repair. At Accountable Home Services, we've helped countless Denver homeowners steer this process with our direct insurance billing service, which takes the paperwork headache off your plate.
When to Repair, When to Replace
Sometimes a simple patch job is all you need. Other times, it's smarter to start fresh with a whole new ceiling. Here's how to know which path to take:
A repair job makes sense when you're dealing with small, isolated water stains that haven't compromised your ceiling's structure, minor sagging that hasn't weakened the drywall, or first-time damage from a leak you've promptly fixed.
Consider replacement when you're facing mold growth covering more than 10 square feet (the EPA's recommended threshold for professional remediation), ceiling materials that have lost their structural integrity, repeated water damage to the same area, extensive sagging, or water-saturated insulation above the ceiling.
Trust your gut—if the ceiling looks unsafe or the damage keeps returning, replacement is probably the wisest investment.
Calling the Pros
While I'm all for DIY spirit, some situations call for professional expertise. Don't hesitate to call in reinforcements if:
- The water looks or smells suspicious (potentially contaminated black or gray water)
- Your ceiling is doing its best impression of a hammock (severe sagging)
- Water has been partying with your electrical wiring
- Mold is spreading faster than neighborhood gossip
- Your home was built before the 1980s (potential asbestos in the ceiling materials)
- The damage has decided to go on tour through multiple rooms
When you hire restoration professionals like our team at Accountable Home Services, you're getting more than just basic repairs. You're getting comprehensive moisture detection with specialized equipment, industrial-grade water extraction and drying, antimicrobial treatments to prevent mold, proper disposal of contaminated materials, structural repairs backed by warranty, and experts who speak "insurance adjuster" fluently.
For Denver homeowners, we understand that water damage doesn't politely wait for business hours—that's why we offer 24/7 emergency response with IICRC-certified technicians ready to tackle both the damage you can see and the problems lurking behind your ceiling.
Frequently Asked Questions about Ceiling Water Damage Repair
How long does a ceiling take to dry completely?
That wet ceiling isn't going to dry overnight, unfortunately. Several factors determine how long you'll need to wait before moving forward with repairs:
For minor water spots, you might be looking at just 2-3 days of drying time. But if your ceiling got thoroughly soaked, patience becomes essential—it could take anywhere from one to two full weeks to dry completely.
The material makes a difference too. Drywall typically dries faster than those older plaster ceilings found in many Denver homes. And while our mile-high city's naturally dry climate can speed things up, basements or poorly ventilated spaces will always take longer.
The right equipment dramatically accelerates drying. Strategic placement of fans to create cross-ventilation, combined with a good dehumidifier, can cut your waiting time in half.
Here's the golden rule: don't rush this step! A moisture meter reading of 16% or less tells you your drywall is ready for repair. Jumping ahead with patching before complete drying is a recipe for mold growth and repairs that fail within months. Those extra days of drying now will save you weeks of headaches later.
Will homeowners insurance cover slow pipe leaks?
Insurance companies make an important distinction that every homeowner should understand:
Sudden, unexpected events like a pipe bursting during a freeze or roof damage from a hailstorm? These are typically covered by standard homeowners insurance.
Slow, ongoing leaks that developed over weeks or months? These often fall into what insurance companies classify as "maintenance issues" and frequently get denied.
The deciding factor usually comes down to whether you knew (or should have known) about the problem. Your insurance company expects you to address visible leaks promptly—that dripping under the sink that you've been catching in a bucket for three months isn't going to qualify for coverage.
However, if you can demonstrate the leak was truly hidden—tucked away inside a wall or ceiling where no reasonable homeowner could have detected it—you'll have a much stronger case for coverage.
To improve your chances with insurance:
- Document everything with photos and videos before making emergency repairs
- Report damage immediately after findy
- Keep detailed maintenance records to show you've been a responsible homeowner
- Save samples of damaged materials if possible
Can I just paint over a small water stain?
It's tempting to grab a can of paint and cover up that small yellowish ceiling stain, but here's why that quick fix usually becomes a bigger headache:
Painting alone is like putting a bandage on a wound that needs stitches. The underlying issue—whatever caused the water to get into your ceiling in the first place—continues damaging your home behind the scenes.
Those brownish water stains contain minerals and tannins that have an almost magical ability to bleed through regular paint, often reappearing within weeks. Plus, moisture trapped in your ceiling creates the perfect environment for mold to flourish, potentially creating health issues for your family.
The right approach takes just a little more effort but delivers lasting results:
First, find and fix whatever's causing the water intrusion. Then make absolutely sure the area is bone-dry. Apply a quality stain-blocking primer specifically designed for water stains (products like Kilz or Zinsser BIN work wonders here). Only then should you apply your ceiling paint.
For truly tiny stains where you've confirmed and fixed the source, you might get away with just primer and paint. But I always recommend taking a quick peek above the ceiling if possible—what looks like a small stain from below might reveal much more extensive damage hiding above.
Conclusion: Preventing Future Ceiling Water Damage
The best ceiling water damage repair is one you'll never need to tackle in the first place. As a Denver homeowner, I've seen how our unique climate creates special challenges—from winter ice dams to summer thunderstorms—that can turn a tiny leak into a major headache.
Proactive Maintenance Tips for Denver Homeowners
I always tell my clients that an ounce of prevention truly is worth a pound of cure, especially when it comes to protecting your ceilings from water damage.
Your roof deserves attention with the changing seasons. Take a few minutes each spring and fall to check for missing or damaged shingles, particularly after those intense Colorado storms roll through. Make sure the flashing around chimneys and vents is intact, and keep those roof valleys clear of debris. When winter arrives, proper attic insulation and ventilation become your best defense against ice dams that can force water under your shingles.
Your plumbing system needs regular check-ups too. Take a flashlight and inspect visible pipes for tiny drips or corrosion—those little warning signs that could prevent a major ceiling disaster. The caulking around your tubs, showers, and sinks isn't permanent, so refreshing it every six months keeps water where it belongs. For extra peace of mind, those smart water leak detectors near washing machines and water heaters can be lifesavers.
Don't forget about your gutters! Here in Denver, we need to clean them at least twice yearly—more if you've got lots of trees dropping leaves and seeds. Make sure your downspouts are directing water at least 5 feet away from your foundation, and check that your gutters maintain proper slope and secure attachments.
Controlling indoor humidity is particularly important in our climate. Use those bathroom and kitchen exhaust fans during and after showers or cooking—they're not just for removing odors! With Denver's seasonal humidity shifts, a whole-house dehumidifier might be worth considering, aiming to keep indoor humidity between that sweet spot of 30-50%.
Finally, don't underestimate the value of professional eyes. Having your HVAC system serviced annually, scheduling roof inspections after severe weather, and investing in a comprehensive home inspection every 3-5 years can catch problems before they damage your ceilings.
When You Need Expert Help
While many homeowners feel empowered to tackle ceiling water damage repair after reading this guide, there are times when calling in the professionals just makes sense.
At Accountable Home Services, we've been helping Denver homeowners steer water damage restoration for years. Our team understands the unique challenges of Colorado homes and provides responsive, thorough solutions when you need them most. We offer 24/7 emergency response throughout the Denver Metro Area because water damage doesn't politely wait for business hours.
We know dealing with insurance claims adds another layer of stress to an already difficult situation, which is why we offer direct insurance billing to ease that burden. Our IICRC-certified technicians arrive with cutting-edge equipment designed to detect and address both visible damage and the hidden moisture that often causes bigger problems down the road.
Whether you're facing a minor ceiling stain or extensive water damage, we provide customized solutions that account for Colorado's unique climate challenges—from our dry air that can mask moisture problems to our freeze-thaw cycles that stress plumbing systems.
Remember: When it comes to ceiling water damage repair, what you can see is often just the tip of the iceberg. That small stain might be hiding significant issues above your ceiling. Taking immediate, thorough action isn't just about aesthetics—it protects your home's structural integrity and your family's health for years to come.