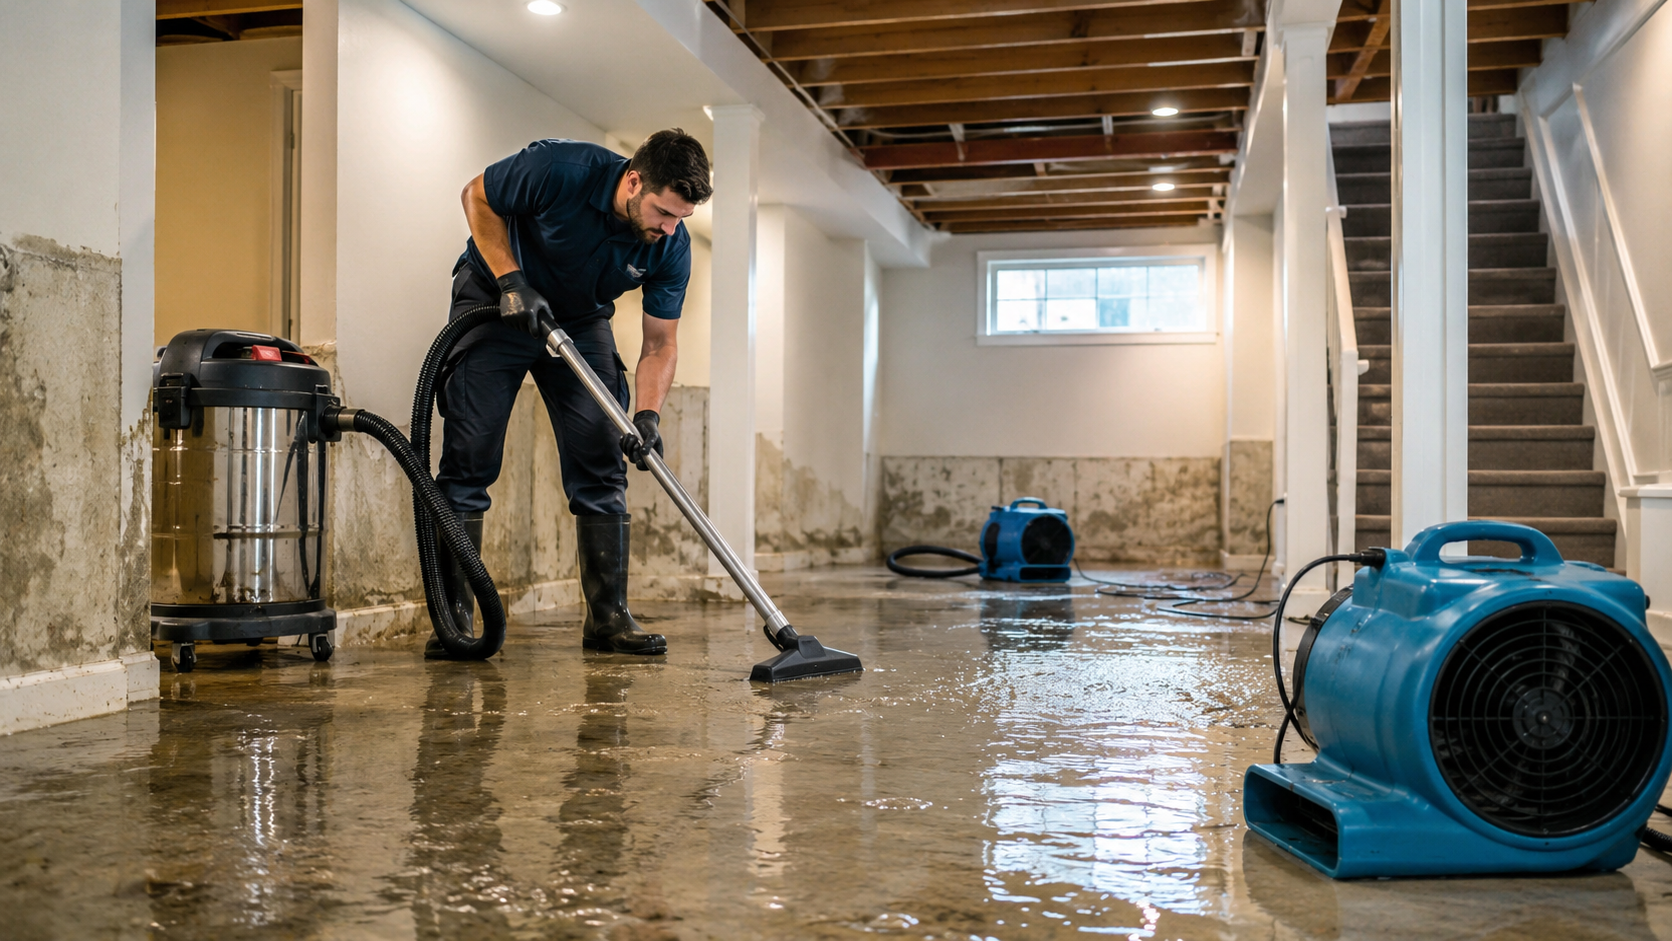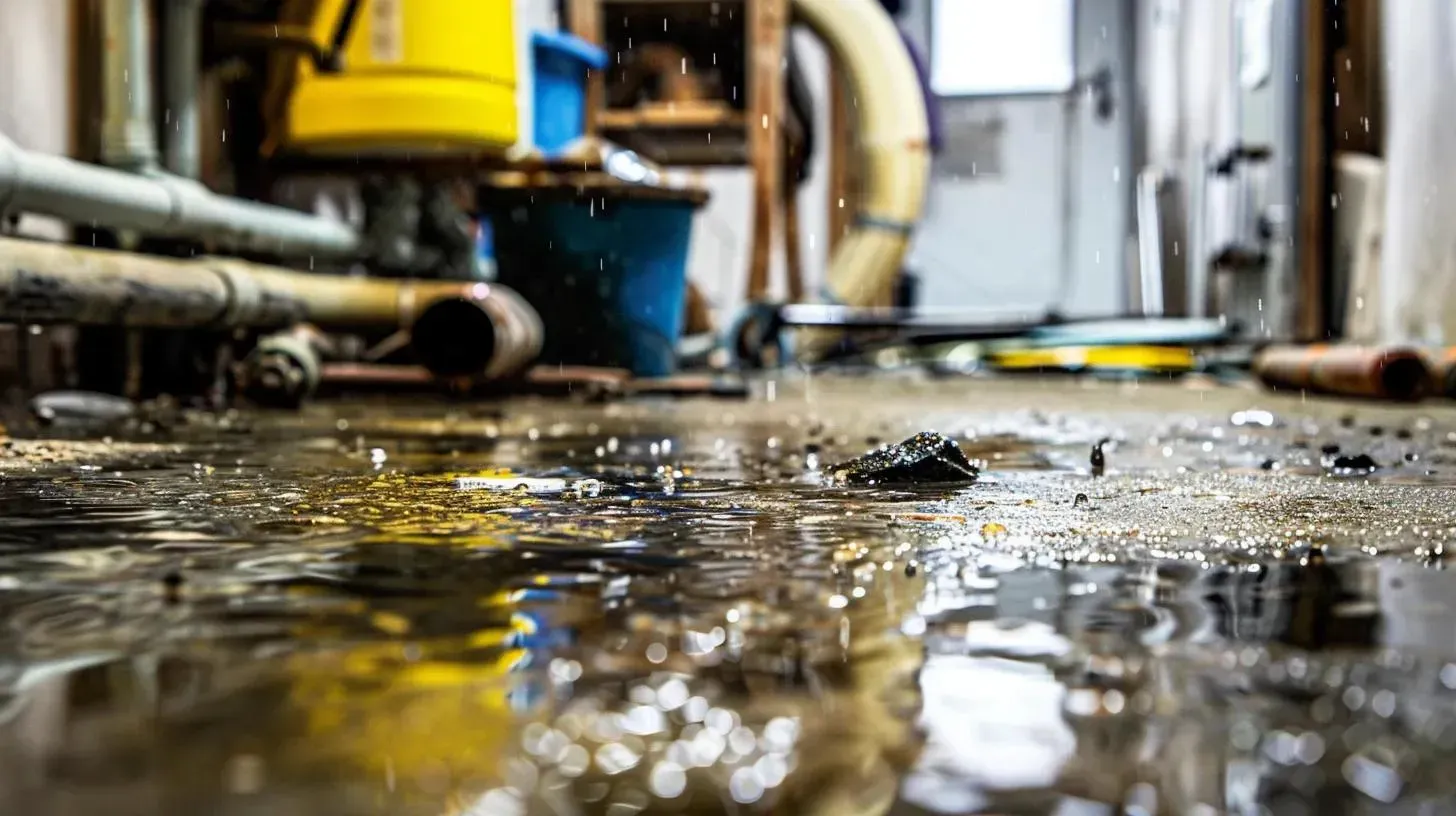
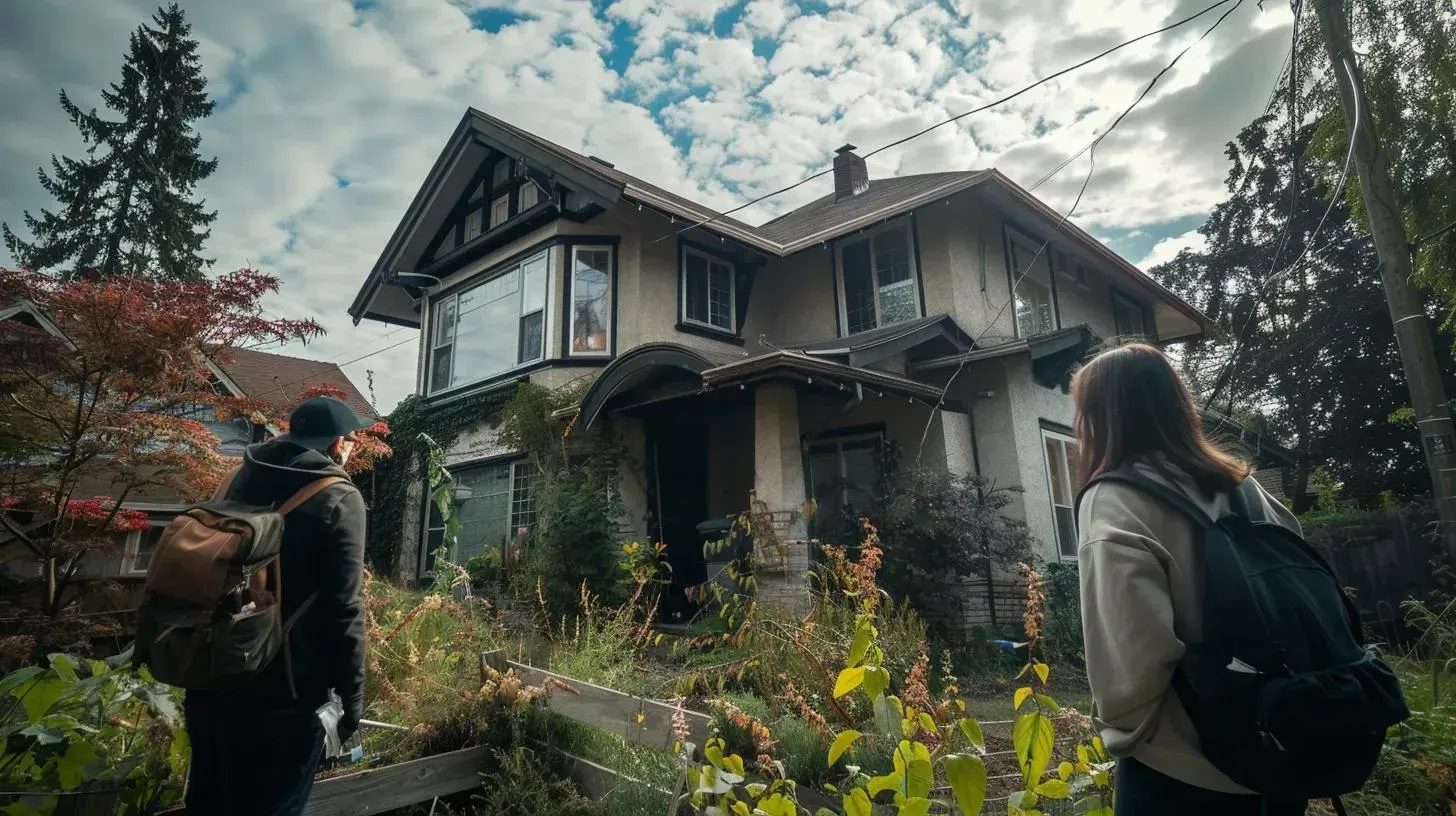
A water damage inspection is the point where a restoration company figures out three things clearly: where the water likely came from, what materials are affected, and what needs to happen next to stop the spread and dry the structure properly. For homeowners, the inspection is not just a walkthrough. It is the moment the job shifts from uncertainty to a practical plan.
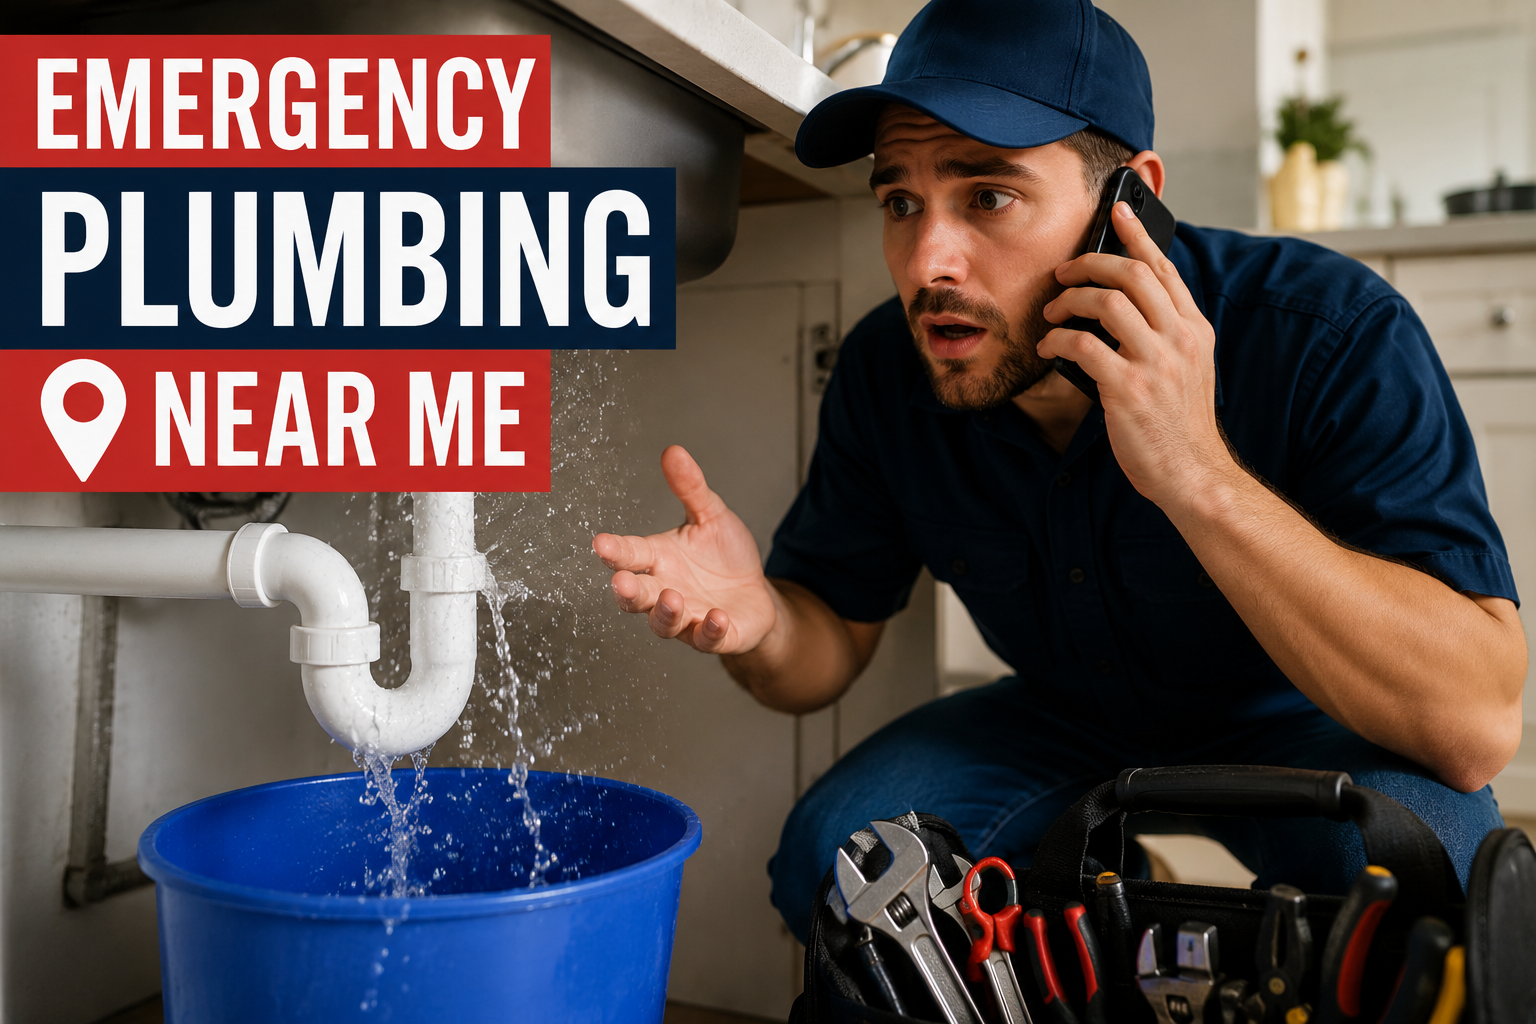
This guide explains what to expect during a water damage inspection and how to recognize whether it is thorough, not a cost article, policy-coverage guide, or repair estimate page; if you already need emergency help in Denver, the appropriate next step is water damage restoration services.
What is a water damage inspection supposed to accomplish?
A proper inspection should identify the likely source of water, assess the extent of visible and hidden impact, flag safety concerns, and create a starting plan for extraction, drying, cleanup, and documentation. It should also separate what is obvious from what still needs confirmation.
1-800 WATER DAMAGE’s guidance on water damage inspections describes the goal as identifying all affected areas, assessing structural impact, determining the source of the water, and helping guide the next restoration steps.
| Inspection goal | What it means in plain English | Why it matters |
|---|---|---|
| Identify the source | Figure out where the water likely started or whether it is still active | Prevents treating only the symptom while the leak continues |
| Assess visible damage | Note what rooms, surfaces, contents, and materials are obviously affected | Sets the baseline for the job |
| Check for hidden spread | Look beyond the visible puddle or stain | Water often travels farther than it first appears |
| Flag safety issues | Watch for contamination, electrical risk, unstable ceilings, or unsafe materials | Safety changes the whole response |
| Build the next-step plan | Decide what needs extraction, drying, cleaning, monitoring, or repair coordination | Turns the visit into action rather than guesswork |
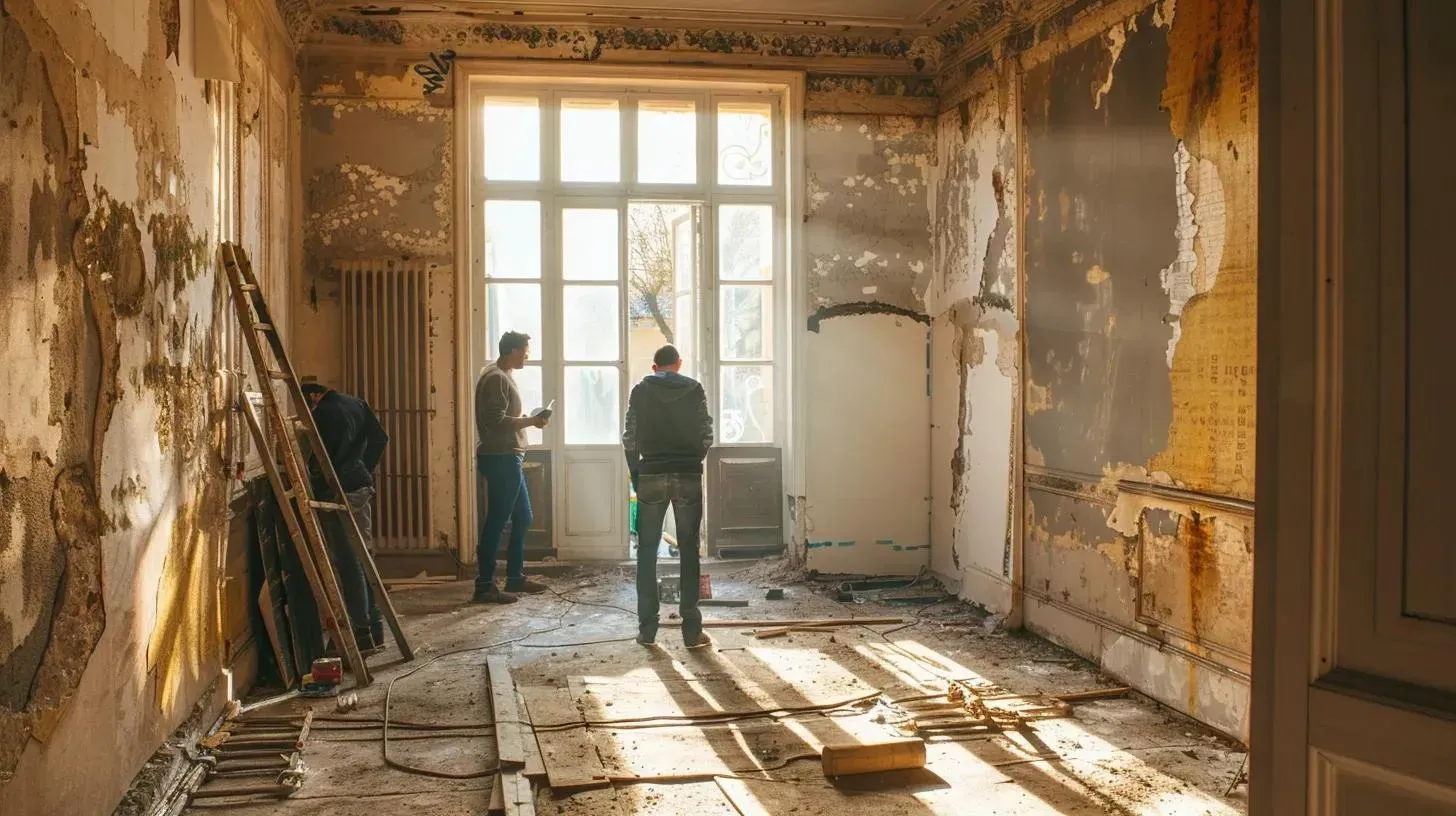
What does the inspection usually include?
Most real inspections follow a similar pattern even if the wording differs from company to company. The inspector usually starts with what happened, where the water was first noticed, and whether the source is still active. Then the inspection moves through the affected rooms and focuses on both what is visible and what may be wet out of sight.
Accountable Home Services’ water damage restoration and leak detection pages follow a similar approach, emphasizing thorough assessment, source identification, evaluation of affected materials, use of moisture-detection tools, and clear next-step guidance.
Certified Inspectors’ overview of water damage inspections describes the typical process as including an initial assessment, detailed examination, damage documentation, reporting, and final recommendations.
What questions should the inspector ask you first?
The best inspections start with a short fact-gathering conversation before the room-by-room assessment begins. That is how the inspector learns whether the leak is still active, how long the water may have been present, what was already moved, and whether contamination or recurring problems are possible.
Homeowner prep checklist
- When did you first notice the water or stain?
- Do you know the likely source, or is it still unknown?
- Is the source still active, or has it already been shut off or repaired?
- Which rooms or materials were first affected?
- Has anything already been removed, dried, or repaired?
- Did water reach ceilings, cabinets, flooring seams, or the level below?
- Have you noticed odor, humidity, or recurring stains?
- Did the event involve sewage, backup, or another contaminated source?
- Do you have photos or a short timeline from when the damage was discovered?
What tools are commonly used during a water damage inspection?
A thorough inspection usually includes more than visual observation. Moisture meters, thermal imaging where appropriate, and humidity-related readings help the inspector check whether water moved beyond what the eye can see.
Tramex’s moisture-mapping guidance says the goal of moisture detection is to identify and assess abnormally wet building materials so drying can be measured and documented effectively. That guidance also describes using moisture meters, thermo-hygrometers, and moisture mapping to compare affected areas to dry standards and track progress.
ATI Restoration describes a similar moisture-mapping process using visual inspection, moisture-meter readings, thermal imaging, relative-humidity readings, documentation, and remediation planning.
| Tool or method | What it helps answer | Why it is useful in an inspection | What it cannot do alone |
|---|---|---|---|
| Visual inspection | What damage is obvious right now? | Finds stains, swelling, buckling, warping, and visible water paths | It does not prove hidden areas are dry or wet |
| Moisture meter | Is this material still carrying elevated moisture? | Adds measurable confirmation | It does not map a whole room instantly |
| Thermal imaging | Which hidden areas look suspicious? | Scans larger areas non-invasively | It does not confirm moisture by itself |
| Humidity / ambient readings | Is the room environment still moisture-loaded? | Helps explain whether drying conditions are normal | It does not identify the exact hidden wet spot |
| Documentation / notes | What was found and what changed? | Supports planning, insurance records, and follow-up | It is only as useful as the inspection behind it |
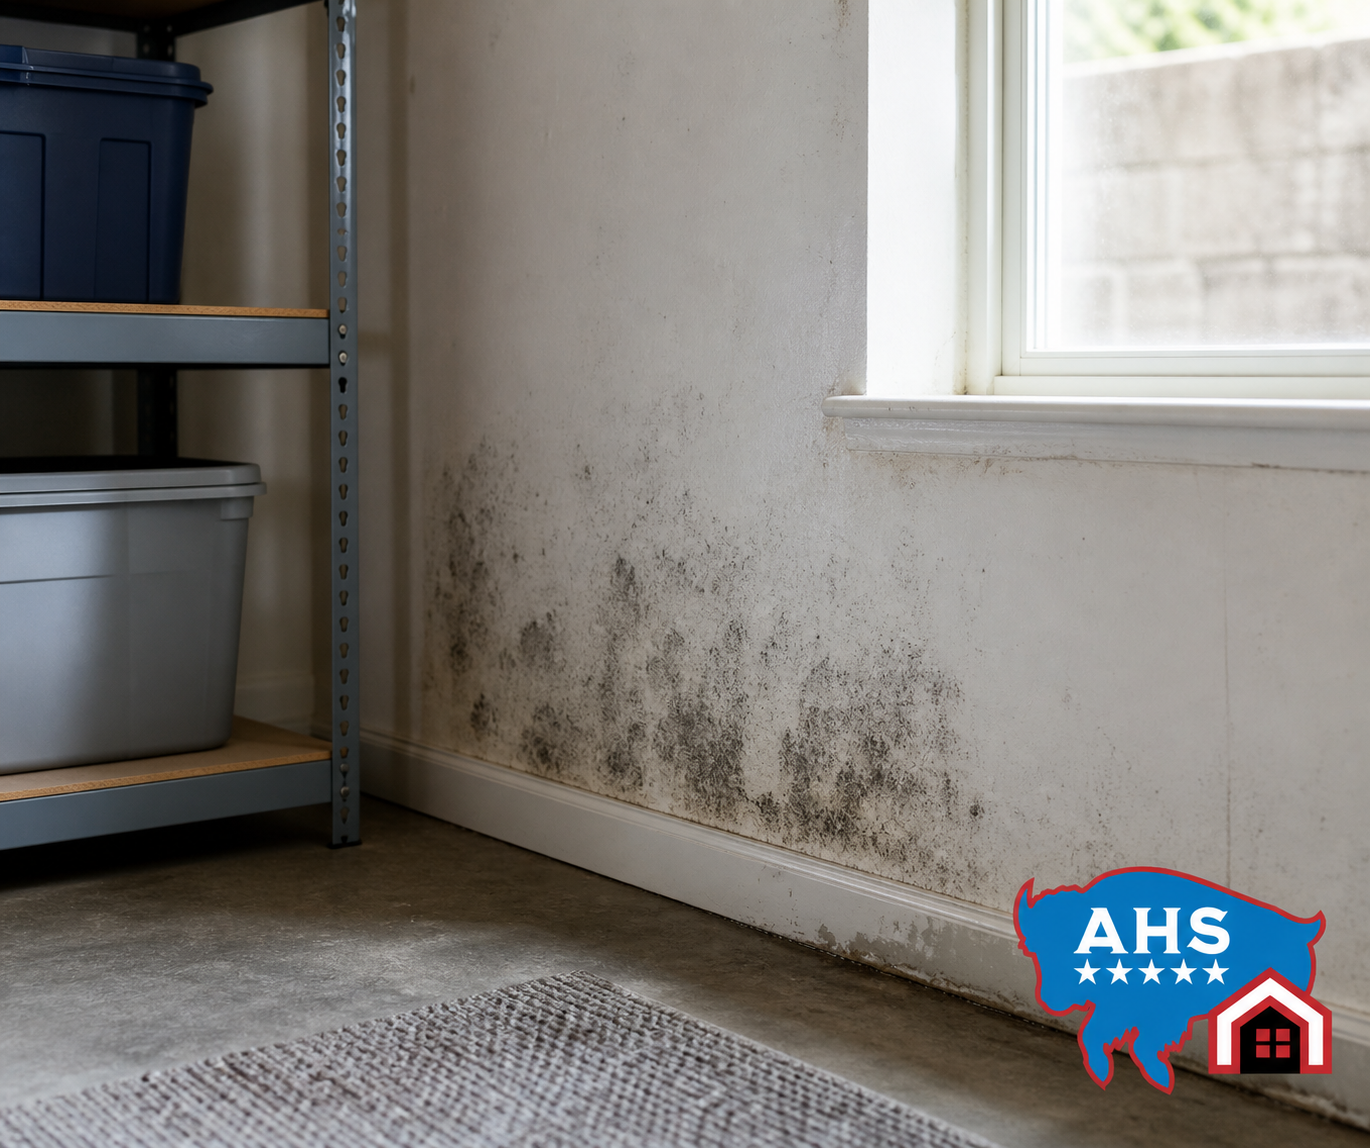
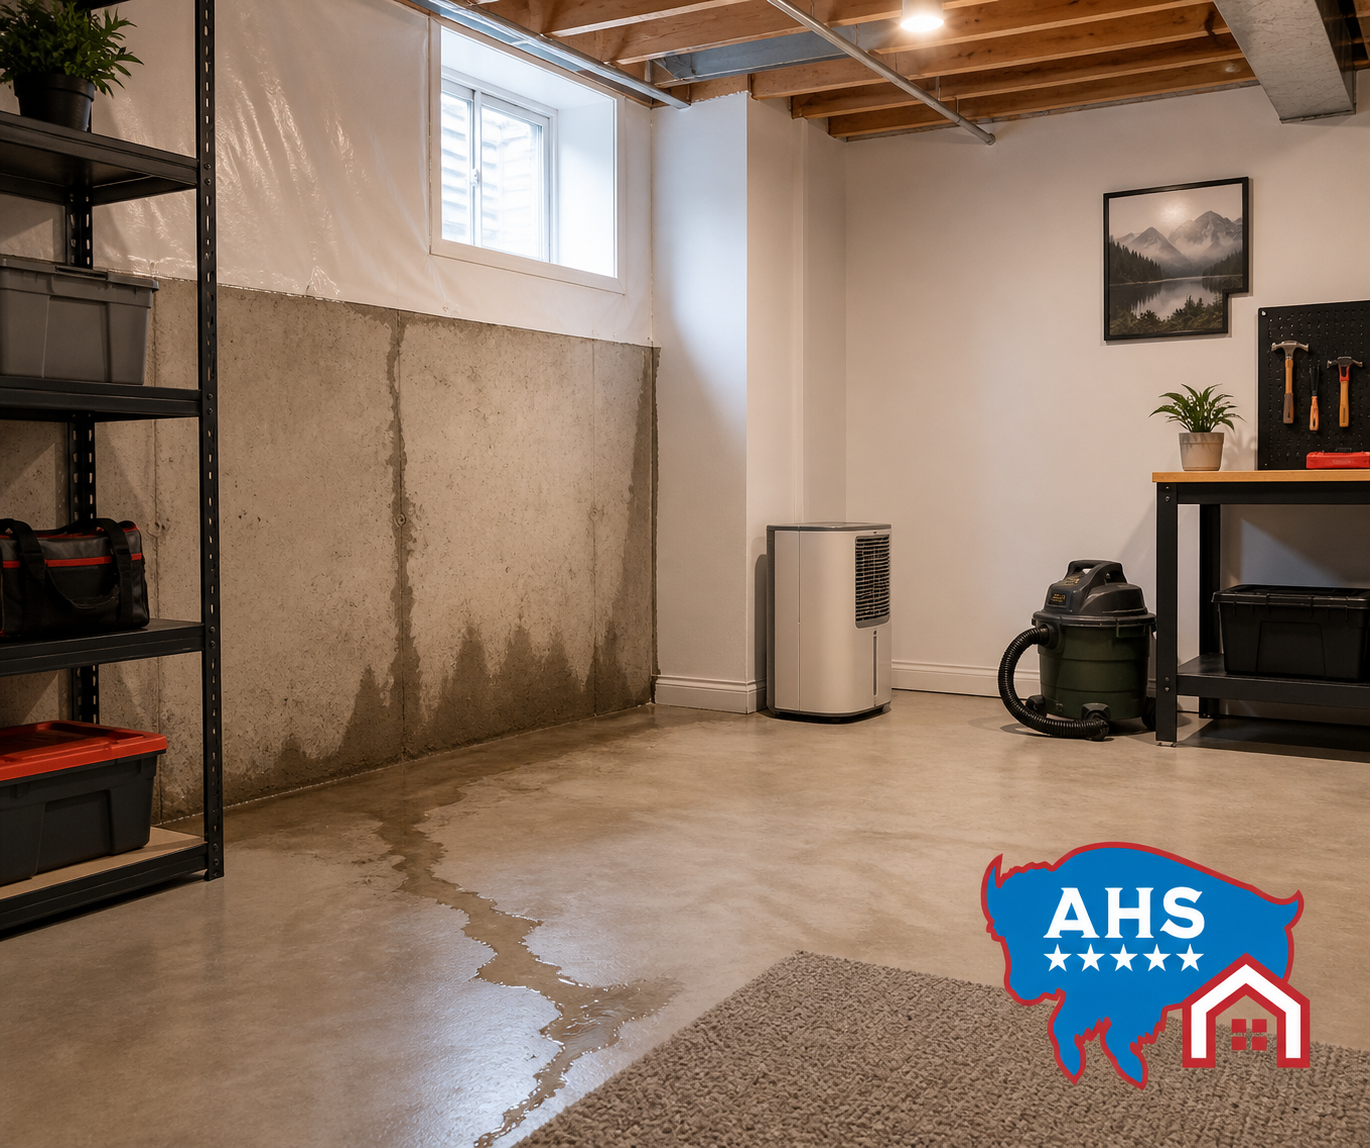
Does the inspection check for hidden moisture, or only what is visible?
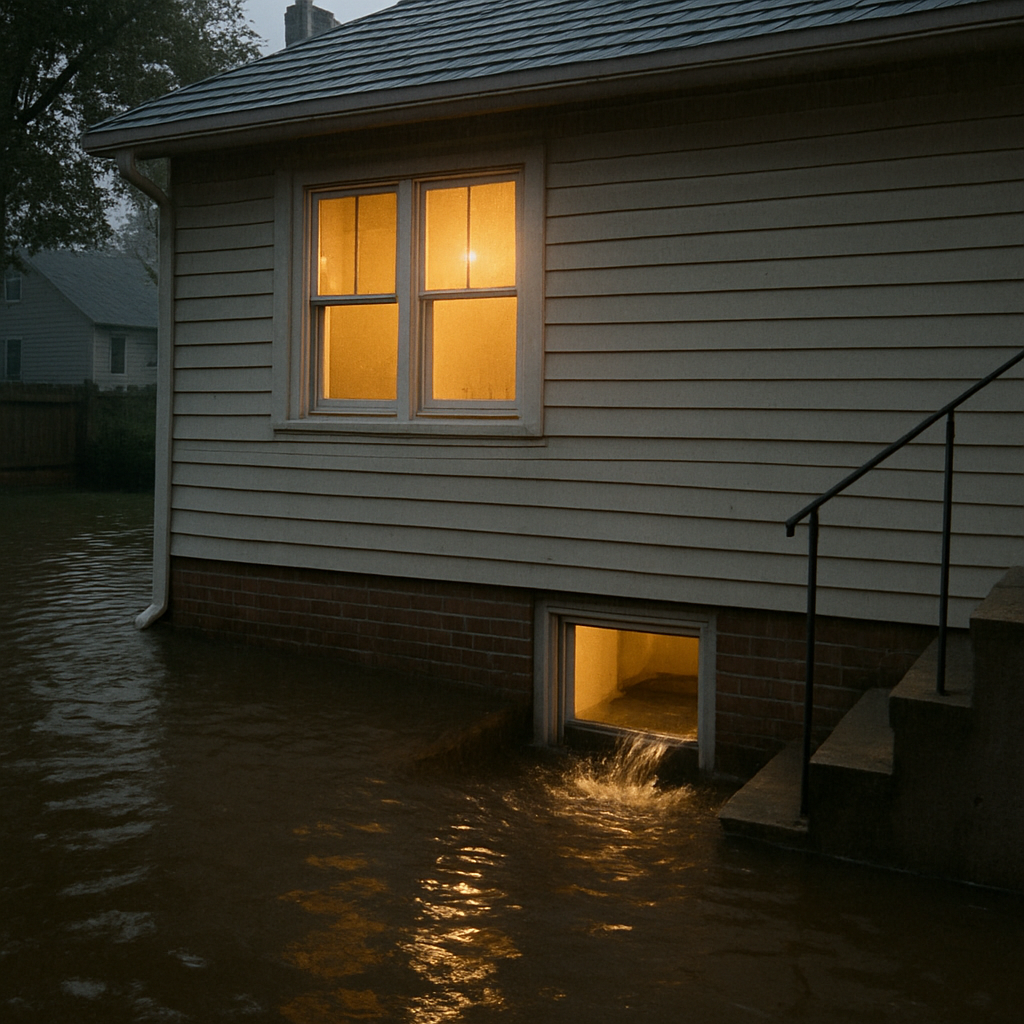
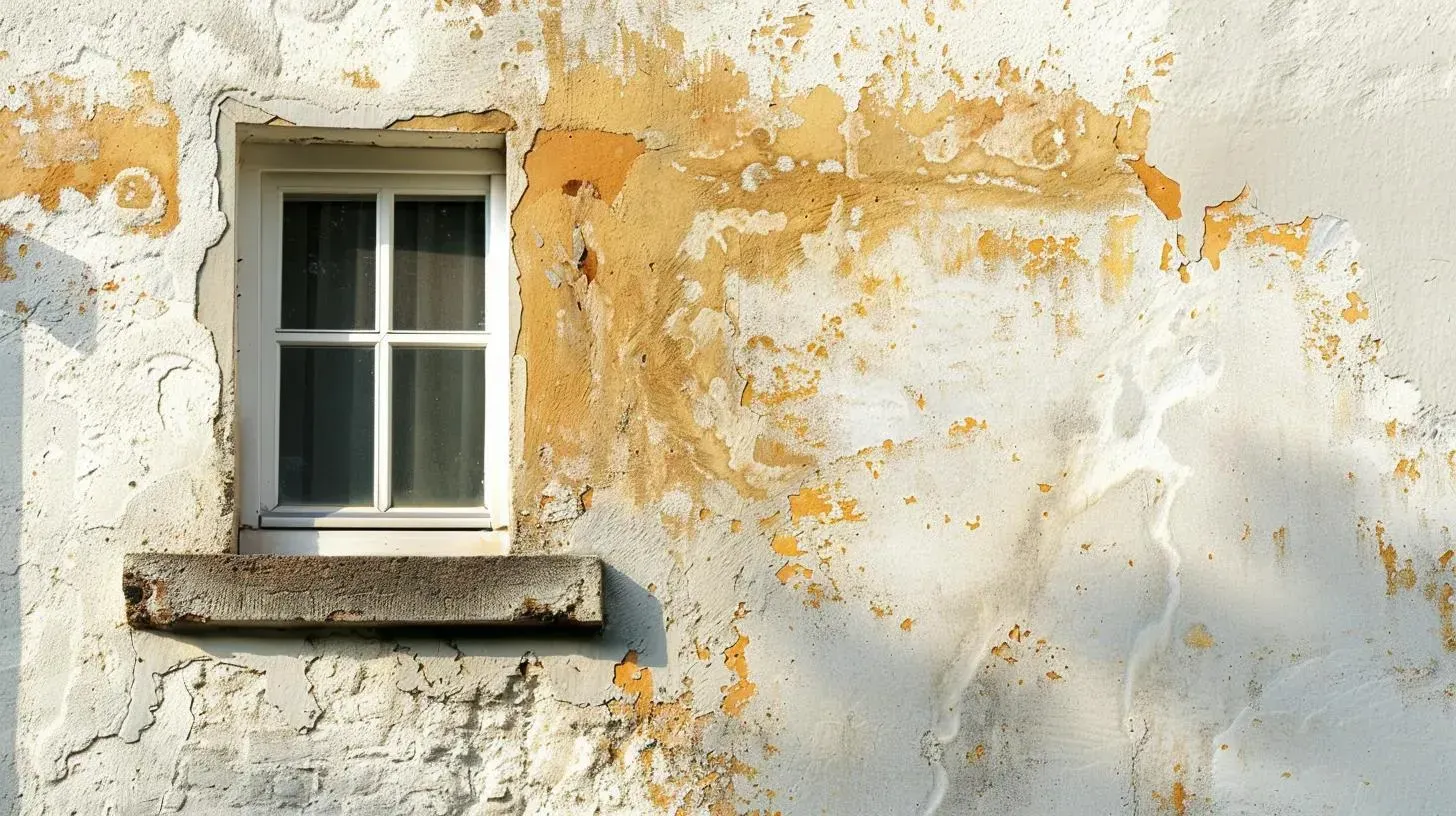
A useful inspection should go beyond what is visible. Water damage often spreads into wall bottoms, subfloors, insulation, cabinets, trim, ceilings, and adjacent rooms before the full path shows on the surface.
That is why moisture mapping matters. ATI Restoration describes moisture mapping as the systematic process of identifying and mapping the areas affected by water intrusion or excess moisture so the remediation plan can be based on more than the visible damage alone.
If the source is still unclear after the first walkthrough, this is the related bridge page on the site: Accountable Home Services - Leak Detection.
What happens after the inspection is finished?
After the inspection, you should understand what areas are affected, what the likely source is, what immediate safety or contamination issues exist, and what the recommended next steps are. Those steps may include extraction, drying, dehumidification, cleaning, selective removal of damaged materials, further leak tracing, or repair coordination.
The better inspections do not just list damage. They connect the findings to a practical action plan. That is also how the visit supports documentation if you are filing a claim or trying to explain what happened later.
ATSLab’s overview of water-damage inspection notes that the process is used to determine origin and cause, document damages, and provide clients the information needed before restoration begins.
How do you tell whether the inspection was thorough?
A thorough inspection feels specific, not generic. The inspector should be able to explain what appears wet, what may still be wet, what seems to be the source, what needs confirmation, and what the next phase of work would involve.
Signs of a strong inspection
- The source question was addressed, even if the exact cause still needs follow-up.
- Hidden-spread areas were checked, not just the obvious stain or puddle.
- Moisture-related tools were used where appropriate.
- Safety concerns such as contamination, electrical issues, or unstable materials were discussed.
- The affected rooms and materials were explained clearly.
- The next steps were specific, not vague.
- Documentation, photos, or notes were captured.
- The inspection separated what is confirmed from what is still suspected.
If the drying path is clearly the next phase, this is the strongest bridge page on the site: Accountable Home Services-Structural Drying.
What does this look like in real life?
The inspection process makes more sense when you compare two common homeowner situations.
Scenario 1: Ceiling leak with an uncertain source
A homeowner notices a ceiling stain below an upstairs bathroom. The stain looks old, but the homeowner is not sure whether the leak is still active. A strong inspection does not stop at looking up at the stain. It includes questions about bathroom use, visual review of the room above, moisture checks around the ceiling area, and a discussion of whether leak detection or opening limited areas may be needed next.
In that situation, the value of the inspection is not just confirming that damage exists. It is narrowing down whether the problem is active, repeated, or already spread beyond the visible mark.
Scenario 2: Appliance leak already repaired
A washing machine hose failed, a plumber replaced it, and the visible water is gone. But the threshold and baseboard still seem off. A strong inspection now focuses less on source tracing and more on what remains wet: flooring edges, wall bases, nearby rooms, and the ceiling below if the laundry is upstairs.
In that case, the inspection helps answer whether the property still needs structural drying or whether the issue is already resolved.
What mistakes do homeowners make around the inspection stage?
The most common mistake is thinking an inspection is unnecessary because the source was already fixed. Fixing a pipe, hose, or appliance does not tell you how far the water spread or whether the structure is actually dry.
Another common mistake is assuming a quick glance is the same thing as an inspection. A real inspection should connect the source, spread, moisture status, and next steps.
A third mistake is not sharing the timeline. When the inspector does not know whether the water was found immediately or after many hours, it becomes harder to judge hidden spread and urgency accurately.
Red flags that suggest the inspection may have been too shallow
- No questions were asked about source, timing, or spread
- Only the visible damaged spot was discussed
- No moisture-related tools were used even though hidden spread was likely
- The explanation stayed vague, such as “just let it dry” with no measurements or plan
- No next-step guidance was given
- No documentation, photos, or notes were captured
- The inspection ignored rooms below, adjacent materials, or likely migration paths
What is the simplest rule of thumb?
A good water damage inspection should answer four practical questions before anyone leaves: where the water likely came from, where it went, what is still wet, and what should happen next. If those questions are still unclear after the visit, the inspection probably was not thorough enough.
If you want a Denver team to inspect the damage and explain the next phase clearly check out-Water Damage Restoration.
FAQ: what happens during a water damage inspection?
Does a water damage inspection include moisture readings?
Guidance on moisture detection and moisture mapping from Tramex explains that a thorough inspection often goes beyond visible surfaces, especially when hidden spread is possible, and relies on moisture-related tools to identify what cannot be seen.
Will the inspector tell me where the leak came from?
They should address the likely source or explain what still needs confirmation. In some cases, further leak detection or limited opening may still be needed.
Is thermal imaging always part of a water damage inspection?
Not always. It is a useful tool in some situations, but it is not required for every loss and it does not confirm moisture by itself. Check- Water Damage/moisture-mapping.
What should I have ready before the inspection?
A basic timeline, photos if you took them, any repairs already completed, and notes about when and where the water was first noticed make the inspection more useful.
Does an inspection mean restoration work has to start immediately?
Not always, but it should tell you whether immediate extraction, drying, or further source investigation is needed.
Final takeaway
A water damage inspection should do more than confirm that something got wet. It should explain the likely source, the real extent of the damage, the hidden-moisture risk, and the next actions needed to protect and restore the property. The stronger the inspection, the less guesswork you are left with afterward.
If you need emergency water damage restoration or inspection help in Denver, use the main service page this article is designed to support: Accountable Home Services-Water Damage Restoration.