What Should You Check After a Dishwasher Leak Under Cabinets or Flooring?
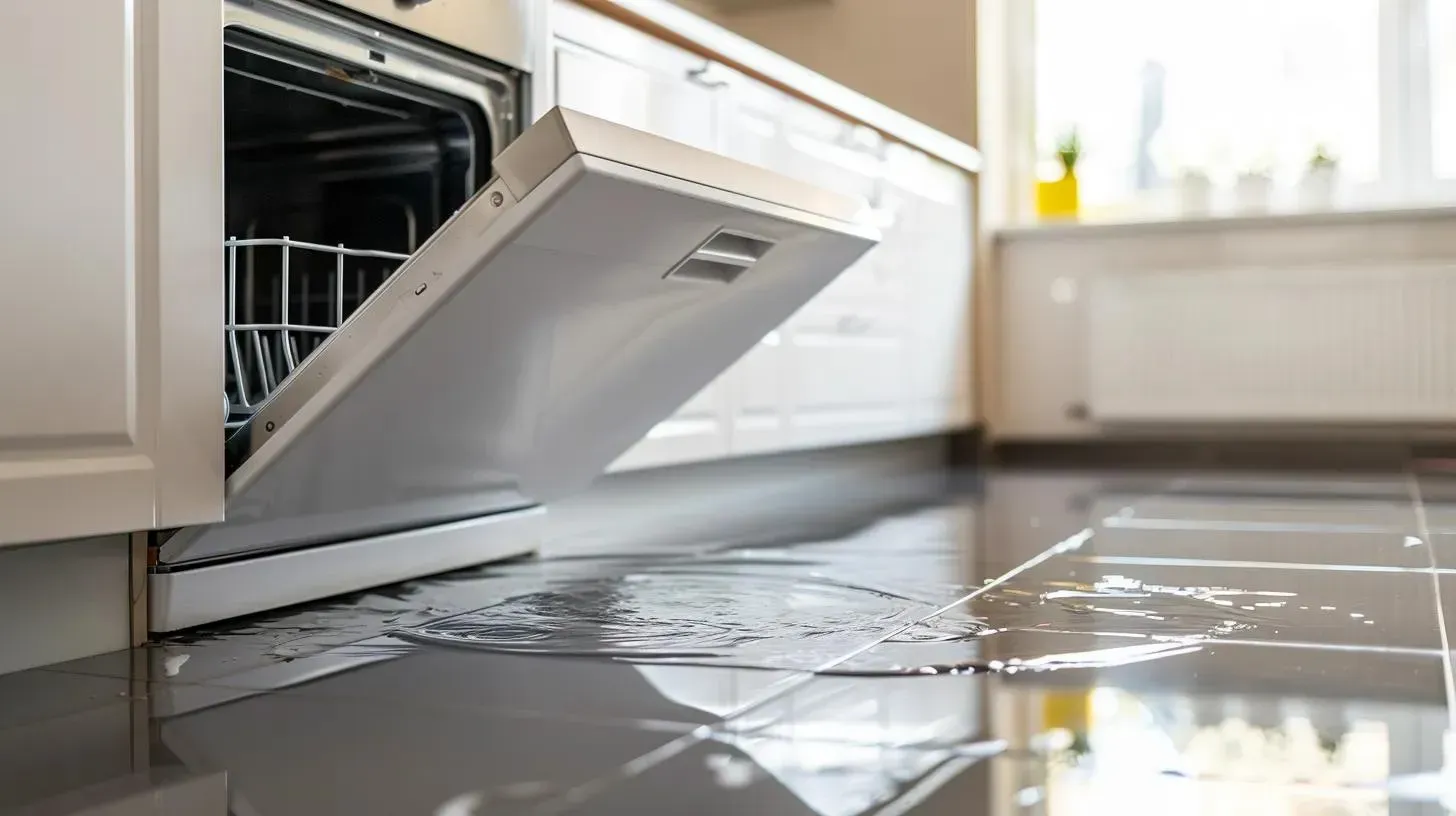
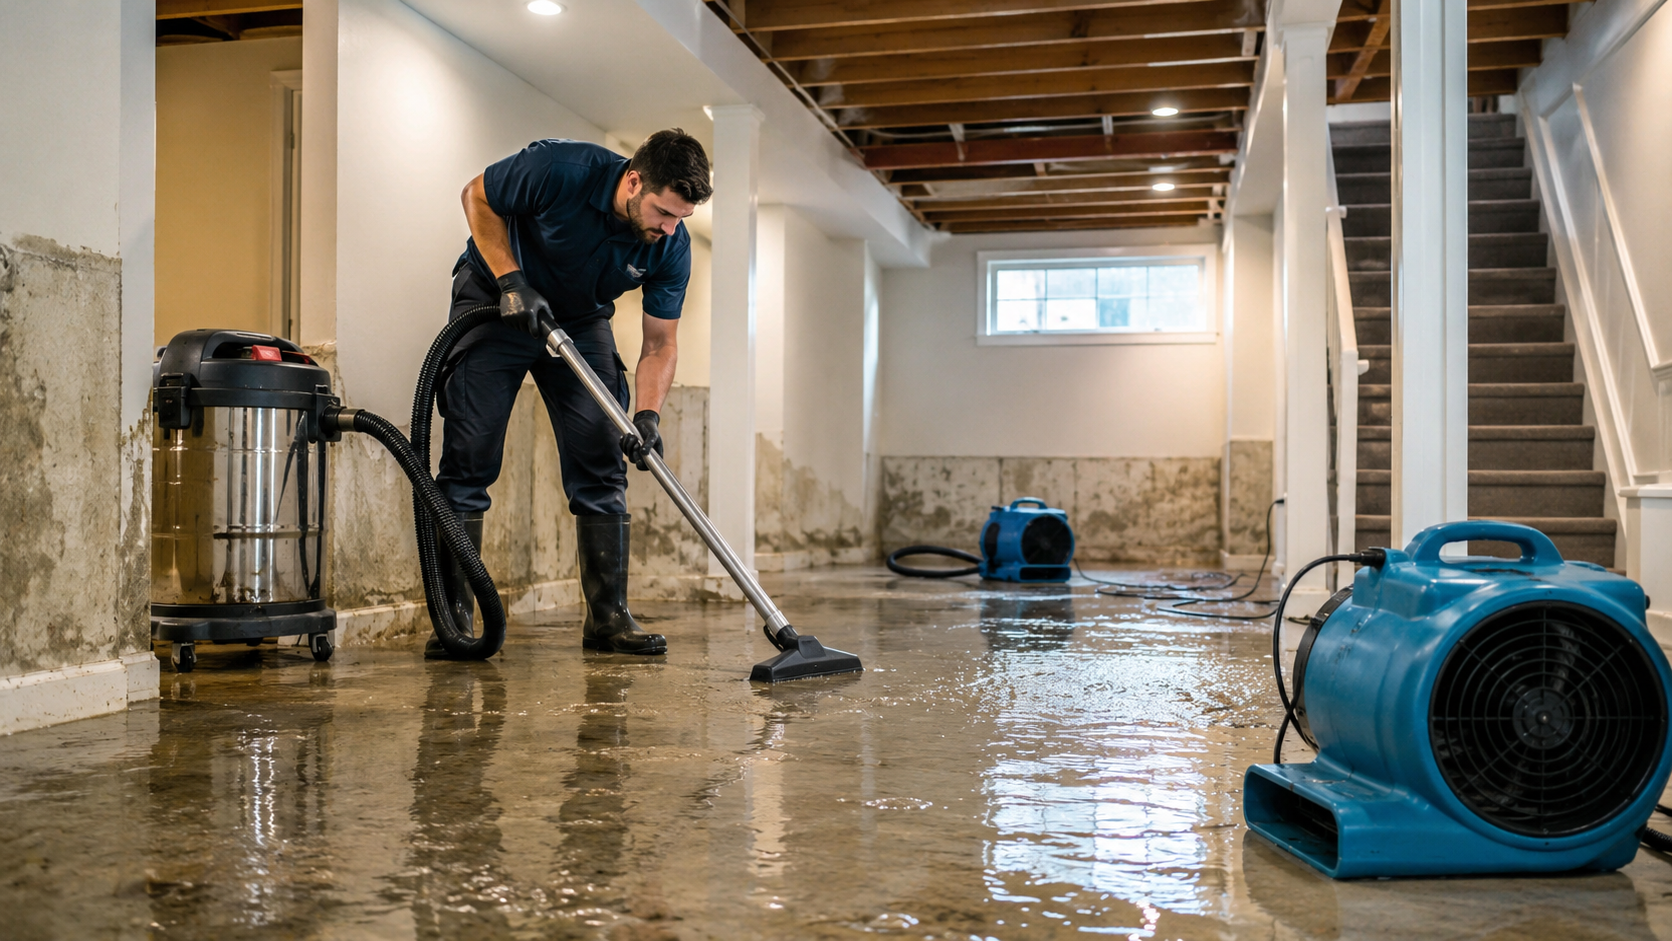
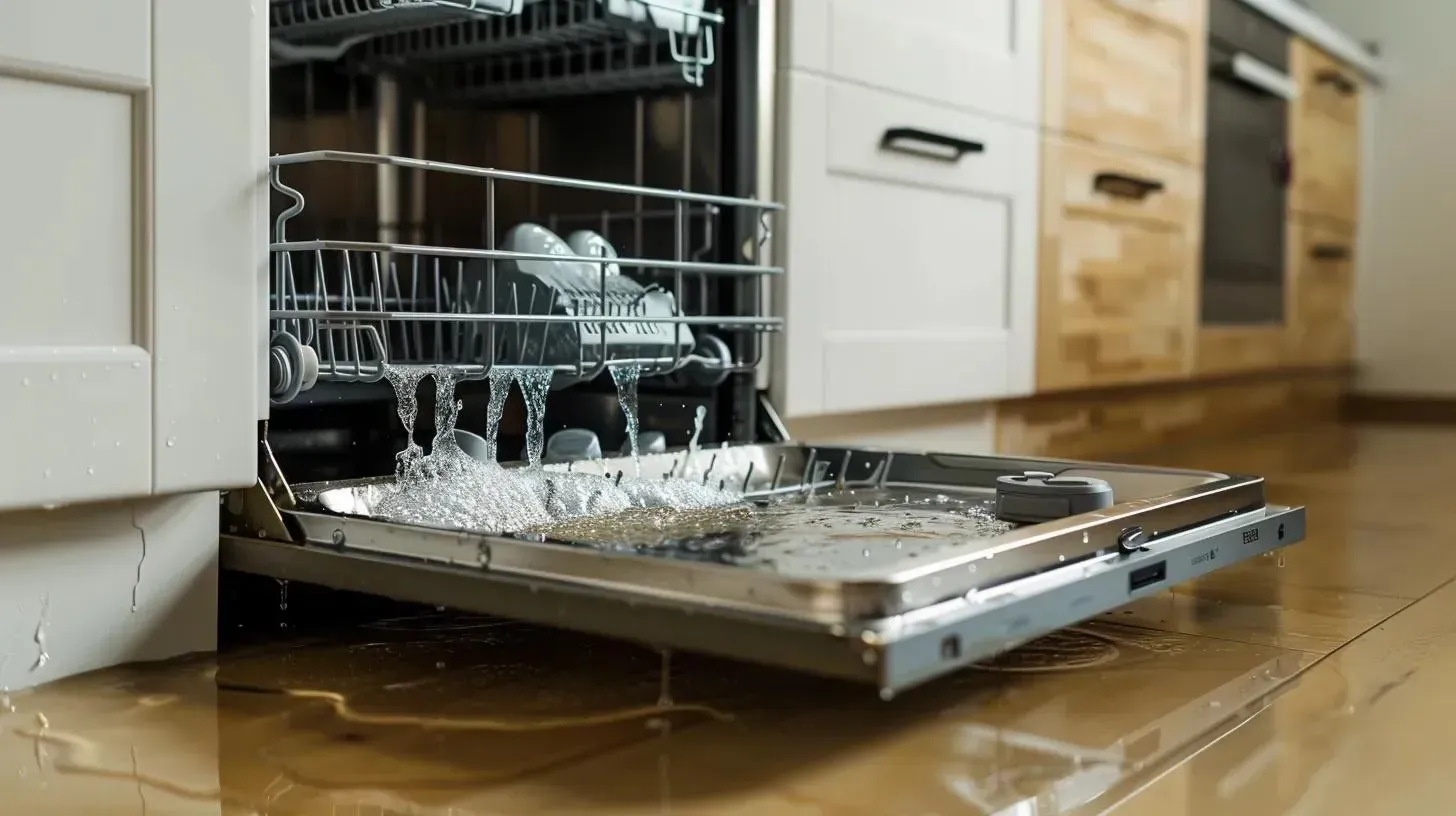
A dishwasher leak is rarely just a puddle problem. By the time water shows up at the front of the unit, the bigger question is often where it already moved next: under the dishwasher, into cabinet side panels and toe-kicks, along flooring seams, or into the subfloor and room below.
This guide is about what to inspect after a dishwasher leak when cabinets or flooring may be involved. It is not a full appliance-repair tutorial, a kitchen remodel article, or a water-damage pricing guide. If the leak has already affected the structure and you need emergency help in Denver, start here: Accountable Home Services-Water Damage Restoration.
What should you check first after a dishwasher leak?
Start with source control and safety, then inspect the places water usually reaches before it becomes obvious. If the dishwasher is still running or the leak may still be active, stop the cycle, shut off the water supply if you can do it safely, and avoid touching anything electrical if water is present near outlets, cords, or powered appliances.
Once the immediate risk is controlled, check the floor directly in front of and under the dishwasher, the toe-kick area, the cabinet sides next to the dishwasher, the flooring seams near the unit, and the sink-base cabinet if the water-supply or drain connections may be involved. Those are usually the fastest places for hidden moisture to show itself.
| Area to check | What you are looking for | Why it matters | What it may mean |
|---|---|---|---|
| Floor in front of and under the dishwasher | Puddling, dampness, staining, soft spots | This is often the first visible collection point | The leak may be active or recurring |
| Cabinet side panels and toe-kicks | Swelling, bubbling finish, discoloration, softness | Cabinet materials can wick water quickly | Moisture may have been present longer than you thought |
| Flooring seams and transitions | Cupping, lifting edges, separated joints, spongy feel | Water often migrates under surface layers | Hidden moisture may be under the visible floor |
| Sink-base cabinet and nearby plumbing area | Dampness around supply or drain connections | Some leaks appear to come from the dishwasher but start at nearby connections | The source may be adjacent, not inside the unit |
| Ceiling or room below, if the dishwasher is upstairs | Stains, drips, soft drywall | Water can travel vertically before it is noticed | The damage may already extend beyond the kitchen |
Which cabinet areas are most likely to show damage first?
The first cabinet signs are usually low to the ground. Look at the side panels immediately beside the dishwasher, the toe-kick boards, the cabinet bottoms near the floor, and the joints where panels meet the floor.
These areas matter because cabinet materials often absorb water from the bottom up. A panel can look normal at eye level while the lower edge is already swelling, softening, or discoloring. In many kitchens, the toe-kick area shows the problem before the cabinet face does.
How do you check whether the floor is wet below the surface?
Surface dryness does not mean the floor assembly is dry. A dishwasher leak can move under vinyl edges, laminate seams, wood-floor joints, baseboards, and underlayment long after the visible puddle is gone.
The goal is not to tear apart the kitchen on your own. The goal is to look for practical signs that water moved past the surface layer.
Floor-check checklist
- Check for soft or spongy feeling underfoot near the dishwasher.
- Look for cupping, lifting, bubbling, or gaps in floor seams.
- Inspect the floor transition into the next room.
- Check around baseboards and quarter-round for staining or swelling.
- Look for dampness under nearby mats or rugs.
- Check whether the floor in front of the dishwasher dries unevenly or stays cool and damp.
- If the kitchen is above another level, inspect the ceiling below.
- Take photos before moving the appliance or changing the room setup.
If the water appears to have spread under flooring or into structural materials, the appropriate next step is
professional structural drying services.
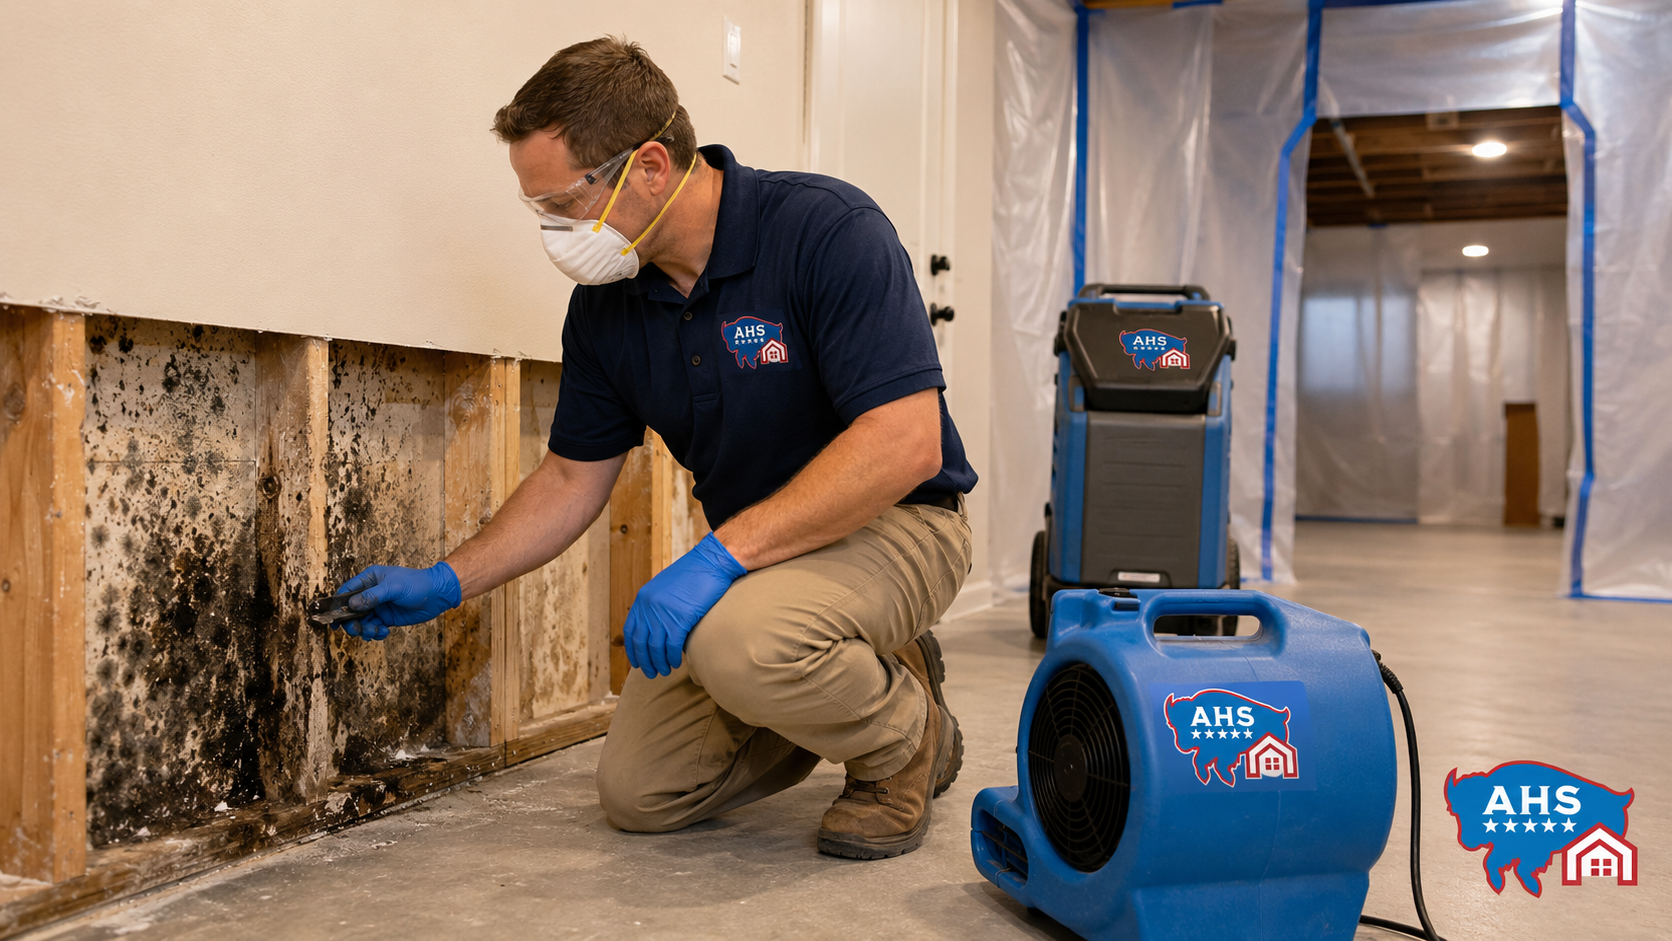
What signs suggest the leak may be older or hidden?
A hidden dishwasher leak often leaves quieter signs than an obvious overflow. Musty odor, repeated dampness near the toe-kick, cabinet finish bubbling, warped trim, rust on nearby hardware, and recurring soft spots in the floor can all point to moisture that has been present longer than one cycle.
That is part of what makes dishwasher leaks costly. The visible water may be minimal while the repeated moisture behind or below the unit has already affected cabinets, floor layers, or wall bases.
Guidance from
appliance manufacturers such as Whirlpool and
Maytag on diagnosing dishwasher leaks points to frequent causes like damaged supply lines, clogged or incorrectly installed drain hoses, leveling issues, and worn door seals or latches—one reason a “small mystery puddle” near a dishwasher should not be ignored.
How do you tell whether the leak came from the dishwasher itself or nearby plumbing?
Not every leak near a dishwasher is caused by the appliance itself. The supply connection, drain hose, garbage-disposal connection, sink-base plumbing, and nearby shutoff valves can all create water that shows up near the dishwasher opening.
A practical check is to inspect the sink-base cabinet and visible plumbing connections first, then look at the dishwasher’s toe-kick and the floor directly beneath the front edge. If the water pattern does not clearly point to one source, the safest assumption is that you may have both a source problem and a water-spread problem to solve.
If the source of the water is uncertain or moisture may be trapped behind finished surfaces, the appropriate next step is
professional leak detection services.
What does the right inspection sequence look like?
A short inspection sequence helps you avoid missing the most important clues while the room is still changing.
| Inspection step | What to do | Why it comes at this point | When it changes the response |
|---|---|---|---|
| 1. Stop the cycle and water supply | Shut down the machine and water if safe | Prevents more spread while you inspect | If you cannot stop the leak safely, source control becomes urgent |
| 2. Check for electrical risk | Avoid wet outlets, cords, and powered appliances | Safety comes before cabinet or floor checks | If water is near powered equipment, step back until safe |
| 3. Check visible spread | Inspect floor, toe-kicks, cabinet sides, and nearby room edges | These areas show early migration | If multiple materials are wet, restoration becomes more likely |
| 4. Check adjacent-source points | Look under the sink and around visible plumbing connections | The source may not be inside the dishwasher | If source is unclear, diagnosis becomes part of the next step |
| 5. Check below and behind | Look for signs in the room below or wall bases nearby | Vertical or hidden spread changes the scope fast | If there are signs below, assume the event is larger than it looks |
What does this look like in real life?
Real kitchen leaks are rarely obvious in the moment, which is why examples are often more useful than abstract advice.
Scenario 1: Minor leak noticed right after a cycle
A homeowner sees a small puddle at the front-right corner of the dishwasher after a wash cycle. The water supply is shut off, the floor is wiped, and the first inspection shows no swelling in the adjacent cabinet panel and no dampness in the room below.
In that case, the immediate issue may still be limited, but the right next step is still to check the toe-kick, flooring seams, and sink-base cabinet before assuming it was just a one-time spill. A leak that looks minor at the front edge can still have traveled underneath.
Scenario 2: Soft flooring and swollen cabinet edge
A homeowner notices the floor near the dishwasher feels soft and the lower cabinet edge next to the unit looks slightly swollen. There is no big puddle at the moment, but the signs suggest the leak did not start today.
That is no longer just an appliance question. It is a hidden-moisture and material-damage question, which means the next step is likely inspection, drying, and a source diagnosis rather than another normal wash cycle.
What mistakes make dishwasher-leak damage worse?
The most common mistake is judging the problem only by the visible puddle. Water near dishwashers often moves into low, enclosed, or layered areas that stay hidden after the surface has been wiped dry.
Another common mistake is focusing only on the appliance and skipping the surrounding materials. Cabinets, floor layers, toe-kicks, trim, and the room below may tell you more about the real scope of the leak than the front of the dishwasher does.
A third mistake is pulling the dishwasher out or reaching near powered components without thinking about electrical safety first. Water and electricity turn a kitchen leak into something more serious very quickly.
Red flags that mean you should not wait
- Cabinet sides or toe-kicks look swollen, bubbled, or soft
- Flooring near the dishwasher feels spongy or starts to cup or lift
- The same damp area reappears after multiple cycles
- There is a musty odor near the dishwasher or sink-base cabinet
- Water is visible in the room below or at adjacent wall bases
- You are unsure whether the leak is from the dishwasher or nearby plumbing
- The leak was likely present for more than one cycle before discovery
The Ready.gov flood safety guidance advises people not to touch electrical equipment if it is wet or if they are standing in water, and to turn off electricity if it can be done safely.
When does this become a restoration issue instead of just an appliance issue?
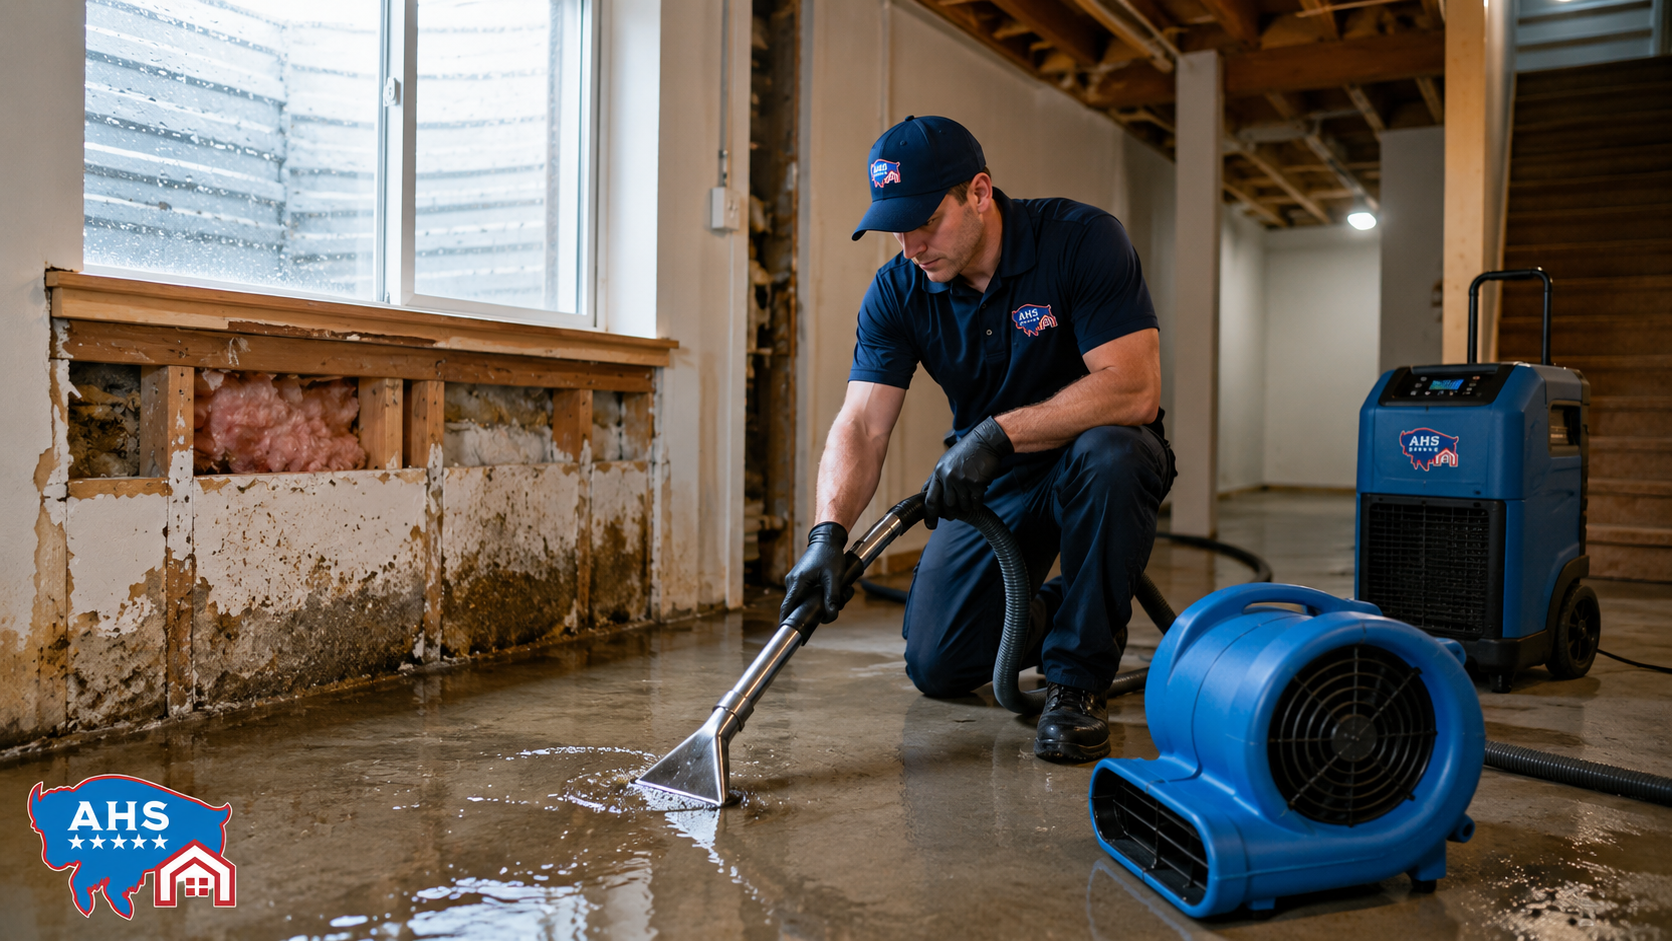
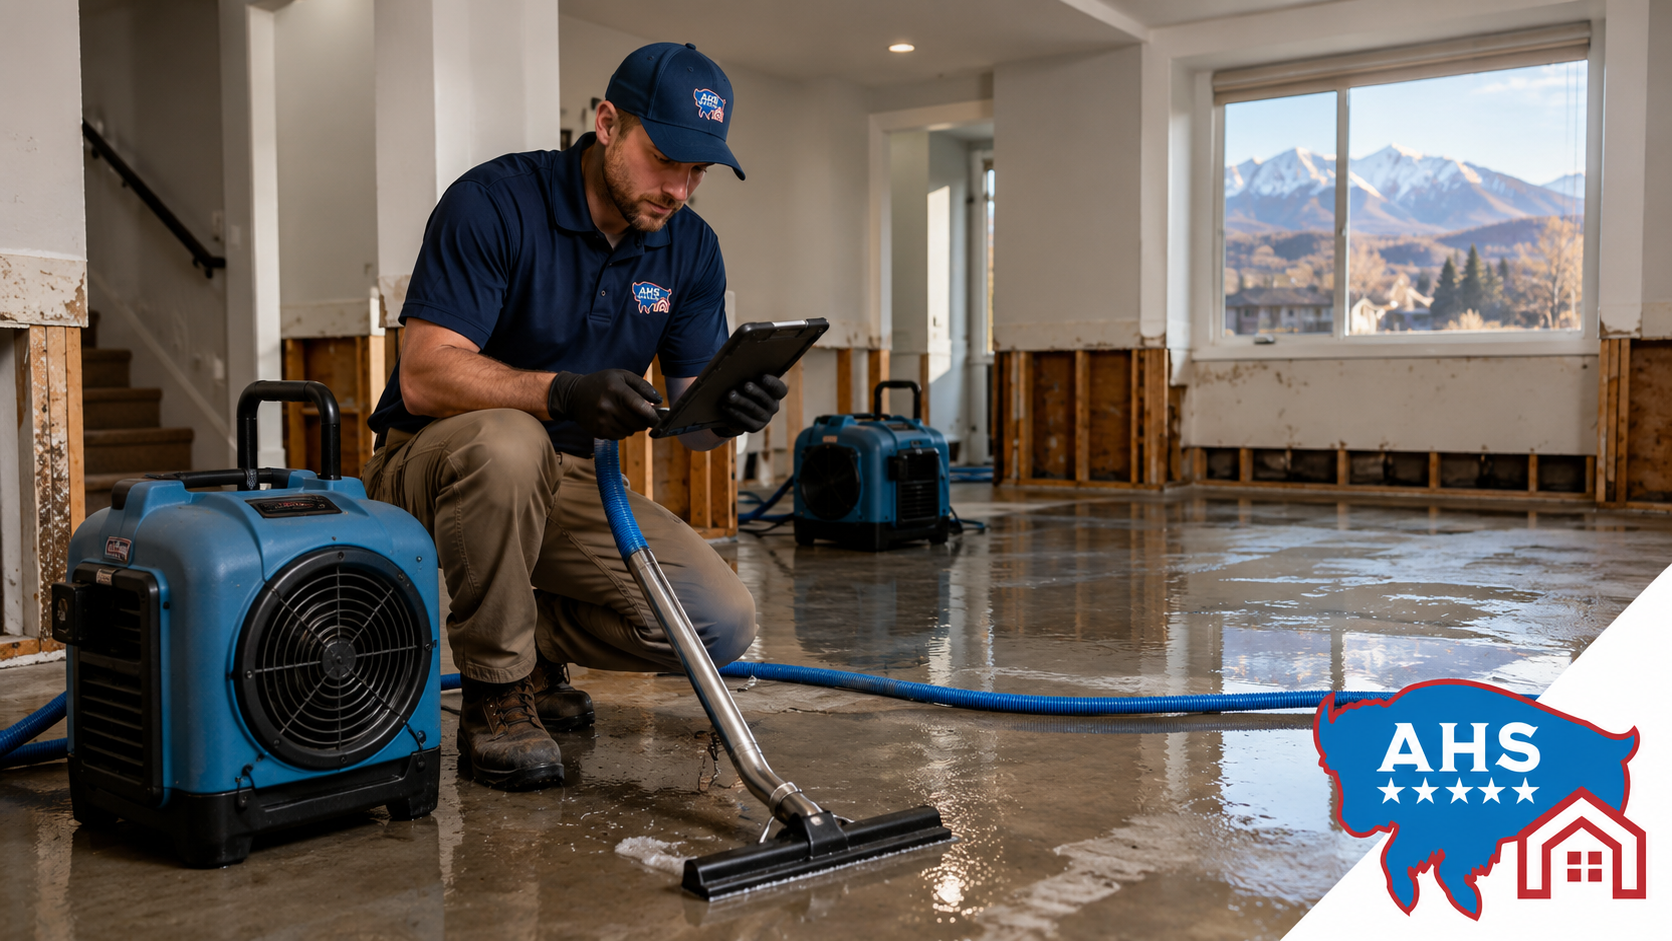
A dishwasher leak becomes a restoration issue when the water moved beyond a simple wipeable surface and into materials that can trap moisture or deteriorate over time. Cabinet panels, toe-kicks, underlayment, wood flooring, laminate seams, wall bases, and the level below are the usual turning points.
That distinction matters because repairing the dishwasher and drying the kitchen are different jobs. Even if the source is fixed, the surrounding materials may still need moisture inspection, drying, or selective removal.
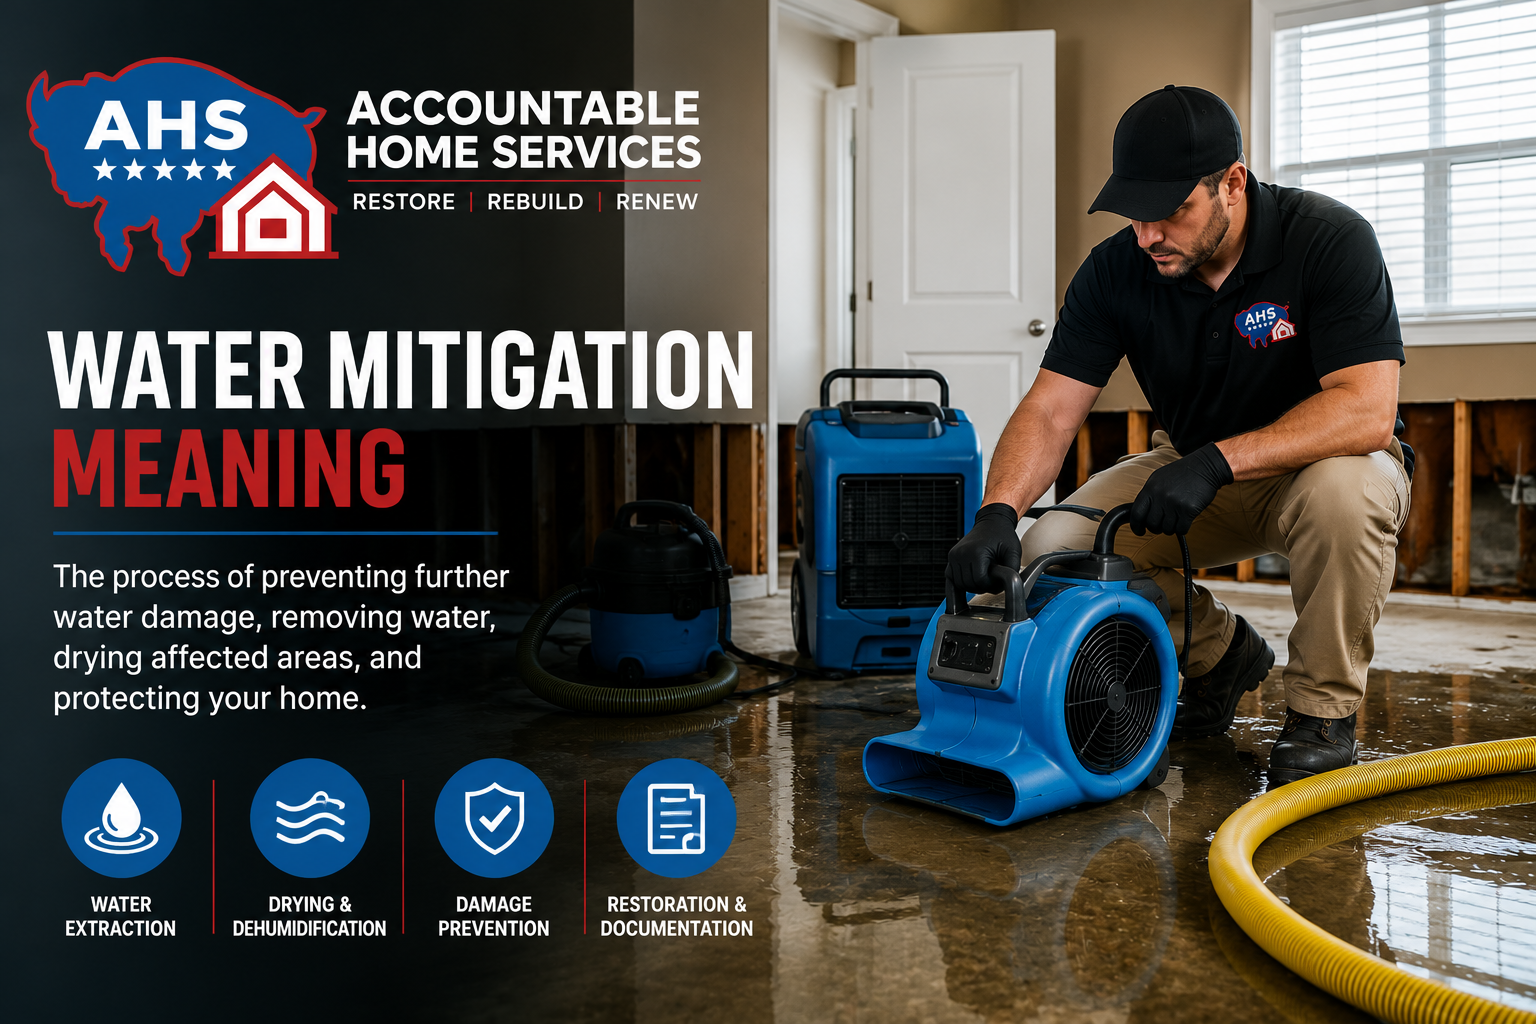
If the leak has already affected cabinets, flooring, or nearby materials, the appropriate next step is water damage restoration services, which this article is designed to support.
FAQ: what should you check after a dishwasher leak?
What part of the cabinet usually shows water damage first?
Usually the lowest areas first, especially the side panel edge next to the dishwasher, the toe-kick, and cabinet bottoms near the floor.
Can a dishwasher leak damage the floor without a big puddle?
Yes. Water can move under flooring seams, vinyl edges, underlayment, and trim even when the visible surface water seems minor.
Should I pull the dishwasher out right away?
Not automatically. Safety comes first, especially if there is water near power. If you are not sure the area is safe or you suspect hidden spread, do not turn this into a DIY removal project too quickly.
What if the floor feels dry on top?
That does not rule out hidden moisture below the surface. Dishwasher leaks often show up first through soft spots, seam movement, or cabinet swelling rather than obvious standing water.
Is this always a dishwasher problem and not a plumbing problem?
No. Some leaks that appear to be coming from the dishwasher are actually tied to supply, drain, or under-sink connections nearby.
Final takeaway
After a dishwasher leak, the most important checks are the low, hidden, and layered areas: under the unit, cabinet side panels, toe-kicks, flooring seams, nearby plumbing points, and the room below if the kitchen is upstairs. The reason these leaks cause outsized damage is that the visible water is often the least important part of the story.
If you need emergency water damage restoration in Denver after a dishwasher leak, See: Accountable Home Services-Water Damage Restoration.