BLOG
What to Do After a Washing Machine Overflow — and What Usually Gets Wet First
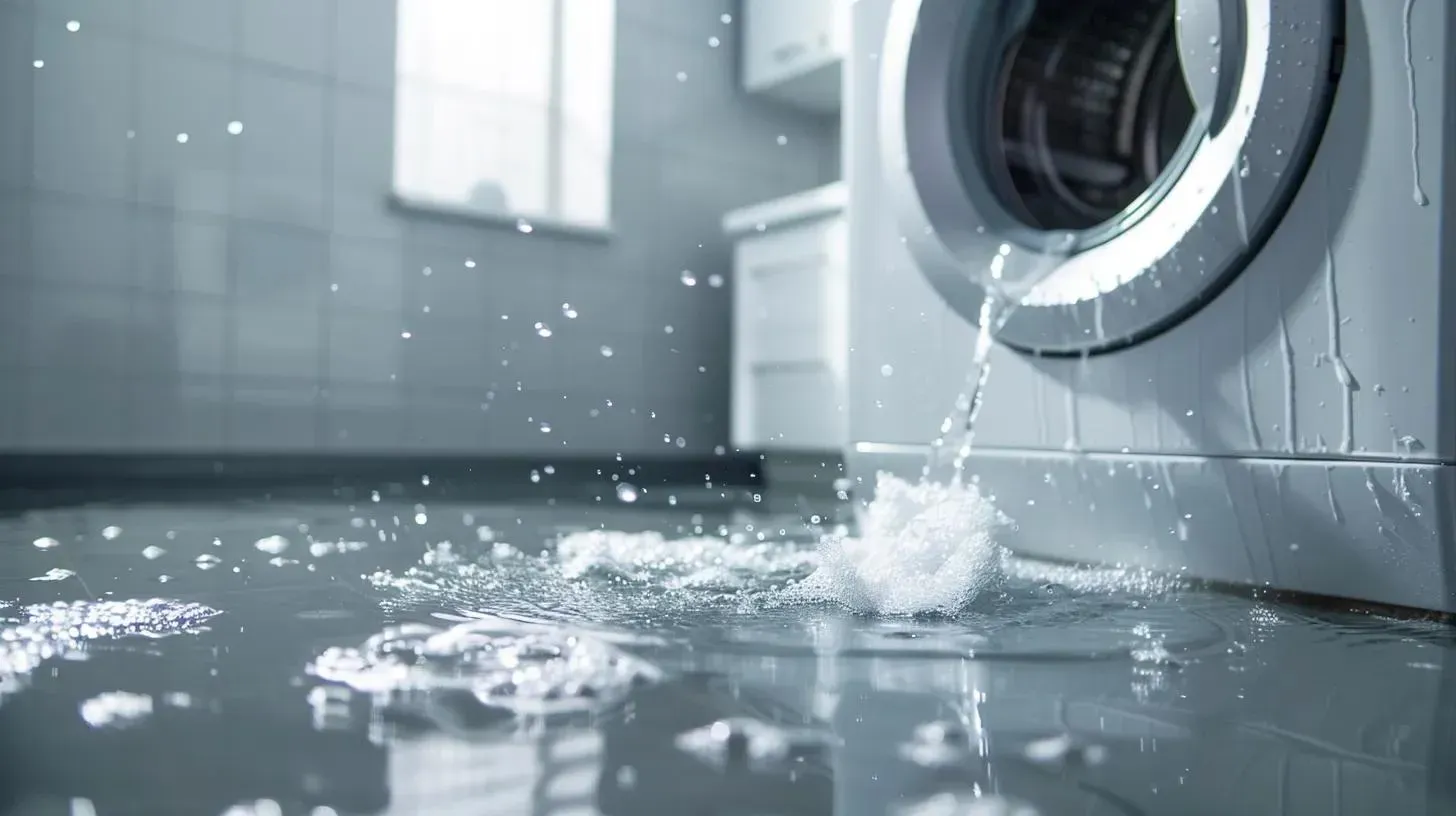
A washing machine overflow can look like a simple laundry-room puddle for the first few minutes, but the real problem is often where the water moves next. The priority is to stop the source, avoid electrical risk, remove visible water quickly, and check the first areas where overflow water tends to spread.
This guide is about immediate response and water-path awareness after a washing machine overflow. It is not an appliance repair manual, a full insurance article, or a generic whole-house flood guide. If the overflow has already affected flooring, drywall, cabinets, or the room below, start here: Accountable Home Services-Water Damage Restoration.
What should you do first after a washing machine overflow?
Start by stopping the machine and the water source, then deal with safety before cleanup. If there is water near outlets, cords, a gas dryer, or other electrical equipment, do not step into pooled water and do not touch wet electrical equipment.
Once the area is safe to approach, turn off the washer, shut off the hot and cold supply valves behind it if you can reach them safely, and unplug the unit only if you can do that without standing in water. After that, begin removing standing water and keeping it from spreading into nearby rooms.
| What is happening | First move | Why it matters | Next step |
|---|---|---|---|
| Water is still actively flowing from the washer or supply lines | Stop the machine and shut off the supply valves | Stopping the source limits spread | Remove standing water and check nearby finishes |
| Water is near outlets, cords, or appliances | Treat it as an electrical-risk situation first | Standing water and electricity are a dangerous mix | Shut off the breaker if safe, then continue cleanup |
| The laundry floor is wet but the overflow looks contained | Remove visible water quickly | Early extraction reduces migration into trim, seams, and adjacent rooms | Check wall bases, thresholds, and under nearby items |
| The overflow happened upstairs | Check the floor below right away | Water can travel into the ceiling and wall cavities below | Look for stains, drips, or sagging materials |
| You are not sure why it overflowed | Focus on stopping spread first, diagnosis second | The appliance problem and the water-damage problem are related but not identical | Arrange repair plus drying or restoration as needed |
What parts of the room usually get wet first?
The first wet zone is usually the floor immediately around and behind the washer, especially near the supply hoses, drain hose, and wall connection. From there, water often moves to the lowest path available, which may be the wall base, the edge of the laundry room, the threshold into the next room, floor registers, or seams where flooring materials meet.
In a laundry room with vinyl, laminate, baseboards, cabinetry, or an adjacent hallway, the visible puddle is often only the beginning. Water can track under the machine, under mats, along baseboard edges, beneath floating-floor seams, and into nearby rooms before it looks dramatic on the surface.
If the washer is on an upper floor, the next place to check is the ceiling below. Water can move through subfloor joints, around plumbing penetrations, and along framing before it becomes visible downstairs.
How do you check the likely spread areas without losing time?
Do not turn the response into a slow inspection project. Instead, use a quick pattern-based check of the areas most likely to hold water first.
Overflow check checklist
- Look at the floor directly in front of, behind, and under the washer.
- Check the wall base behind the machine and both side walls if the laundry room is tight.
- Check the threshold or doorway leading out of the laundry area.
- Lift nearby mats, baskets, or anything sitting directly on the floor.
- Look at flooring seams, edges, and transitions into adjacent rooms.
- If there is a floor vent nearby, check whether water reached it.
- If the washer is upstairs, inspect the ceiling below for stains, drips, bubbling paint, or sagging drywall.
- Feel for dampness at baseboards, toe-kicks, or wall bottoms if it is safe to do so.
- Take quick photos before cleanup changes the condition.
If the water has already spread beyond a simple surface cleanup, the most relevant next step is professional water extraction and removal services.
Where do washing machine overflows usually come from?
The source is often one of a few recurring issues: a loose or damaged supply hose, a drain hose problem, a pump or seal issue, oversudsing, or a machine that is out of level. On front-load units, door-seal problems can also show up as floor leaks that look bigger than they are.
This matters because the visible water pattern can give you clues without forcing this article into a repair tutorial. Water showing up during fill may point to supply-side or overfill issues. Water appearing during drain or spin may point more toward drain hoses, pump issues, or a drain-path restriction.
How do you tell whether this is still a small cleanup or now a restoration problem?
A washing machine overflow becomes more than a simple cleanup when the water moved beyond the visible floor surface or sat long enough to soak surrounding materials. The strongest signals are wet baseboards, water under flooring, moisture at wall bottoms, water in nearby rooms, or signs of damage in the ceiling below.
The same is true when the overflow happened while no one was home, when the water reached built-ins or cabinets, or when the room has layered materials that are hard to dry thoroughly with household airflow alone. In those cases, the question is no longer just how to mop it up. The question is whether hidden moisture is still trapped in the structure.
Quick decision guide
| Sign you notice | What it likely means | DIY cleanup may still be enough? | When professional help is more likely |
|---|---|---|---|
| Small puddle limited to hard flooring, found immediately | Water may still be mostly surface-level | Sometimes, yes | If it reached seams, trim, or adjacent rooms |
| Wet baseboards or water under flooring edges | Water likely moved beyond the visible surface | Less likely | Moisture checks and drying become more important |
| Drips or stains on the ceiling below | Vertical spread is already happening | Usually no | Structural drying and inspection are likely needed |
| Water reached cabinets, drywall, or stored items | Multiple materials are affected | Less likely | Extraction, monitoring, and material decisions may be needed |
| Overflow was discovered late | Hidden moisture may already be widespread | Less likely | The longer it sat, the more drying matters |
What does this look like in real life?
Examples make this easier because the right response depends on the water path, not just on the machine.
Scenario 1: Overflow caught within a few minutes
A homeowner hears the washer draining strangely, opens the laundry room, and finds water spreading across tile in front of the machine. The supply valves are easy to reach, the water is stopped quickly, and the visible spread has not yet reached the hallway.
In that case, the immediate focus is safety, fast water removal, checking the wall base and threshold, lifting any nearby mats or baskets, and drying the room thoroughly. The event may still stay in the "contained cleanup" category if no hidden spread is found.
Scenario 2: Overflow discovered after a full cycle
A homeowner comes home to find the washer area wet, the hallway floor damp, and a faint stain starting on the ceiling below. Even if the puddle in the laundry room no longer looks deep, the damage path is already larger than the visible floor area.
That is when the response shifts from simple cleanup to extraction, moisture inspection, and drying. The important question is no longer just how the washer failed. It is how far the water traveled before it was discovered.
What mistakes make washing machine overflow damage worse?
The most common mistake is cleaning only the visible puddle and assuming the job is done. Laundry-room water often follows edges, seams, and openings that are easy to miss during a fast mop-up.
Another common mistake is focusing only on the appliance and forgetting the room below, nearby hallway, or wall bases. The machine may be the source, but the restoration issue is about where the water ended up.
A third mistake is unplugging or moving the washer before checking whether the area is electrically safe. That is a preventable risk in an already stressful situation.
Red flags that mean you should not wait
- Water is near outlets, cords, or appliances
- The overflow happened upstairs and there are signs below
- Flooring seams, baseboards, or wall bottoms are wet
- Water reached cabinets, built-ins, or stored contents
- The machine overflowed while you were away and the timing is unclear
- The room still feels humid or damp after visible cleanup
- You are unsure whether water got under the floor or into the wall base
What should you document before the room changes?
Take a quick video walk-through and a few room-wide photos before major cleanup changes the scene. Capture the washer location, the visible water path, any wet floor transitions, the wall behind the machine if accessible, and any signs in nearby rooms or downstairs.
You do not need a perfect claim file before cleanup starts. You do need enough documentation to show the condition before standing water is removed and wet contents are moved.
If the overflow has already impacted the structure of the property, a logical next step is professional water damage restoration services, which this article is intended to guide readers toward.
What can you do to reduce the risk of the next overflow?
Once the immediate event is controlled, prevention becomes practical. Supply hoses, drain-hose positioning, door seals, detergent use, and machine leveling all affect leak and overflow risk.
That does not mean every homeowner should turn into an appliance technician. It does mean that a quick post-incident review can reduce the chance of repeating the same loss.
FAQ: what to do after a washing machine overflow
Should I turn off the water to the washer?
Yes, if you can reach the hot and cold shutoff valves safely. Stopping the water source comes before detailed troubleshooting.
Should I unplug the washer right away?
Only if you can do it without standing in water or touching wet electrical equipment. If there is any doubt, treat safety as the first priority.
What usually gets wet first after a washer overflow?
Usually the floor around and behind the machine, then wall bases, floor seams, thresholds, and nearby rooms. If the washer is upstairs, the ceiling below can become the next visible area.
Can I just run fans after I mop it up?
Sometimes for a very small, quickly contained event on hard flooring. But if water reached baseboards, seams, subfloor layers, adjacent rooms, or the level below, fans alone may not tell you whether the structure is actually dry.
Does a washing machine overflow always mean the washer is broken?
Not always. Hose issues, drain restrictions, oversudsing, installation problems, and leveling issues can all produce leaks or overflow-like symptoms.
Final takeaway
After a washing machine overflow, the right sequence is simple: stop the source, stay safe around electricity, remove visible water, and check the first places overflow water usually reaches. The reason many laundry-room overflows get underestimated is that the biggest damage is often not the puddle in front of the machine. It is the water that moved under edges, into trim, into nearby rooms, or into the ceiling below.
If you need emergency water damage restoration in Denver after a washing machine overflow, use the main service page this article is designed to support: Water Damage Restoration.
The
Ready.gov flood safety guidance warns that water around outlets or electrical equipment can be dangerous and advises avoiding contact with wet electrical devices or standing water if electrical hazards may be present.
Guidance from
Whirlpool on common causes of a leaking washing machine notes that washer leaks can result from loose or damaged hoses, clogged or kinked drain hoses, pump or tub-seal issues, door-seal problems on front-load machines, oversudsing, or leveling problems.