BLOG
Frozen Pipes in Denver: Prevention Tips and What to Do If a Pipe Bursts
This guide answers one question: How do you prevent frozen pipes in Denver homes, and what should you do immediately if a pipe freezes or bursts?
Not covered: cost estimates, full restoration timelines, or detailed repair instructions.
For the canonical overview of the full service workflow (assessment → drying → documentation), use: Accountable Home Services
Why do pipes freeze in Denver homes?
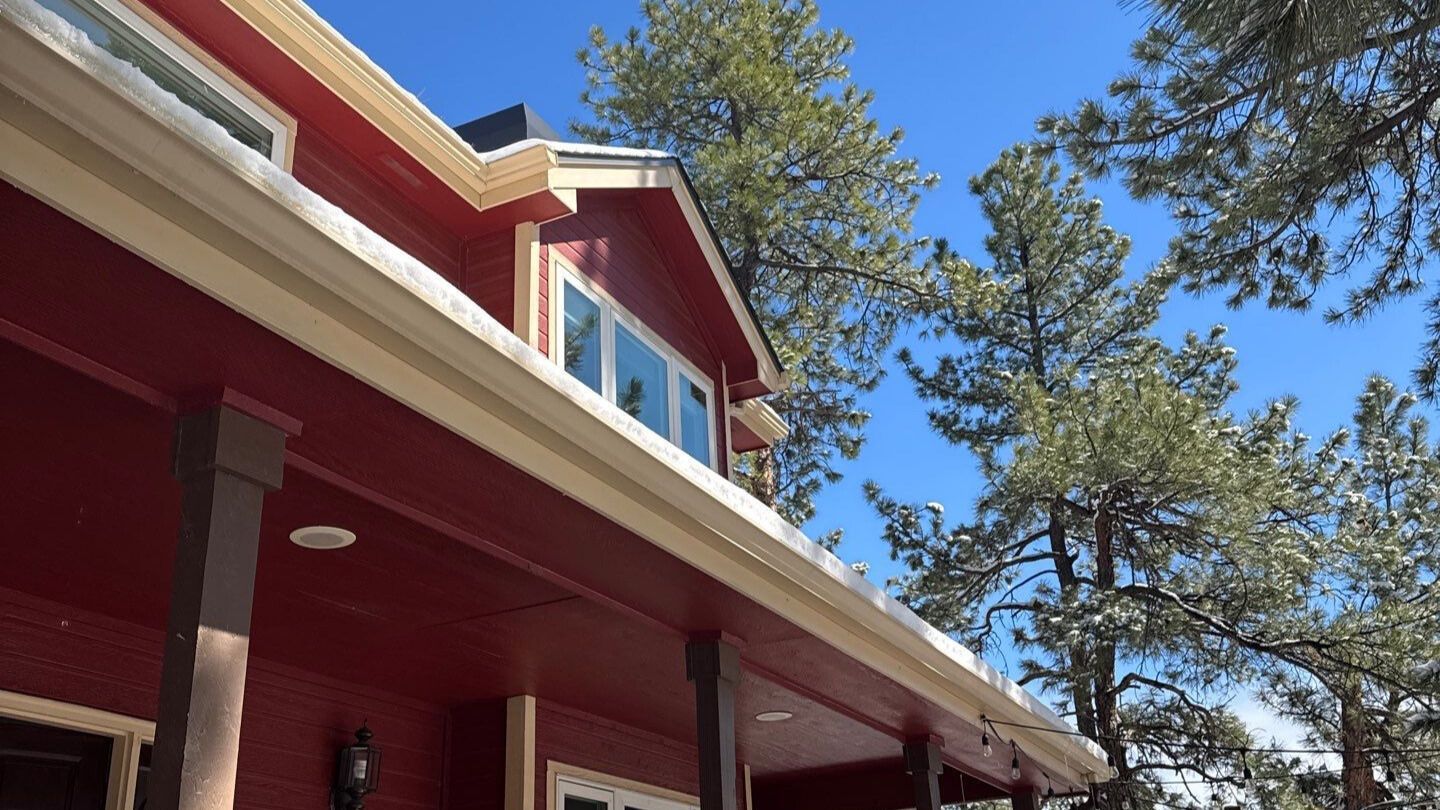
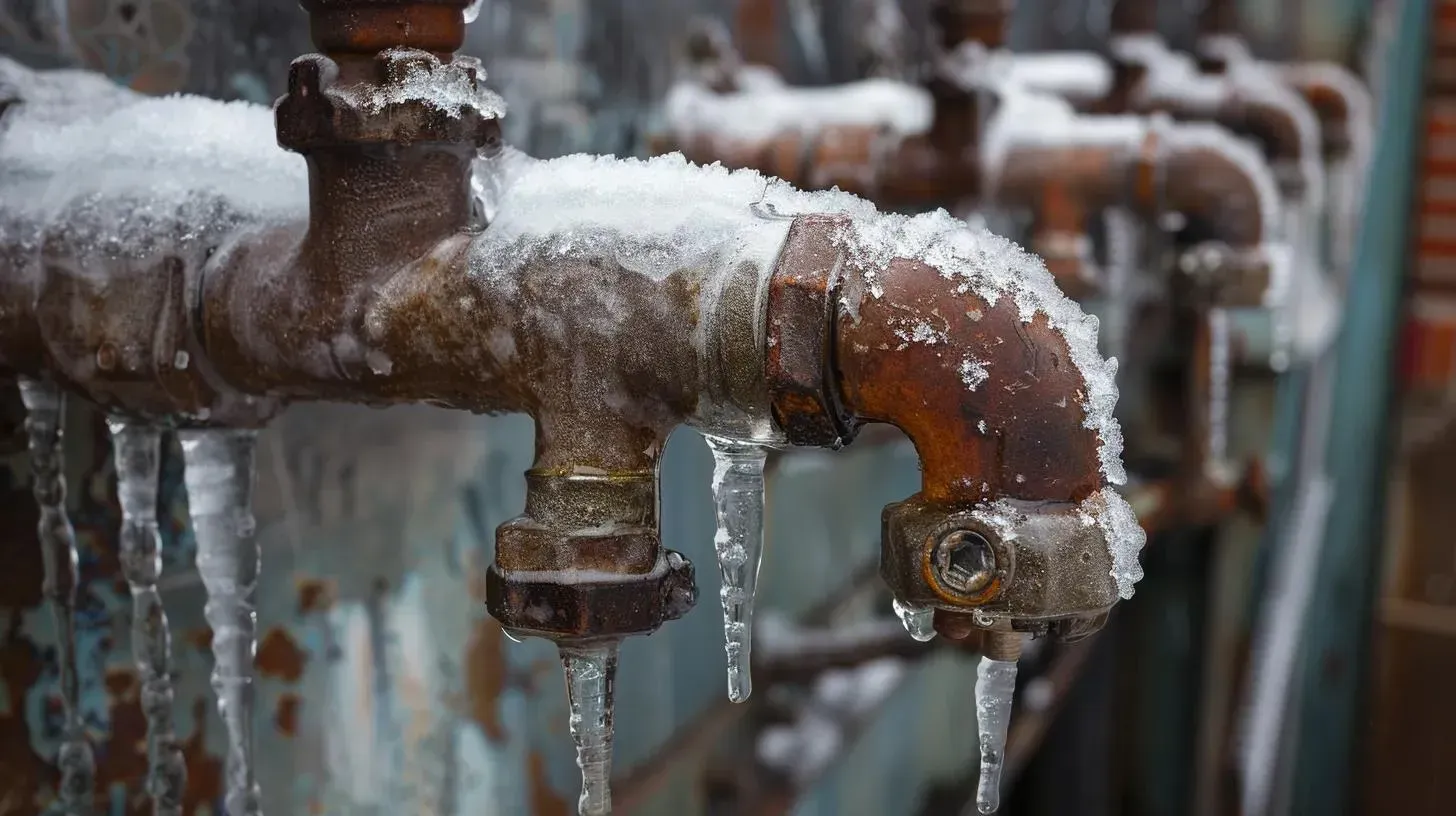
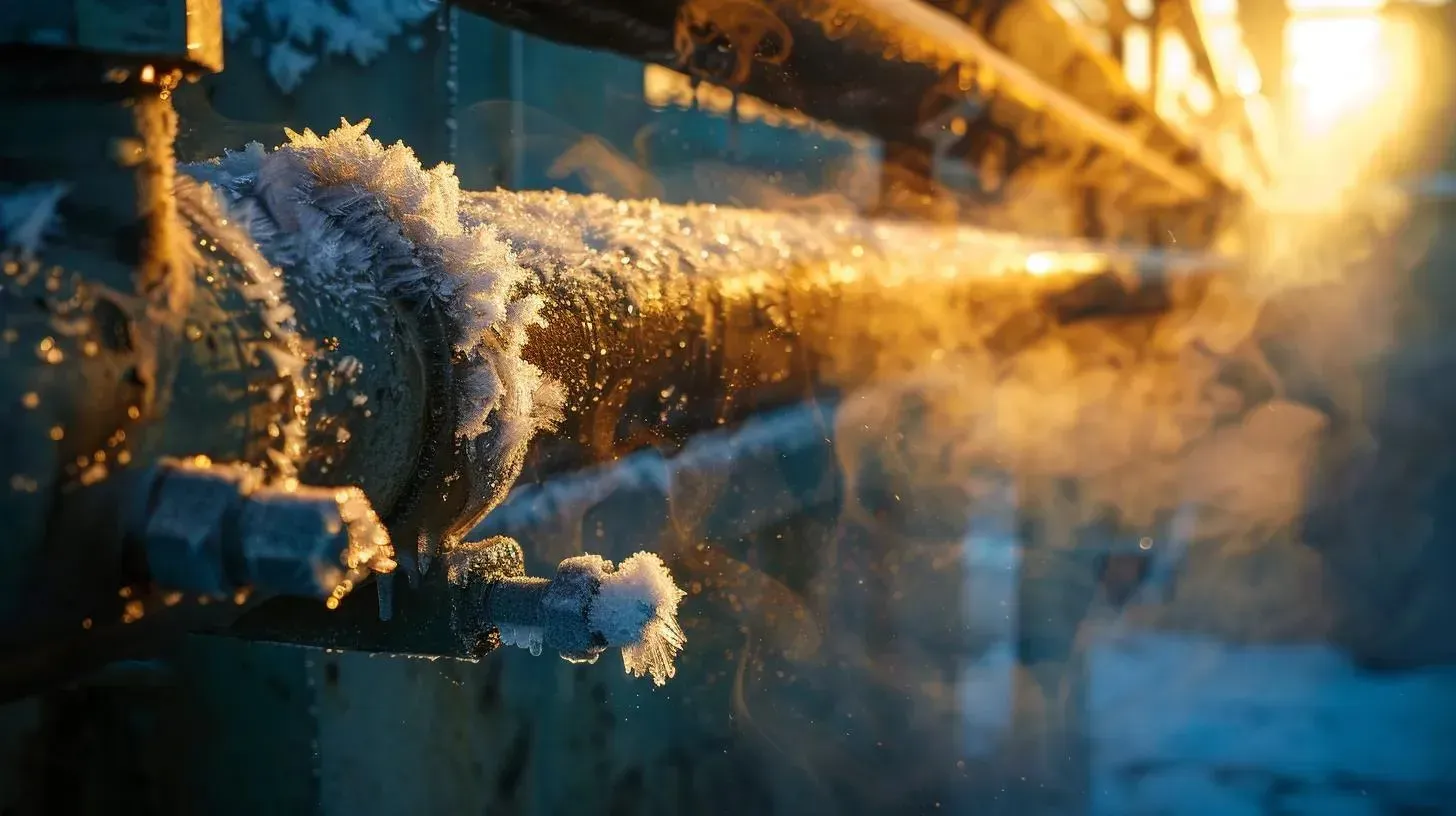
Pipes freeze when the water inside them drops below freezing—most often in unheated, drafty, or exterior-facing areas where cold air reaches the pipe faster than your home can keep it warm.
Common high-risk locations:
- Exterior walls (especially north-facing or windy exposures)
- Crawlspaces and basements with cold air leaks
- Garages (especially above the garage ceiling and in shared walls)
- Under sinks on exterior walls
- Hose bibs / exterior spigots and irrigation lines
General winter preparedness guidance and cold-weather safety resources:
- Ready.gov winter weather
What are the best ways to prevent frozen pipes?
Prevention is mostly about keeping cold air away from pipes and ensuring pipes in risky areas stay warm enough during cold snaps.
Prevention checklist (high-impact, low-regret)
- Seal drafts near pipe runs (crawlspace vents, rim joists, garage penetrations)
- Insulate exposed pipes in crawlspaces, basements, garages, and utility rooms
- Open under-sink cabinet doors during extreme cold (so warm air reaches plumbing)
- Keep consistent indoor heat (avoid big overnight setbacks during cold snaps)
- Disconnect hoses and winterize exterior spigots/hose bibs
- Know your shutoff: locate and label the main water shutoff and keep it accessible
Energy.gov has practical guidance on insulating and protecting home energy systems during cold weather:
Which prevention actions matter most for your specific situation?
The best prevention step depends on where the pipe is located and how cold air reaches it.
Quick prevention table (match location → action)
| Where the risk is | What usually causes freezing | Most effective prevention step | What to avoid |
|---|---|---|---|
| Under-sink pipes on an exterior wall | Cold wall cavity plus closed cabinet blocks warm air | Open cabinet doors; seal drafts; add insulation | Leaving chemicals or cleaners accessible if kids or pets are around (move items safely) |
| Garage / shared wall plumbing | Unheated air plus door gaps | Weatherstrip garage door; insulate exposed pipe | Using an open-flame heater in the garage |
| Crawlspace lines | Drafts plus cold floor cavity | Seal openings; insulate pipe; maintain minimal heat where applicable | Ignoring standing water or damp crawlspace conditions |
| Exterior spigots / hose bibs | Direct exposure | Disconnect hose; winterize shutoff and drain | Leaving hoses attached (traps water in the line) |
| Vacant or rarely used rooms | Low heat plus no water movement | Maintain heat; consider periodic warm-air circulation | Turning heat off entirely during freezing conditions |
What should you do if you think a pipe is frozen but not burst?
If a pipe is frozen (no water or only a trickle), the safest priority is to prevent pressure buildup and thaw gradually—without introducing fire risk.
Frozen pipe checklist (safe next steps)
- Turn on the affected faucet (cold side first) so melting water can escape
- Warm the area gradually (increase thermostat; open doors to circulate warm air)
- If you can see the pipe, apply gentle heat (warm air from a hair dryer) starting near the faucet side and moving toward the colder section
- Stay present while warming—don’t leave heaters unattended
- If you can’t locate the frozen section or you suspect a hidden freeze, stop and get help
Avoid using open flames or high-heat devices directly on pipes. General home safety guidance for winter storms and heating emphasizes avoiding unsafe heating methods.
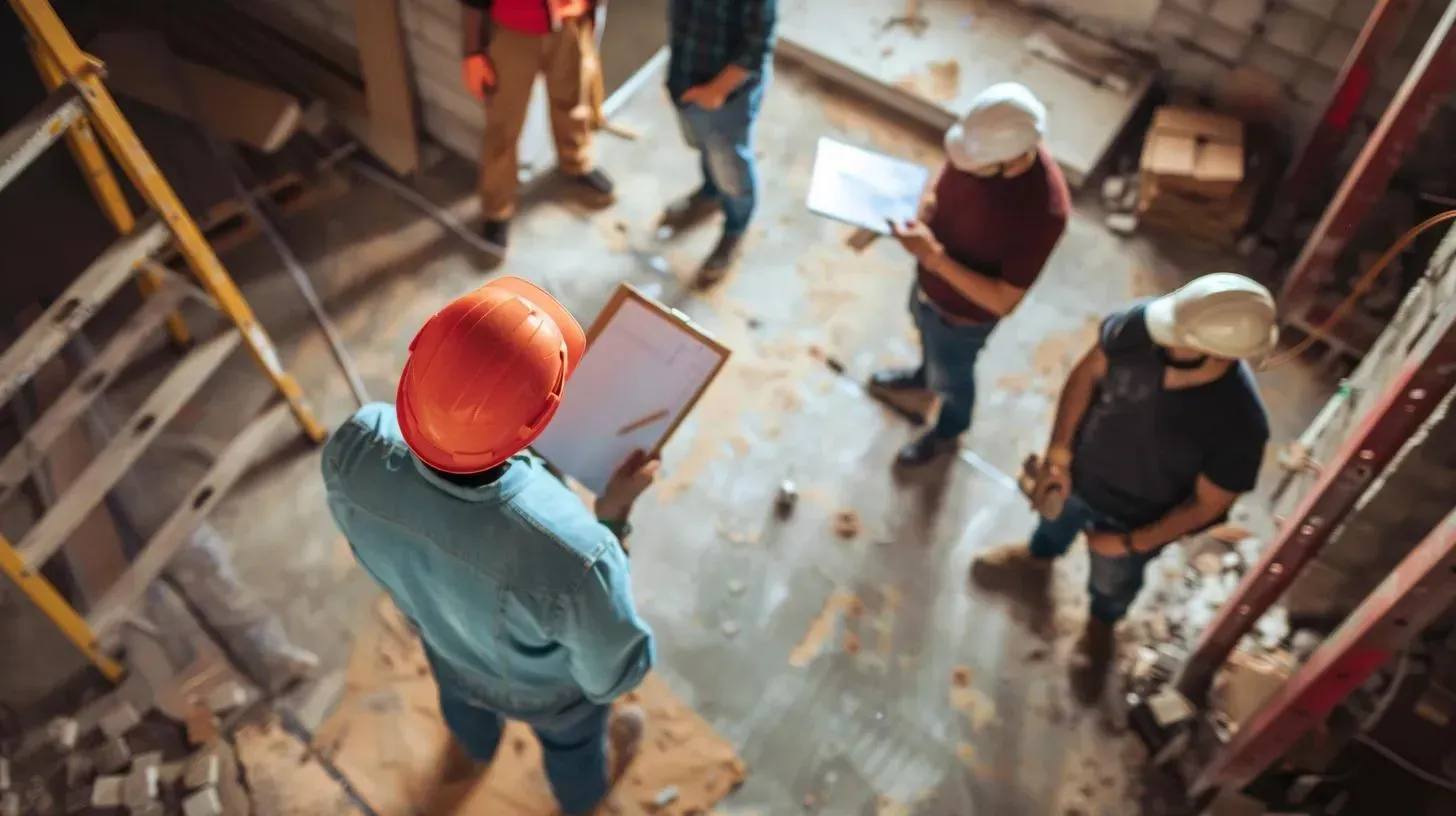
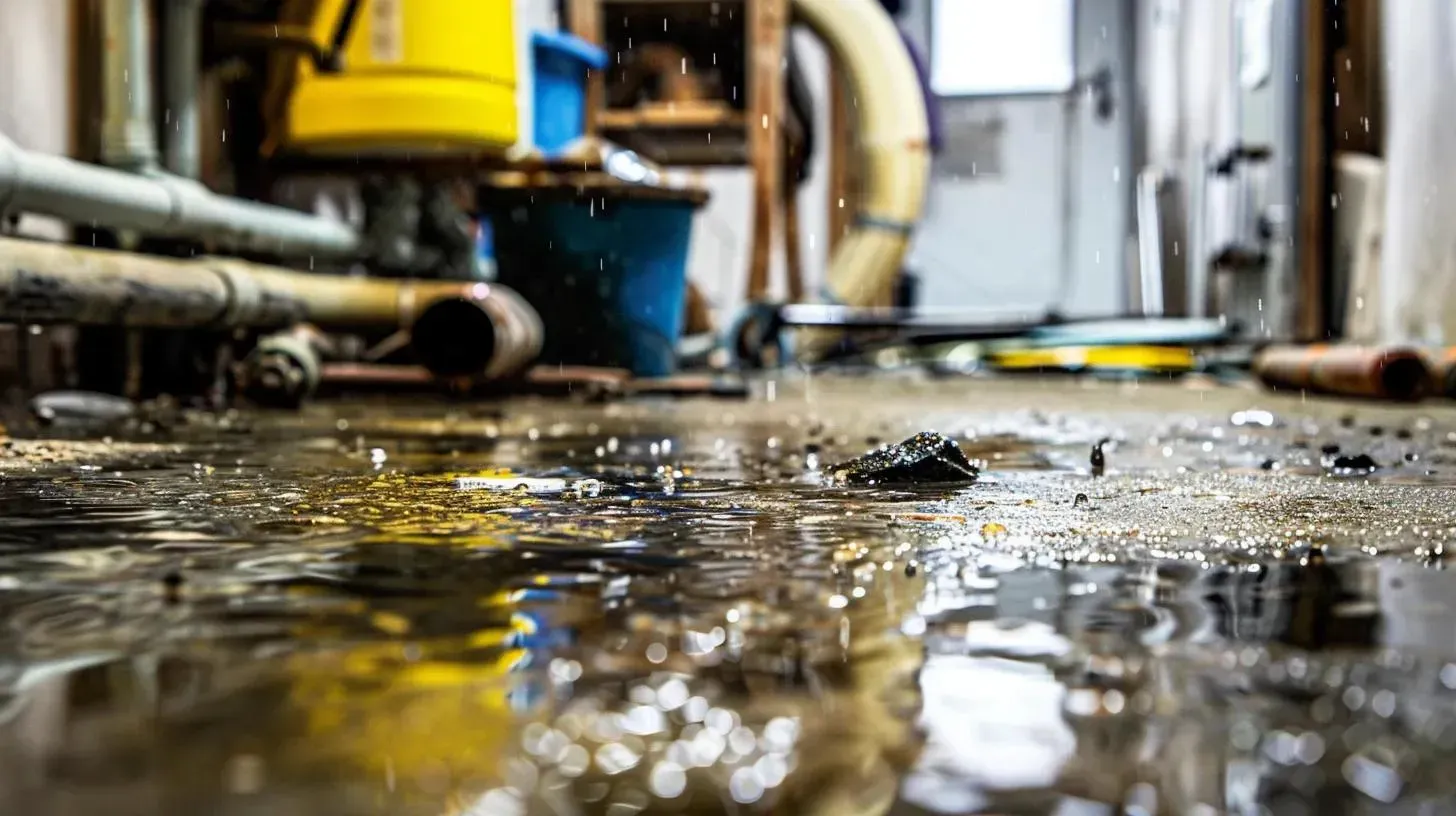
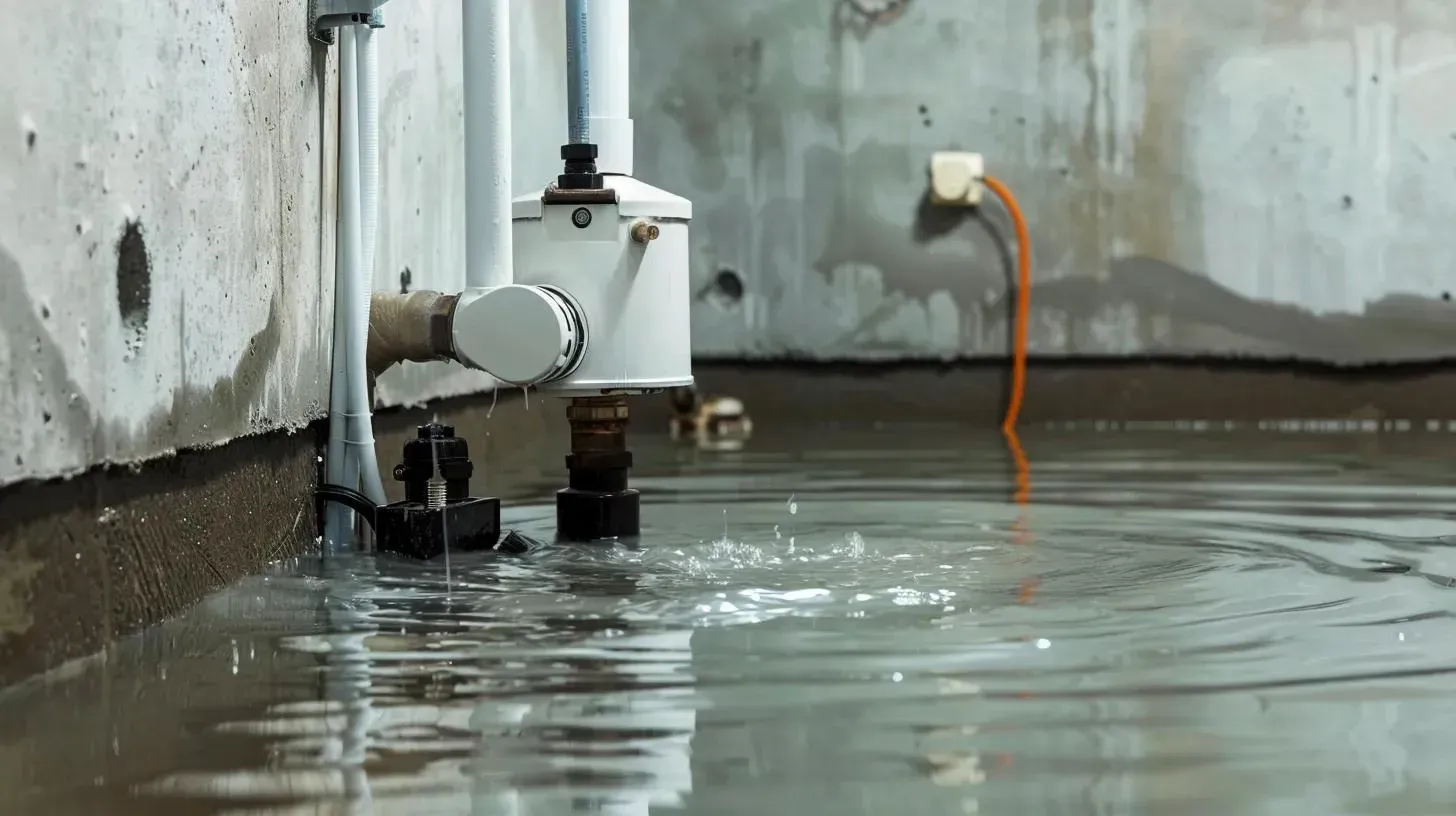
What should you do immediately if a pipe bursts?
If a pipe bursts, the fastest damage control sequence is: shut off water → protect electrical safety → start containment and documentation → begin removal/drying.
Burst pipe “first 15 minutes” checklist
- Shut off the main water supply (or the nearest local shutoff if you know it)
- Turn off electricity to affected areas only if you can do so safely without standing in water
- Contain the spread (towels, buckets, move valuables off floors)
- Document quickly (wide photos + close-ups of the burst and wet materials)
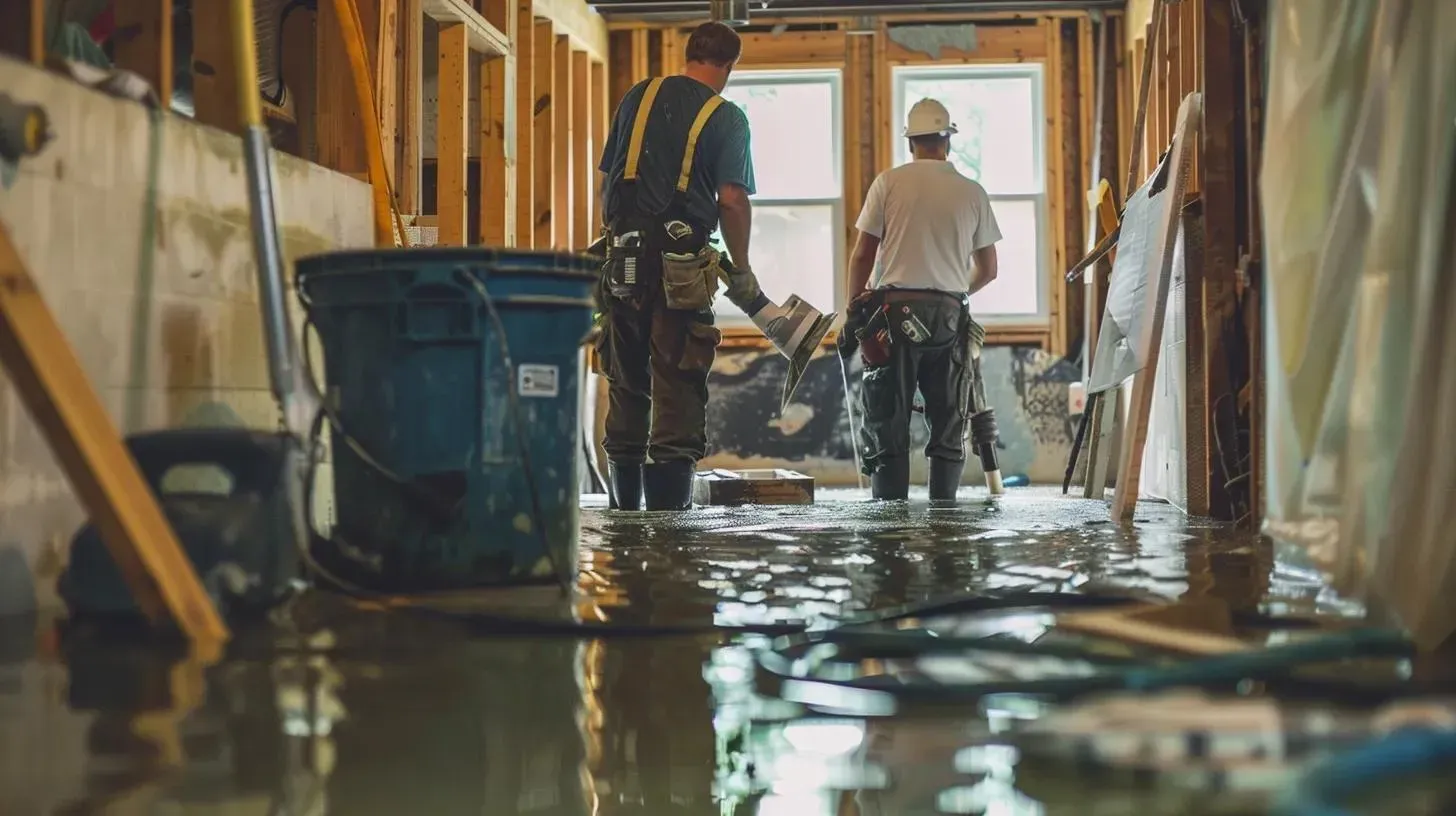
- If there’s standing water, prioritize removal
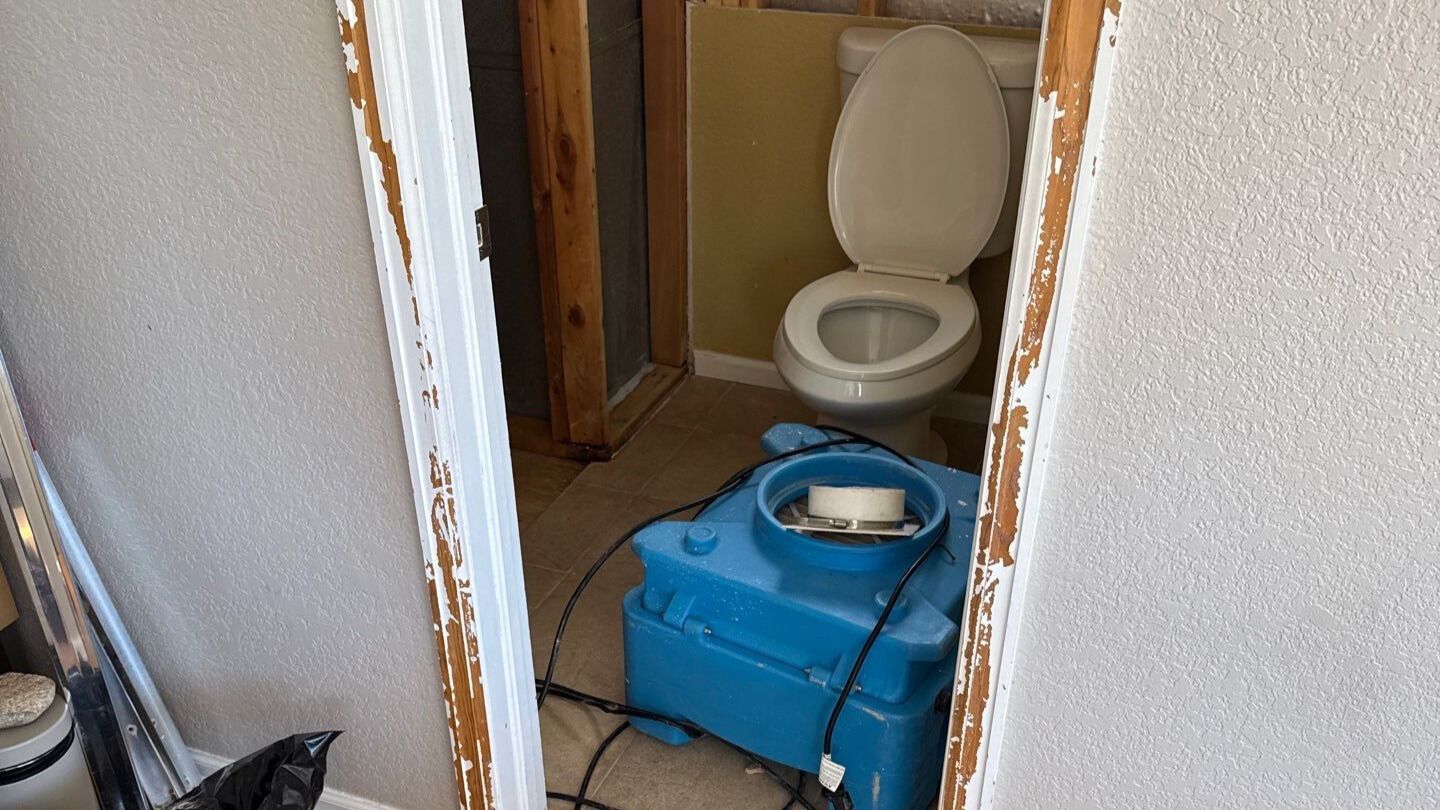
If you need standing water removed as the first restoration step, this internal scope aligns. Water Extraction and Removal
If materials absorbed water (baseboards, drywall edges, flooring transitions), stabilization and controlled drying typically follow: Water Mitigation and Structural Drying
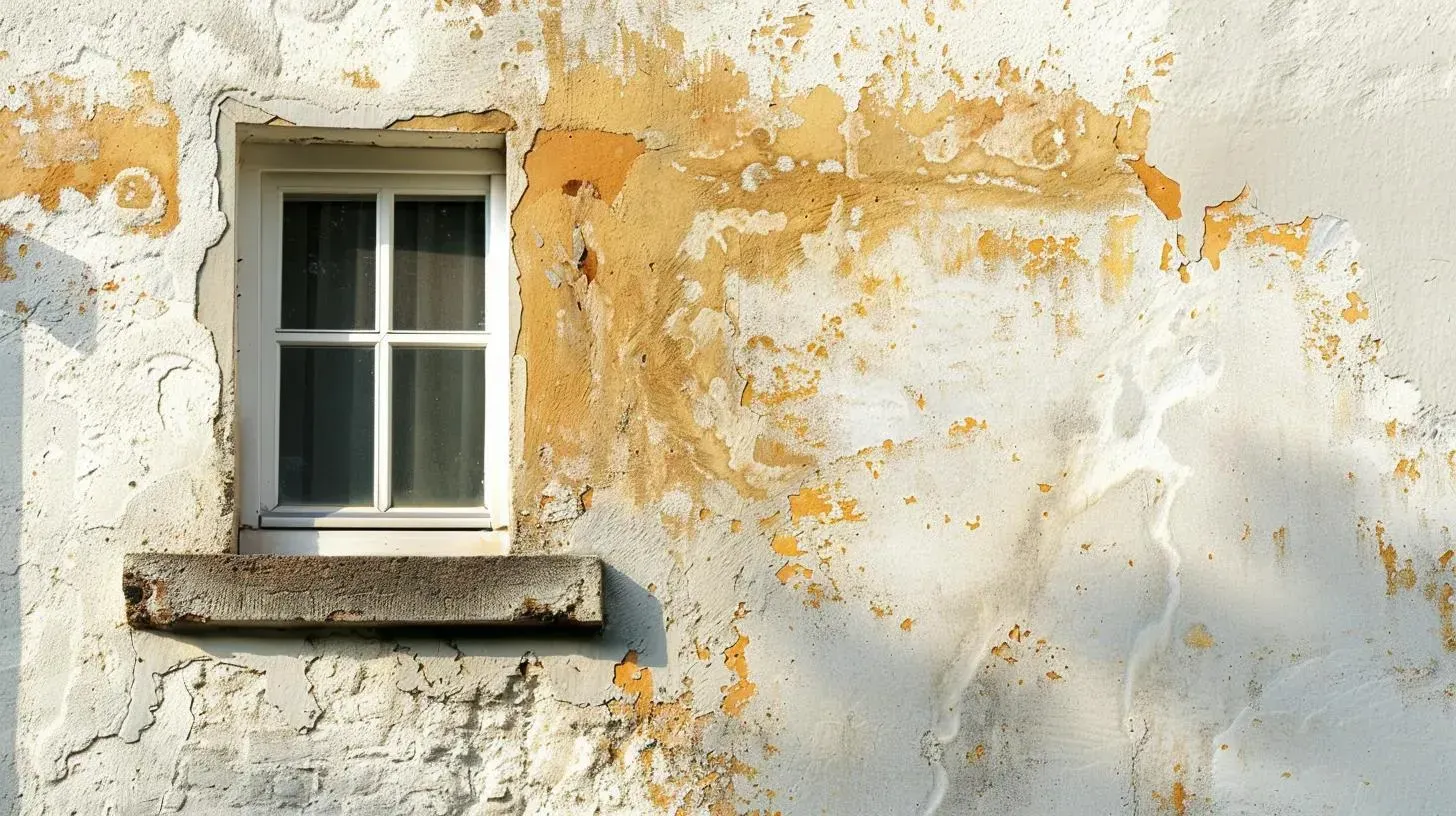
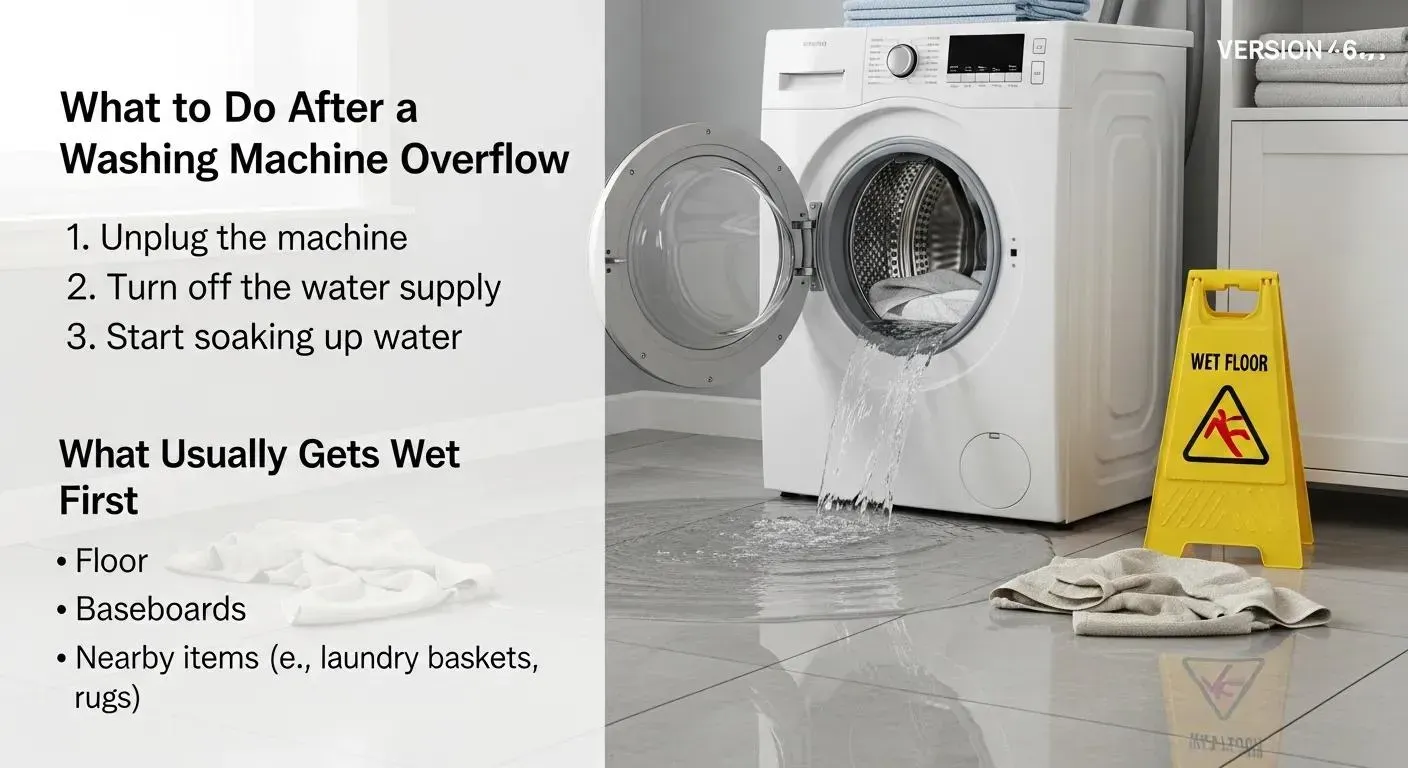
What usually gets damaged first in a frozen-pipe burst (and why it matters)?
Burst pipes often soak flooring edges, baseboards, drywall bottoms, and cabinets first—because water spreads to the lowest points and wicks into porous materials.
Practical implications:
- Even a “small” burst can push water under flooring and into wall cavities
- Cabinet toe-kicks and baseboards can hold moisture and odor long after the surface looks dry
- Repairs should wait until you’re confident drying is complete
If you want a clean internal link that explains humidity control (without turning this post into a drying manual), use: Dehumidification
Common mistakes and red flags during a freeze or burst
The biggest mistakes are the ones that increase safety risk or trap moisture in hidden layers.
Mistakes to avoid
- Using open flames to thaw a pipe
- Leaving a frozen pipe “as-is” without opening the faucet (pressure can build)
- Turning on electricity or running equipment while water is near outlets
- Assuming “the floor looks dry” means moisture didn’t travel underneath
- Starting repairs (baseboards/flooring/paint) before drying is verified
Red flags that mean you should stop and get help
- You can’t locate the shutoff, or the shutoff doesn’t stop flow
- Water is reaching electrical panels, outlets, or appliances
- Ceilings are sagging, or water is coming through light fixtures
- You suspect water traveled into multiple rooms/levels
For general flood/water safety resources: Ready.gov
Two Denver-style scenarios (how this plays out)
Scenario 1: Garage wall pipe freezes overnight
You wake up to a trickle at the kitchen faucet and find the garage feels significantly colder than the house. You open the cabinet doors under the sink, raise the thermostat, and gently warm the accessible pipe section with a hair dryer while the faucet is open. Water returns gradually without a rupture.
Scenario 2: Burst in a basement utility line during a cold snap
A line bursts and water spreads across the slab and into stored items. You shut off the main water, avoid electrical hazards, photograph the area, move cardboard boxes to plastic bins, and begin standing-water removal. Once water is removed, the focus shifts to stabilization and drying of wall bottoms and flooring edges.
Helpful internal references:
Frequently Asked Questions
Should I let faucets drip during a freeze?
A small, steady drip can reduce pressure and keep water moving in some situations, but it’s not a substitute for insulating and sealing drafts. Use it as a short-term measure during extreme cold.
Is it safe to use a space heater to thaw a pipe?
Use extreme caution. Keep heaters attended, away from combustibles, and avoid directing unsafe heat at materials. Never use open flames.
If the pipe burst but I stopped the water quickly, do I still need drying?
Maybe. The deciding factor is whether water soaked into materials (baseboards, drywall edges, flooring layers, cabinets). If absorption occurred, controlled drying and verification matter.
What if I can’t find the shutoff?
Locate it now as part of prevention, label it, and keep it accessible. During an active leak, shutting off water is the first priority.