How Fast Does Mold Grow After Water Damage? What to Do in the First 48 Hours
This guide explains how quickly mold can start after water damage and what you can do in the first 48 hours to reduce the risk. It’s built for time-sensitive prevention and safety.
Not covered: cost estimates, a full restoration timeline, or detailed “how to remediate existing mold” instructions. For the canonical overview of the end-to-end water damage restoration workflow (assessment → drying → documentation), use Accountable Home Services
How fast can mold start growing after water damage?
Mold can start growing within 24–48 hours when moisture remains in materials (especially porous materials like drywall paper, carpet padding, and insulation). The practical takeaway is simple: the sooner you dry and remove moisture, the lower the risk.
Authoritative guidance that reflects this 24–48 hour window:
What makes mold start faster or slower in a water-damaged home?
Mold risk rises when moisture + time + food source (paper, wood, dust) overlap, especially in warm, humid, low-airflow areas. Mold risk falls when water is removed quickly and materials are dried thoroughly.
Here’s a simple comparison table to help you gauge urgency.
| Condition in the first 48 hours | What it usually means | Mold risk trend | Prevention focus (keep it simple) |
|---|---|---|---|
| Warm room + high humidity + low airflow | Moisture lingers in materials | Higher, faster | Ventilate safely; reduce indoor humidity |
| Porous materials got soaked (padding, drywall paper, insulation) | Moisture gets trapped in layers | Higher | Prioritize drying or removal of porous items that can’t dry quickly |
| Water spread into hidden edges (baseboards, toe-kicks, under flooring) | Surfaces may look dry while layers stay wet | Higher | Check edges and low points; don’t assume looks dry equals dry |
| Clean-water spill caught early and thoroughly dried | Less time for growth | Lower | Keep drying consistent; monitor for odor or staining |
| Contaminated or unknown water (backup or floodwater) | Adds safety and cleanup complexity | Higher plus safety risk | Avoid contact; isolate area; follow safety guidance |
If you need a quick way to understand drying-related terms without turning this into a process manual, these internal references define the concepts:
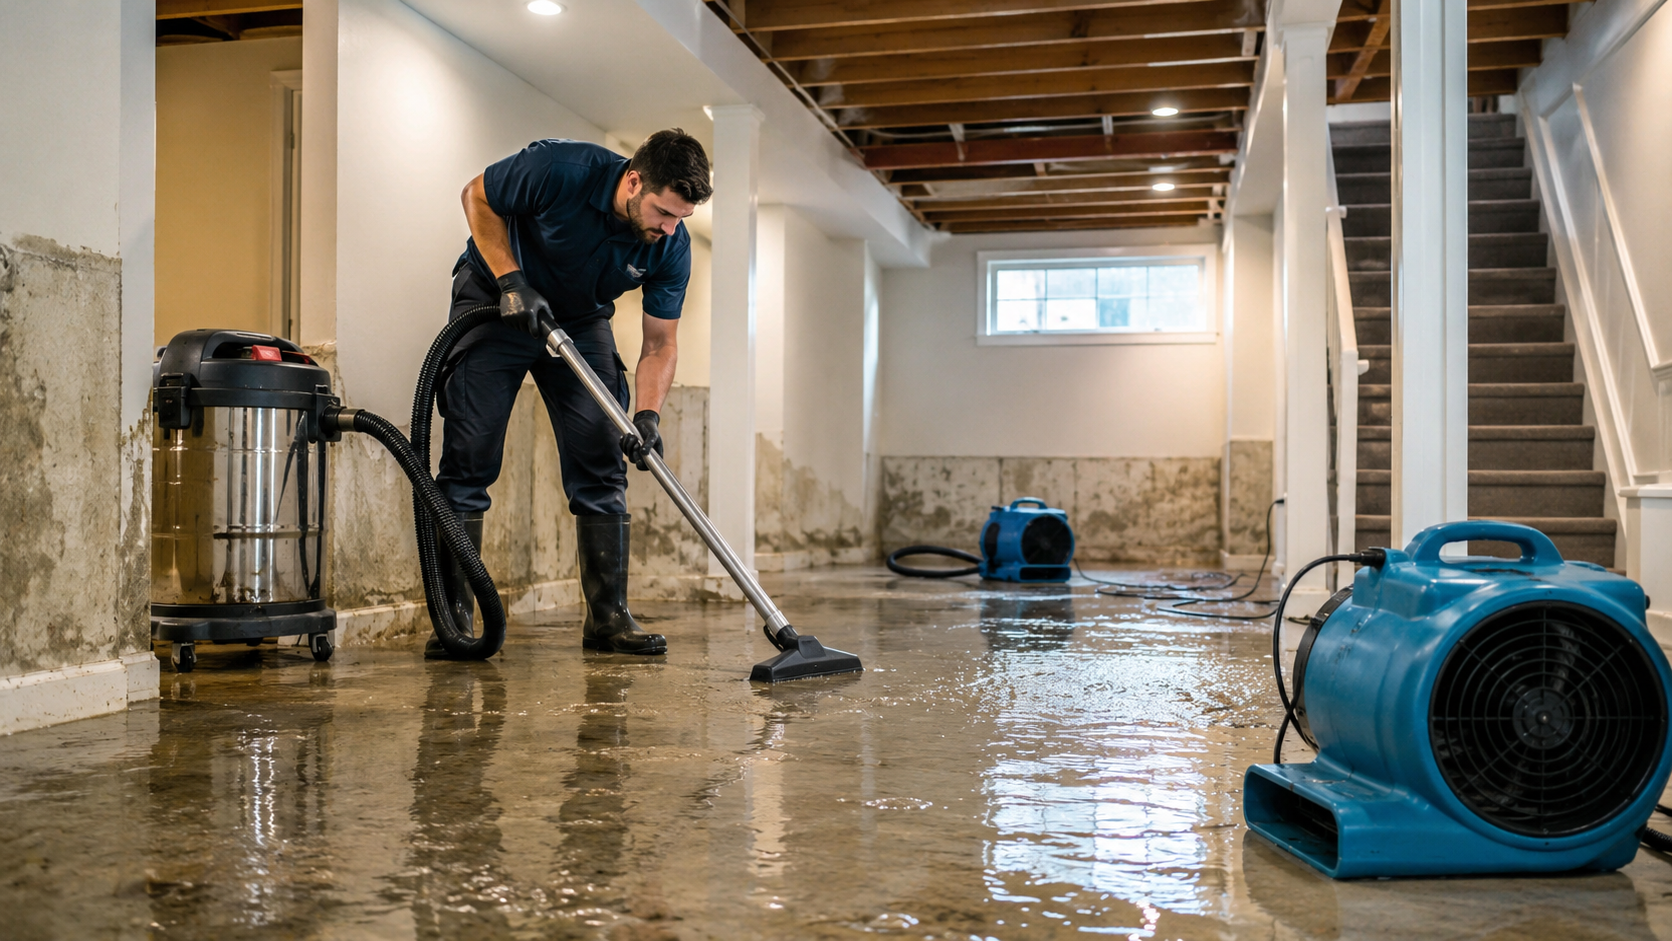
What should you do in the first 48 hours to prevent mold?
Your goal is to remove water, reduce humidity, and dry materials thoroughly—especially at edges, low points, and inside porous items. Don’t chase perfection; chase consistent drying progress.
First 48 hours action plan (checklist)
As soon as it’s safe:
- Stop the water source (if known and safe)
- Keep people and pets away from affected areas (especially kids and anyone with breathing issues)
- Remove standing water if safe (or isolate the area)
- Start safe ventilation (open windows/doors if weather allows)
Within the first day:
- Increase airflow to affected zones (aim airflow to move damp air out)
- Reduce indoor humidity (dehumidifier if available and safe to run)
- Pull wet items off floors and away from walls (especially cardboard and fabric bins)
- Open cabinet doors and remove drawers to dry cabinet cavities
By the end of day 2:
- Re-check edges and low points (baseboards, under sinks, toe-kicks, flooring transitions)
- Isolate or discard items that stayed wet and can’t be dried promptly
- Watch for “returning odor” or expanding staining (signals moisture persists)
CDC and EPA guidance emphasize drying quickly (ideally within 24–48 hours) and removing items that can’t be dried promptly.
What should you throw away versus try to dry within 48 hours?
A practical rule: if it can’t be cleaned and dried quickly, it shouldn’t stay in the wet zone. This is especially true for porous items and foam-based materials.
Use this table as a fast decision aid.
| Item type | Often worth trying to dry (if water was clean and drying starts immediately) | Often best to discard if soaked and can’t dry quickly | Why |
|---|---|---|---|
| Paper goods | Some hardbound items if lightly damp (separate and air-dry) | Cardboard boxes, loose papers, wall coverings | Paper holds moisture and becomes a mold food source |
| Soft furnishings | Some removable covers if washed and dried quickly | Mattresses, foam cushions, stuffed toys, pillows | Foam holds water deep inside |
| Flooring textiles | Small rugs if cleaned and dried promptly | Carpet padding (commonly), large rugs that stayed wet | Padding traps water in layers |
| Wall materials | Limited wetting may dry in place (case-by-case) | Wet insulation; drywall that is soft, crumbling, or contaminated | Cavities trap moisture and are hard to dry without access |
| Contents storage | Plastic bins wiped dry | Cardboard storage on basement floors | Cardboard wicks water and stays damp |
FEMA’s mold guidance includes “when in doubt, throw it out” language for wet porous items after disasters:
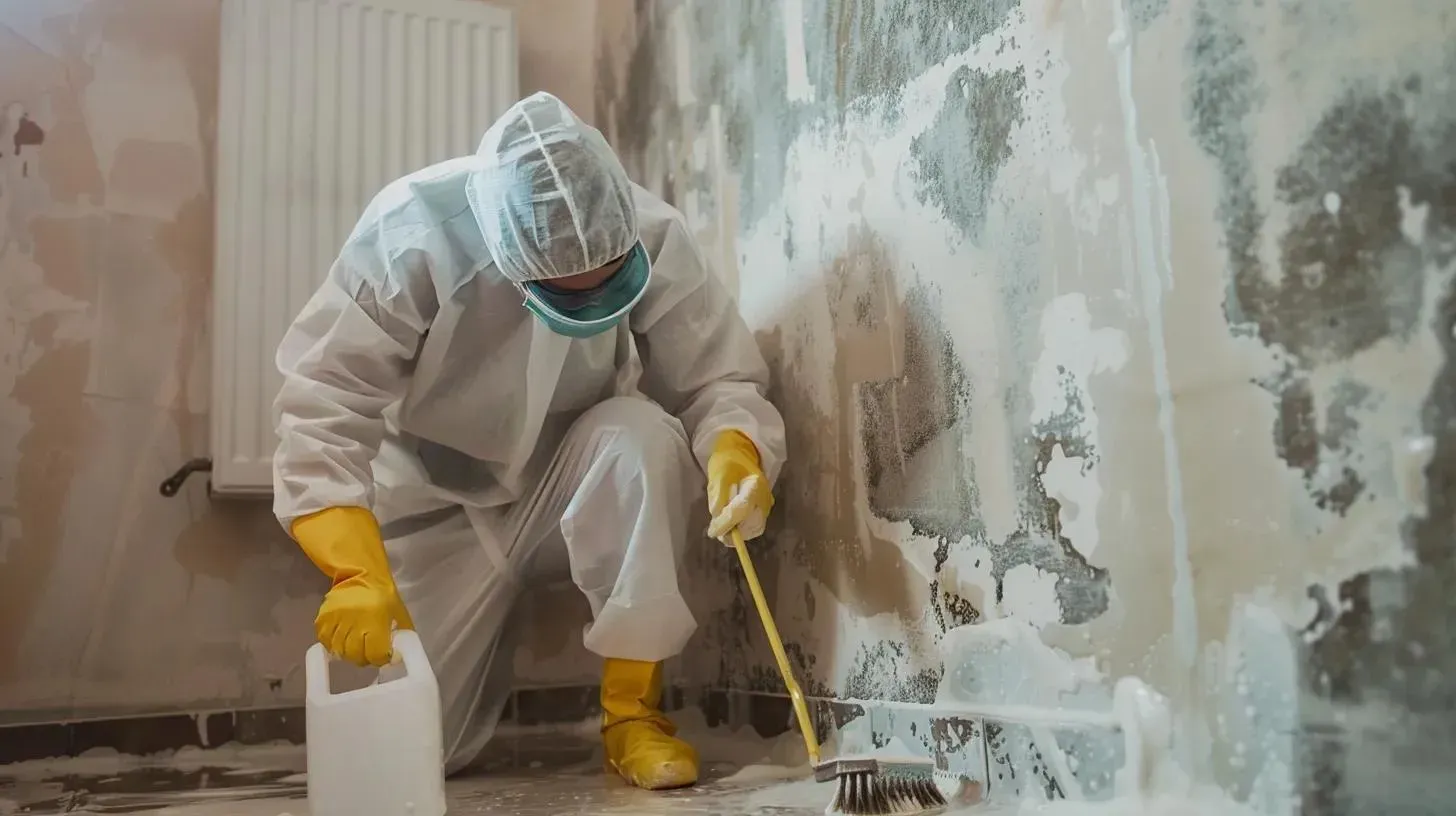
What cleaning steps are safer, and what should you avoid?
Clean only what’s appropriate for the water source and what you can dry fully afterward. The two biggest safety goals are (1) avoid exposure and (2) don’t spread contamination.
Safer baseline actions:
- Use gloves and avoid direct skin contact with dirty water
- Ventilate while cleaning when it’s safe
- Clean hard, non-porous surfaces and dry them fully
Avoid these common “quick fixes”:
- Covering stains with paint before the area is dry (traps moisture)
- Running random fans that blow damp air deeper into closets/corners
- Mixing cleaners (for example, never mix bleach with ammonia-containing cleaners)
For workplace-style mold prevention guidance, OSHA emphasizes prompt cleanup and drying/removal of water-damaged materials (24–48 hours):
Who should avoid mold cleanup and be extra cautious?
People with asthma, allergies, chronic respiratory conditions, or weakened immune systems may be more sensitive to mold exposure. If anyone in the home is high-risk, keep them away from affected areas and prioritize safety over DIY.
CDC background on mold and health
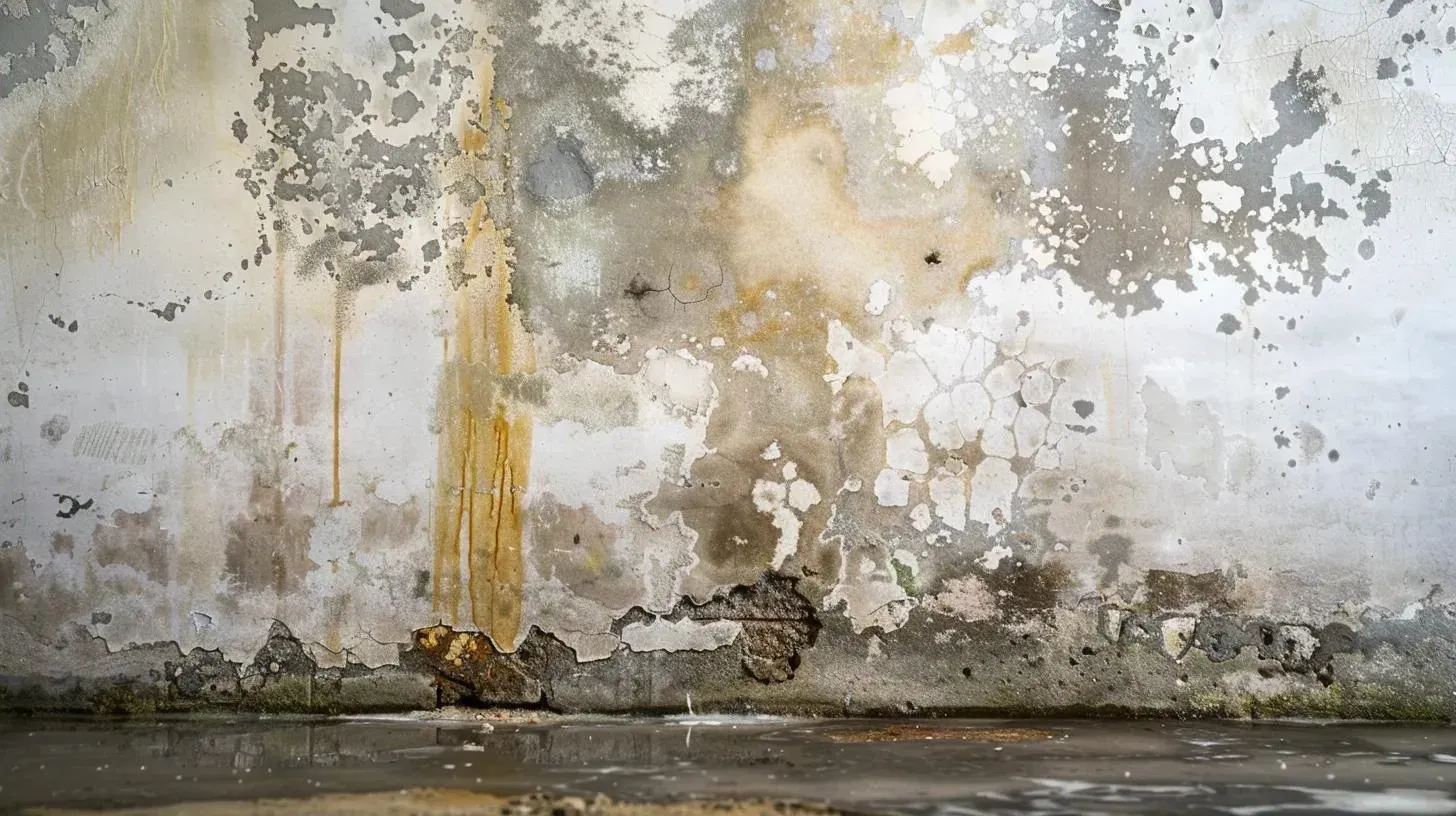
Mistakes that quietly increase mold risk in the first 48 hours
The most common failure pattern is letting moisture stay trapped in porous materials or hidden edges while only the visible surface dries.
Common mistakes / red flags:
- Treating “it doesn’t look wet” as proof the structure is dry (edges and cavities stay wet)
- Leaving carpet padding, cardboard, or fabric bins in place on damp floors
- Turning off dehumidification too early because the air feels less humid
- Rebuilding/reinstalling baseboards or flooring before you’re confident materials are dry
- Ignoring cabinet toe-kicks and under-sink bases (small pockets hold moisture and odor)
Two real-world examples (what “good” prevention looks like)
Example 1: Clean-water leak in a hallway with carpet and padding
Standing water is removed quickly, but the padding remains heavy and damp at the edges. The homeowner opens closet doors, runs dehumidification, lifts carpet edges where possible, and removes damp cardboard boxes from the floor. Result: fewer musty odors and less risk of “mold returning” days later.
Helpful internal references (definitions, not sales):
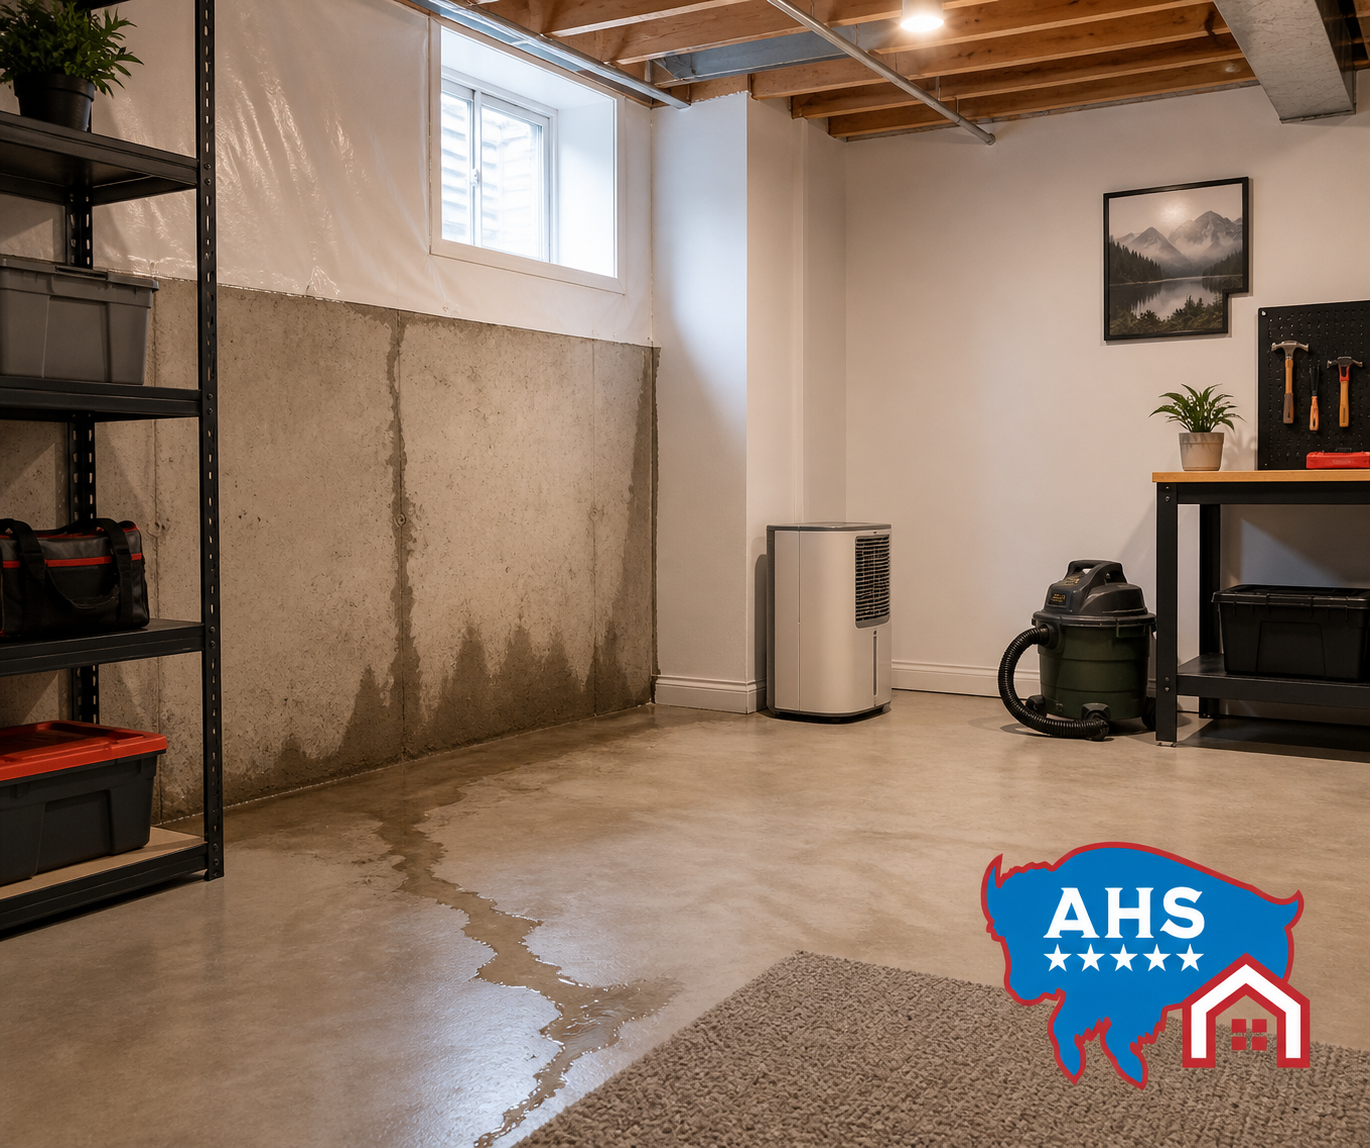
Example 2: Basement dampness after a storm with storage on the floor
Water isn’t deep, but it spreads across the slab and wicks into cardboard and fabric bins. The homeowner moves items to plastic bins, increases airflow, and monitors corners and baseboards for odor and swelling. Result: reduced chance of mold forming in hidden storage zones.
Frequently Asked Questions
Is mold guaranteed to grow after 48 hours?
No. The 24–48 hour window is a practical guideline. Mold risk increases with time and moisture, but growth depends on materials, humidity, temperature, and airflow.
If I can’t dry everything quickly, what’s the safest priority?
Focus on removing standing water, reducing humidity, and isolating/discarding porous items that stayed wet. Prioritize areas that trap moisture: baseboards, cabinets, padding, and insulation.
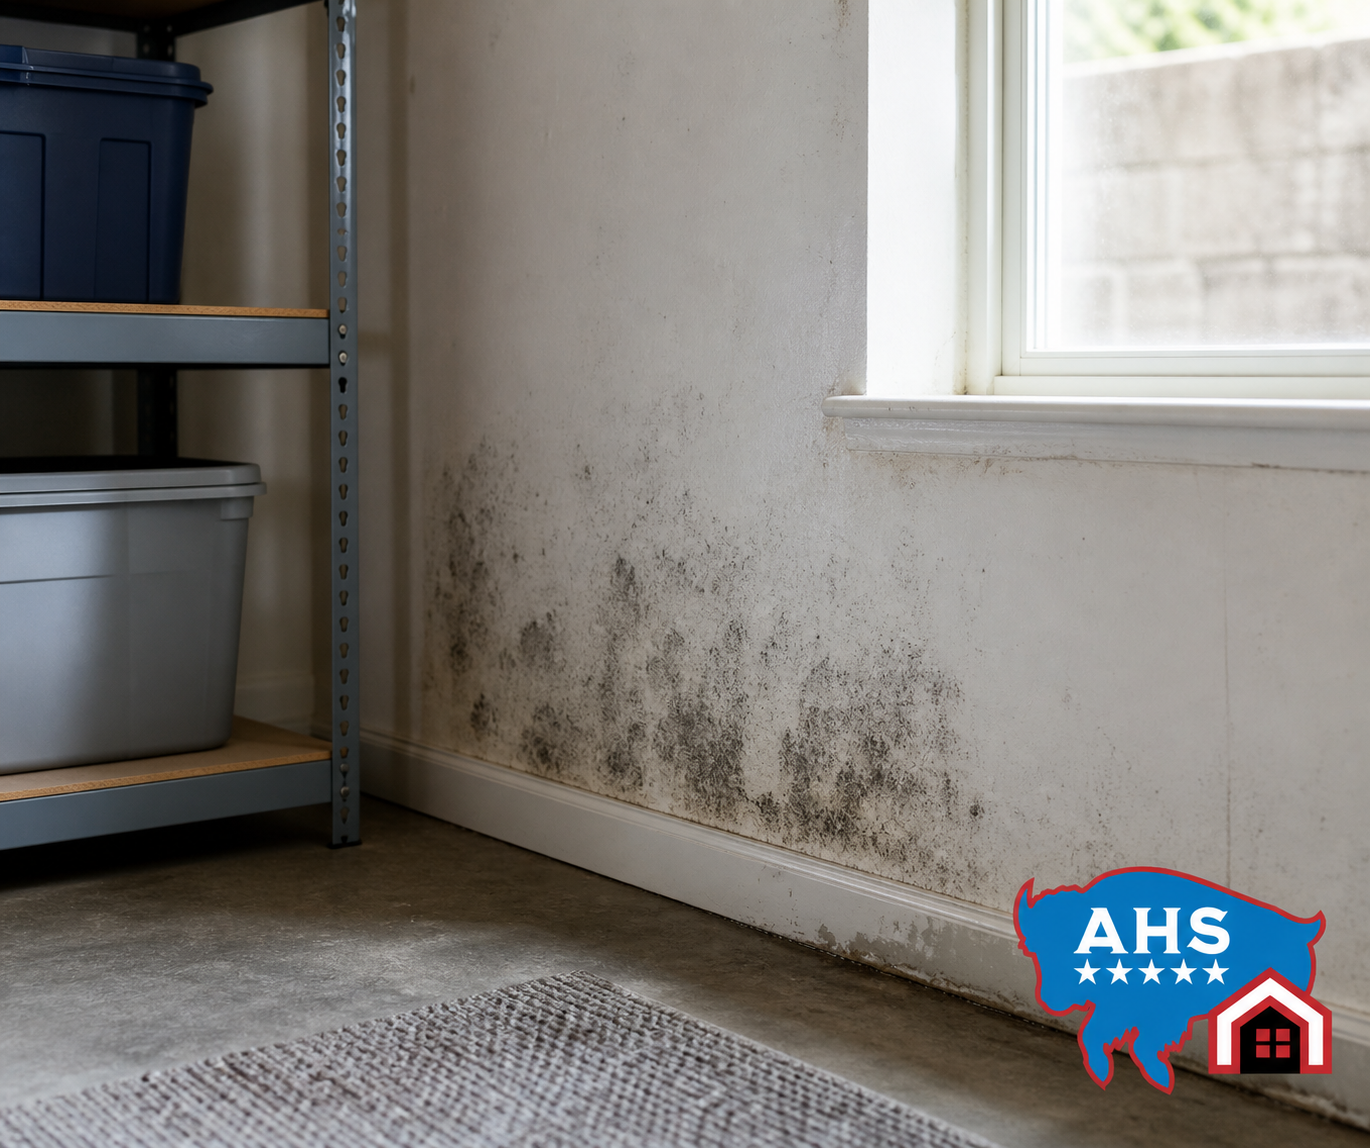
When should I suspect I already have mold?
A persistent musty smell, recurring stains, or visible spotting after drying attempts are strong clues that moisture may still be present or growth has started.