Water Heater Leak or Burst: What to Shut Off, What to Document, and What Happens Next
This guide answers one question: What should you do when your water heater is leaking or has burst—and what does the cleanup/restoration process usually involve afterward?
Not covered: cost estimates, broad “water damage 101,” or mold timelines.
For the canonical overview of full service workflow (assessment → drying → documentation), use: Water Damage Restoration
What are the first 3 shutoff steps for a leaking water heater?
In most cases, the fastest damage-control sequence is: shut off the water supply to the heater → shut off the power/fuel to the heater → stop using hot water.
Water heater leak shutdown checklist
- Shut off the cold-water supply to the water heater (usually a valve on the line above the unit).
- Shut off power/fuel to the heater:
- Electric: switch off the breaker for the water heater.
- Gas: turn the gas control to OFF (or shut off gas at the supply valve if you know it).
- Stop using hot water (running hot water can keep feeding the problem).
- If water is spreading, protect nearby areas (towels, buckets, move items off the floor).
Water-heater safety organizations emphasize removing the heat source (electric/gas) if overheating or discharge is occurring.
For basic “turn off the heater” guidance, Energy.gov provides general breaker/shutdown language (even though it’s written for a different DIY context).
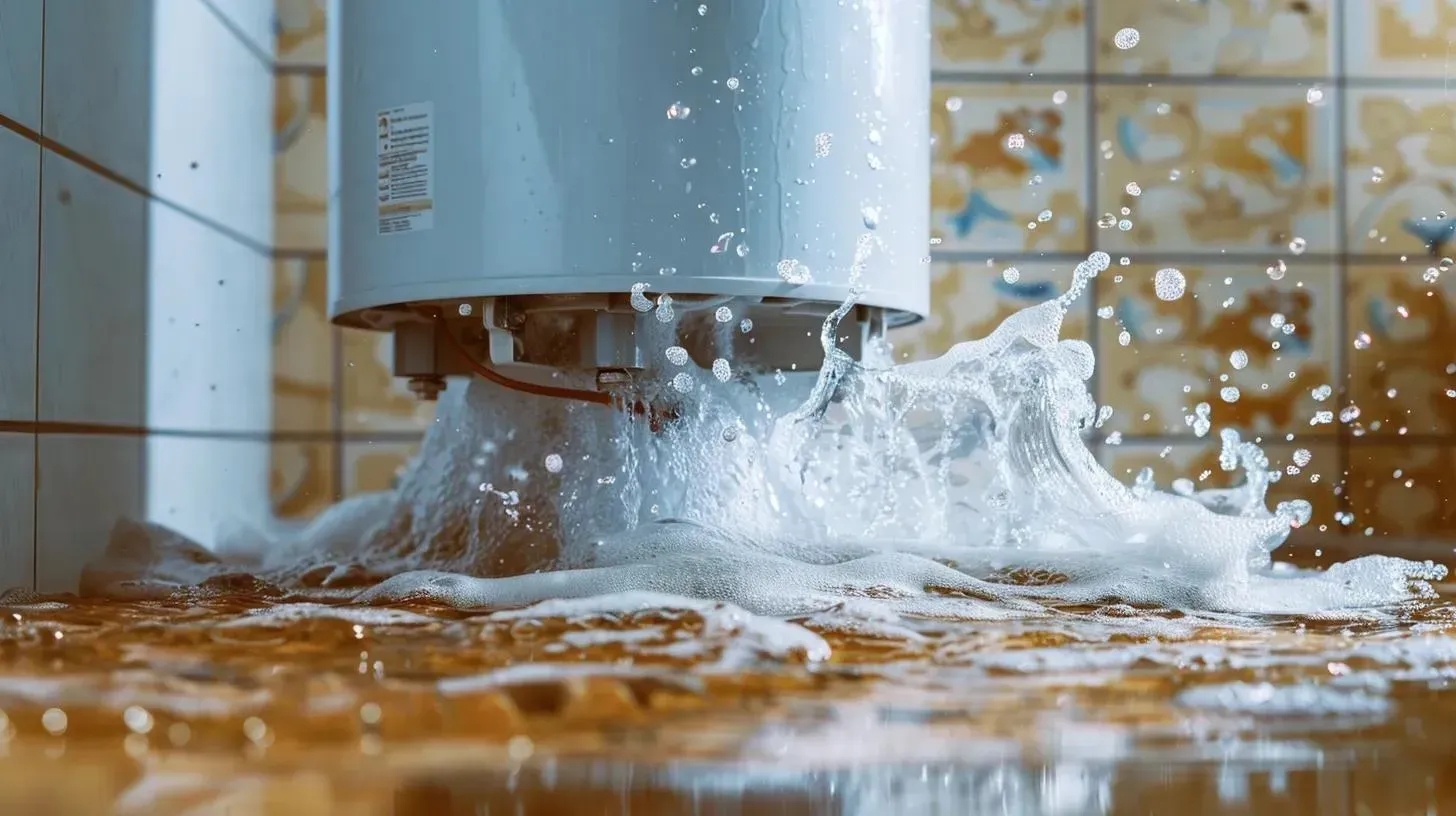
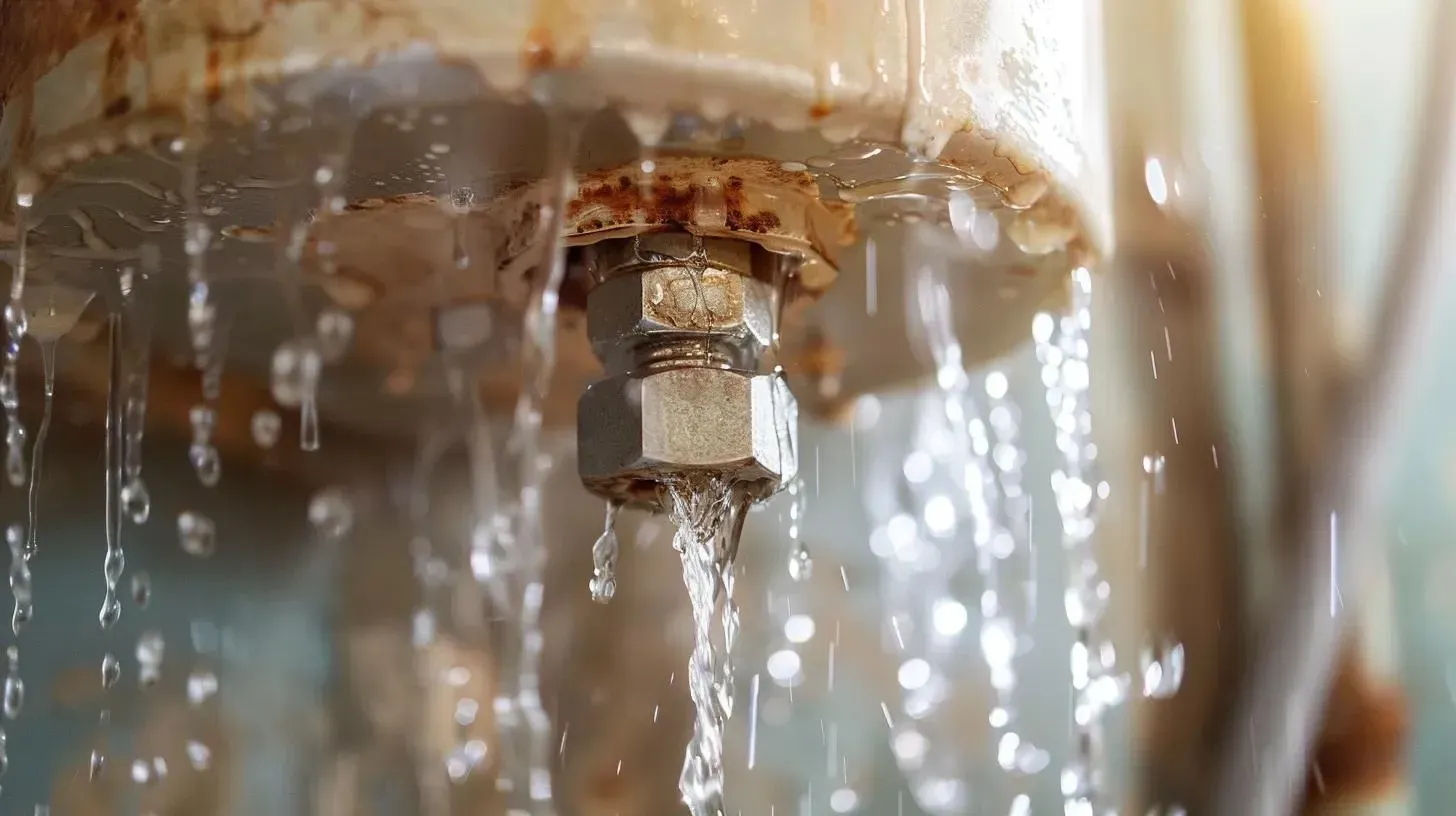
How can you tell where the water is coming from on the heater?
Where the leak appears usually tells you whether you’re dealing with a fitting/connection issue, a valve discharge, or a tank failure.
Leak-location table (what it often means)
| Where you see water | What it often indicates | Why it matters | Safe next step |
|---|---|---|---|
| Top connections (pipes above heater) | Loose connection, fitting, or supply line issue | May be fixable, but can still soak cabinets or walls nearby | Shutoffs first; dry and contain; photograph; call a plumber |
| T&P (temperature/pressure) relief valve discharge line | Pressure or temperature issue, or valve discharge | Safety-related; don’t cap or disable the valve | Shut off heat source; keep area clear; get qualified service |
| Around drain valve | Drain valve not fully closed or failing | Can be a slow but steady leak | Shutoffs; contain; schedule replacement or repair |
| From the bottom/base of the tank | Often suggests tank failure or corrosion | Commonly means replacement is needed | Shutoffs; contain; plan replacement; begin drying and cleanup |
If the leak source isn’t obvious or water seems to be traveling under flooring/walls, a targeted source check belongs here: Leak Detection
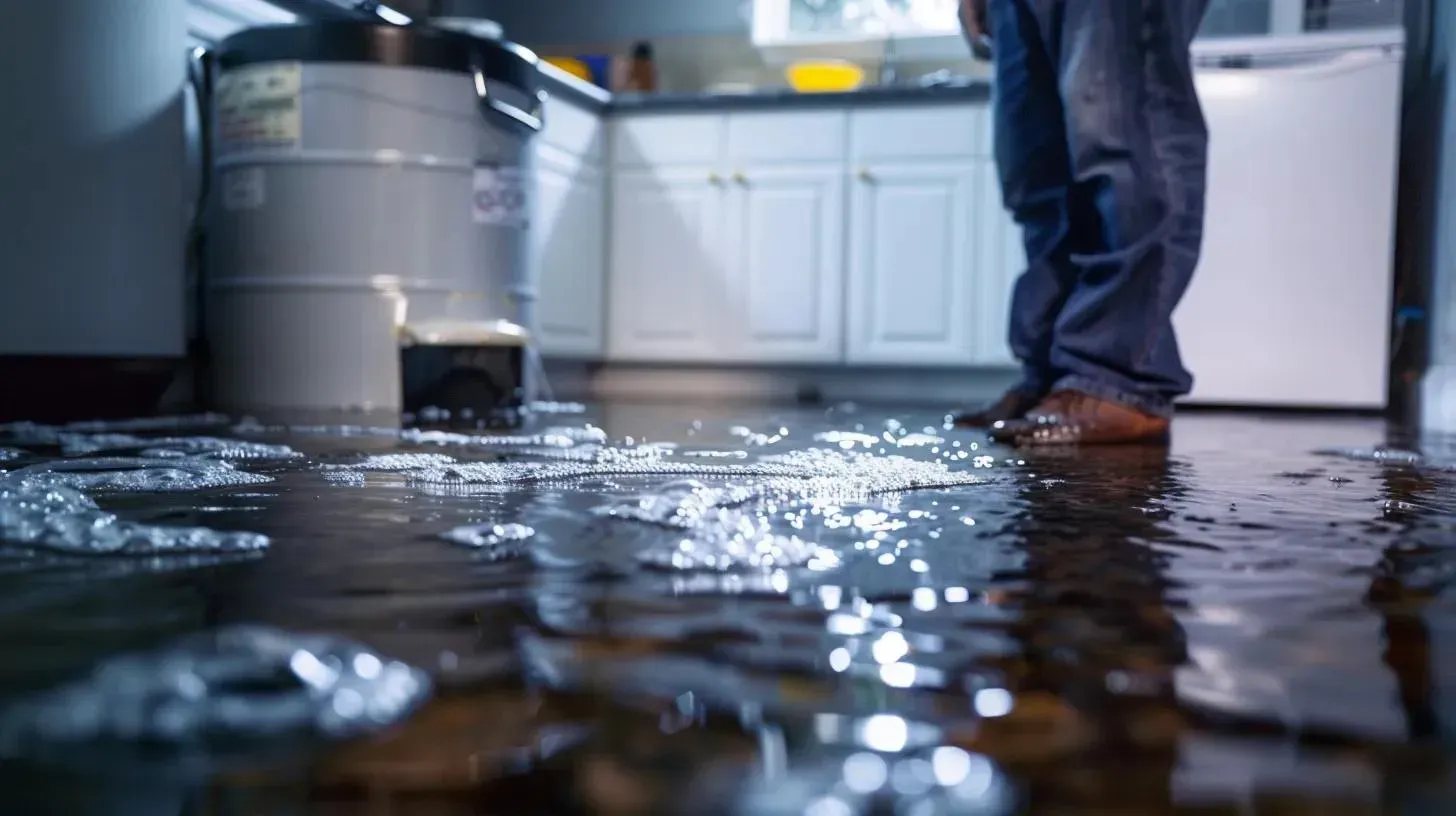
What should you do to limit floor and cabinet damage right away?
After shutoffs, your main goal is to keep water from spreading into flooring edges, cabinet bases, and wall bottoms.
High-impact steps that don’t turn into “general water damage advice”:
- Pull items out of the splash zone (cardboard, fabric bins, stored items on the floor).
- Place towels/absorbents at transitions (doorways, cabinet toe-kicks) to slow spread.
- If you have safe access, lift small rugs and don’t let them sit wet against baseboards.
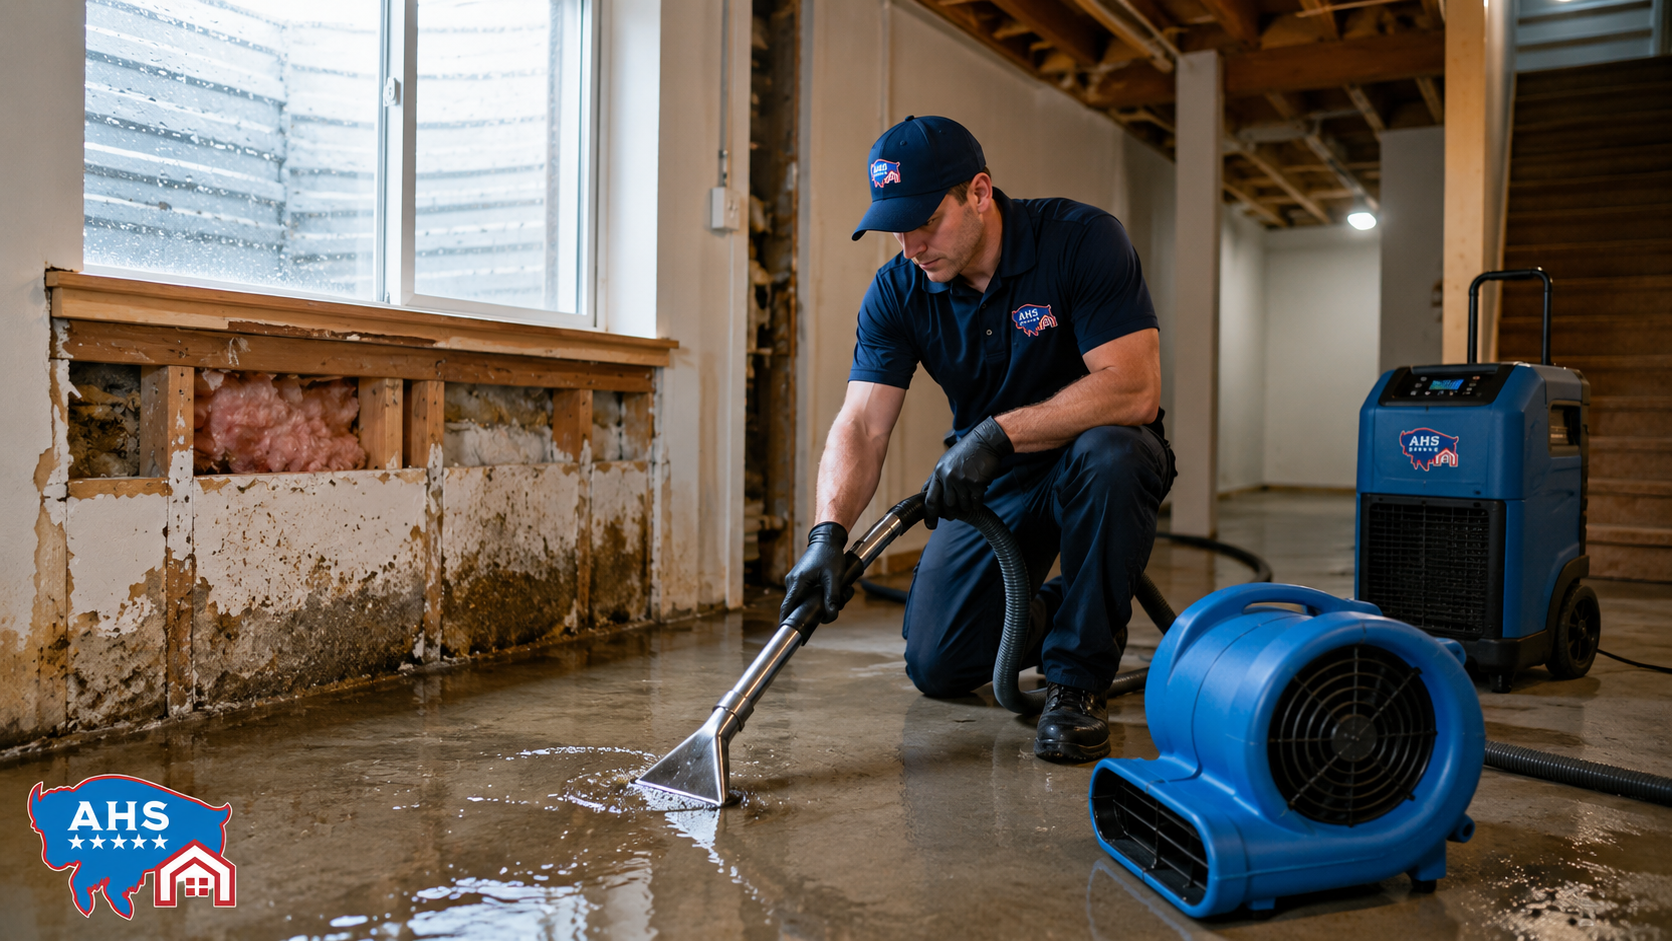
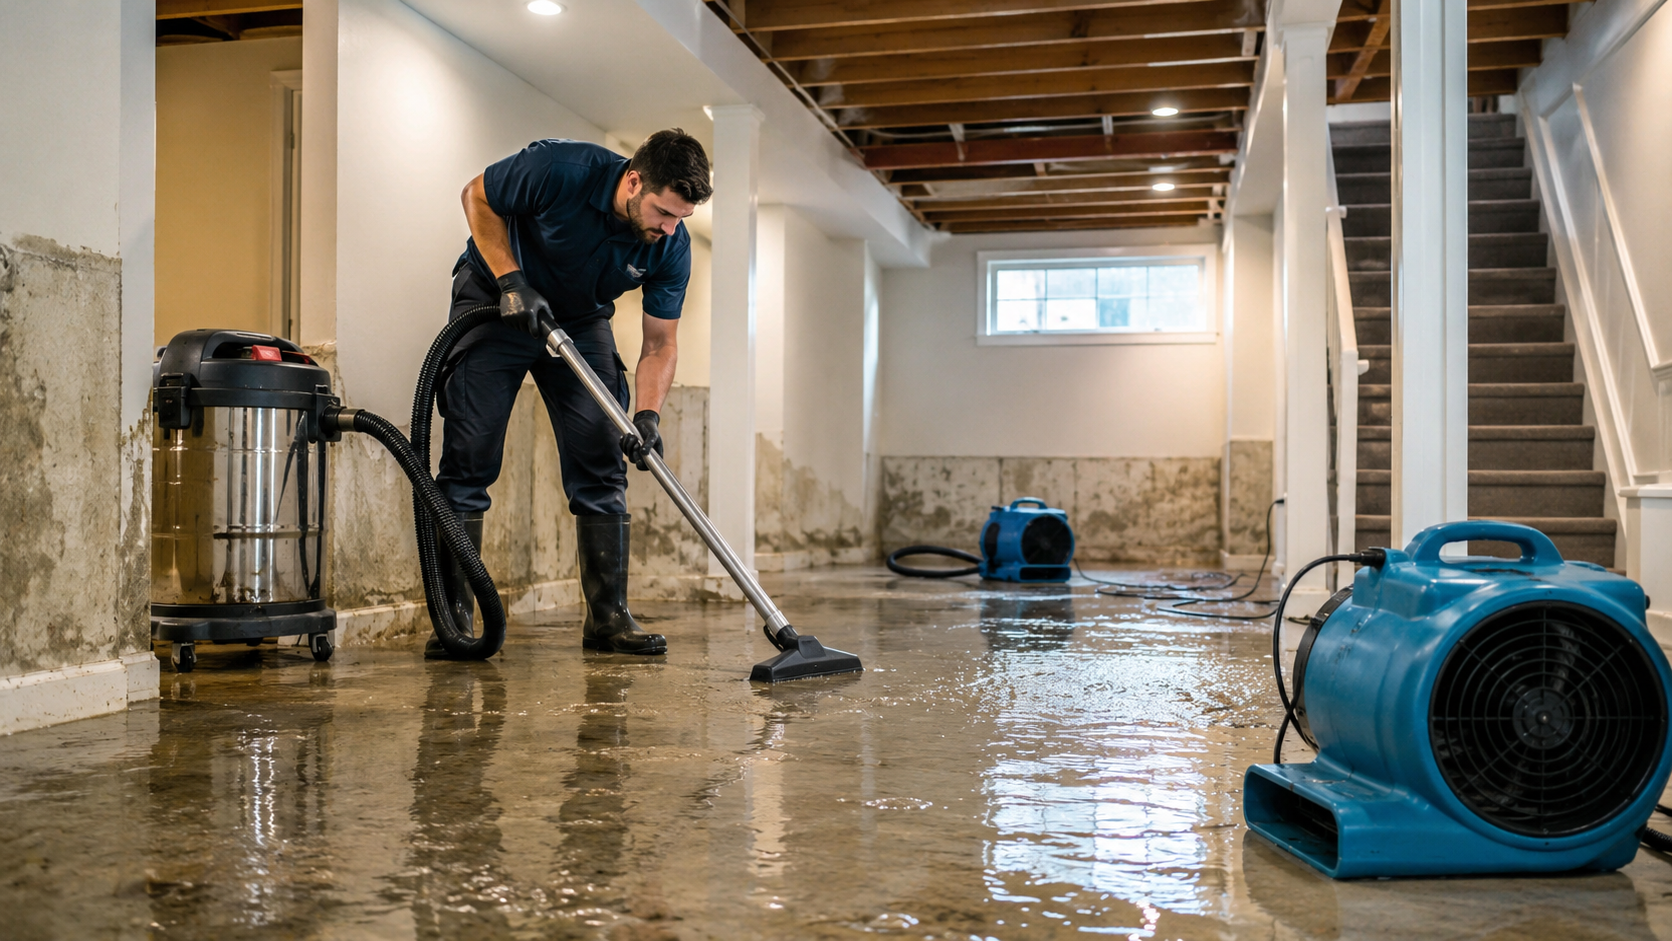
- If there’s standing water, removal becomes the first practical restoration step.
Internal scope reference for standing water removal.
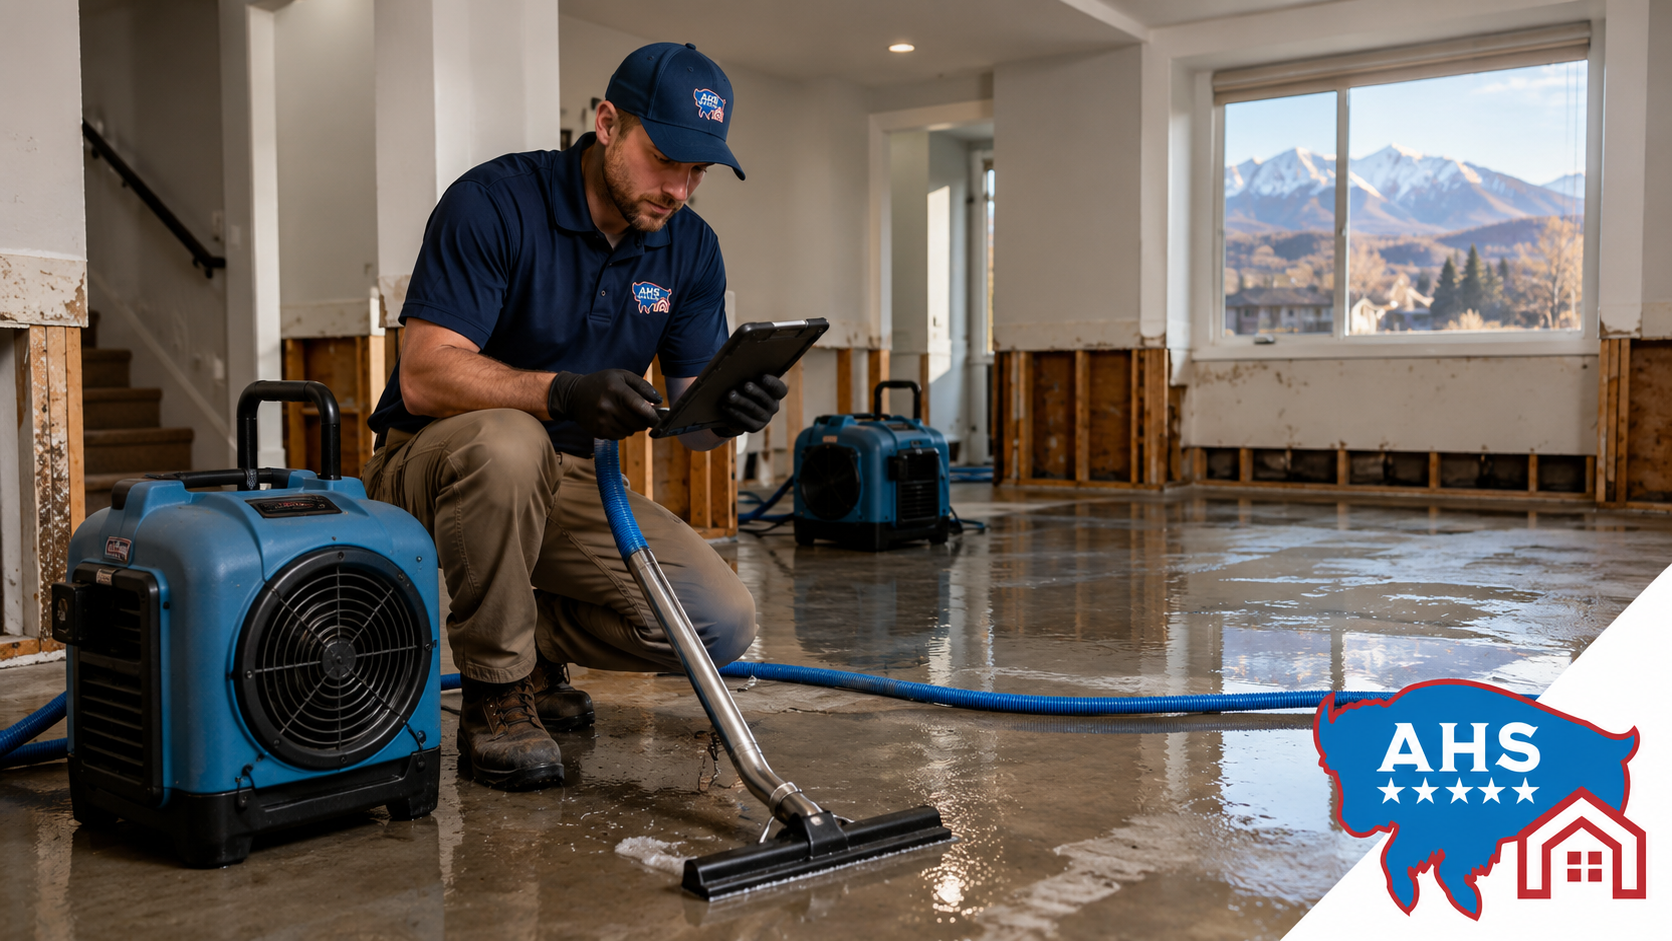
What should you document for insurance and for the plumber?
Documenting early helps you avoid confusion later. You’re capturing proof of cause, time, and extent.
Documentation checklist (10 minutes)
- Wide photos of the room and the heater location
- Close-ups of the leak area (top fittings, relief line, drain valve, or base)
- Photos of affected materials (flooring edges, baseboards, cabinet toe-kicks)
- A quick timeline note: “found at __; shutoffs at __; first cleanup at __”
- Photos of any wet contents before you discard anything
If you need the “documentation + drying + monitoring” overview kept in one canonical place, use: Water Damage Restoration
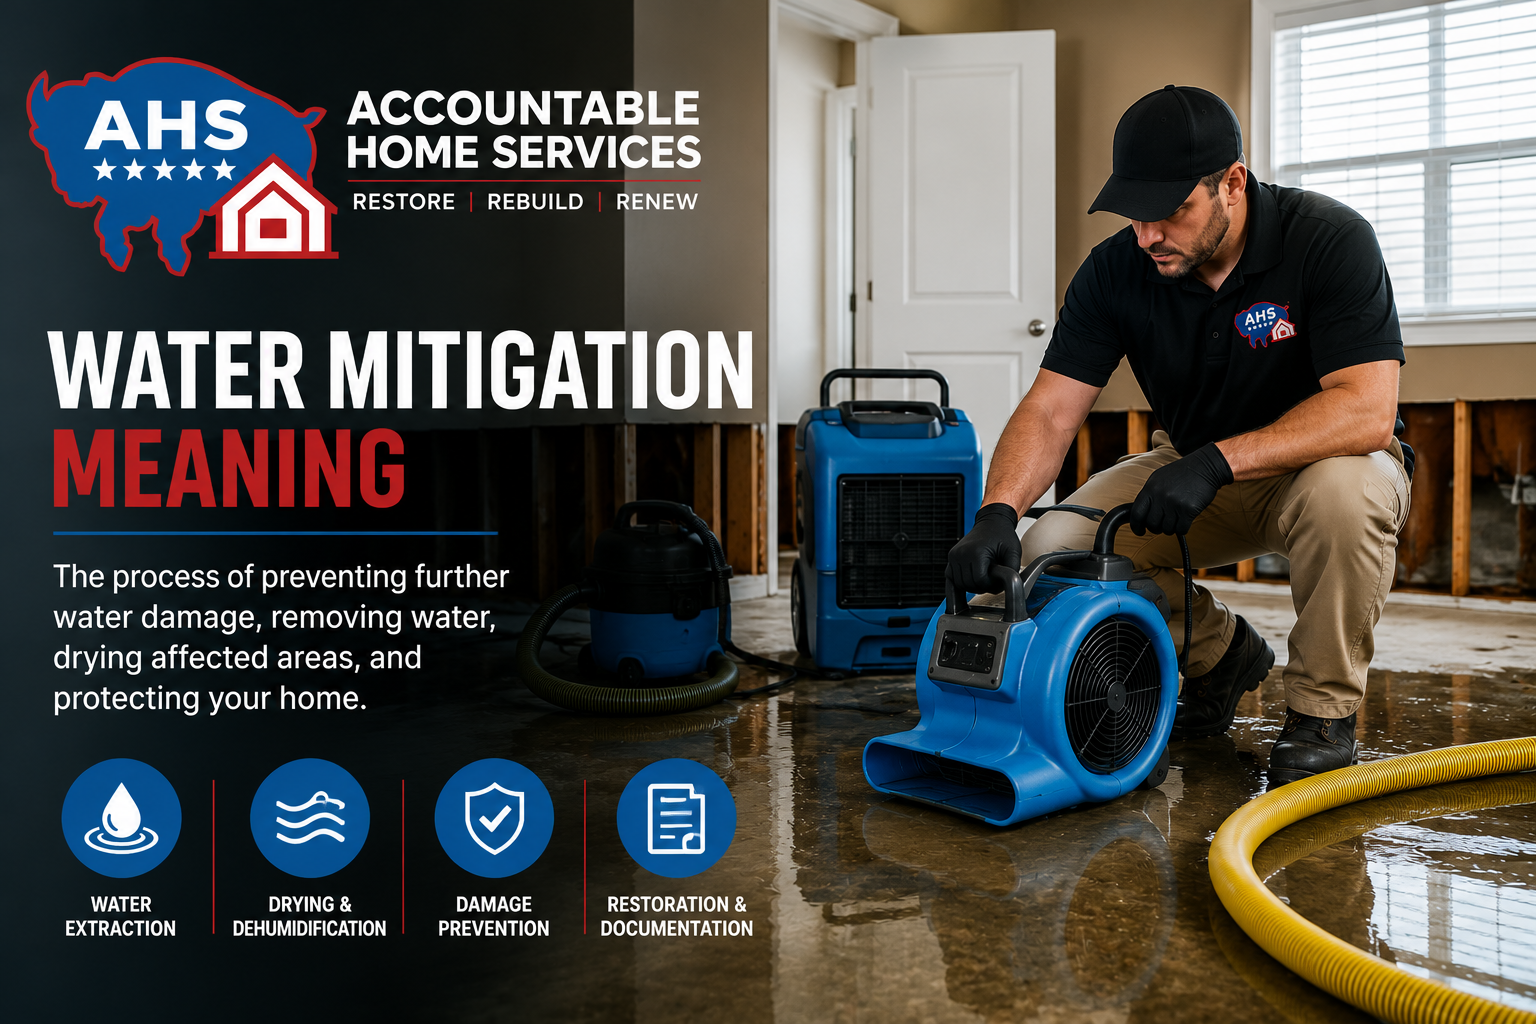
What does restoration usually involve after a water heater leak?
Restoration after a water heater leak is usually a staged workflow: remove water → dry the structure → verify dryness → repair/restore finishes.
At a high level, you can expect:
- Extraction/removal of standing water (if present)
- Controlled drying for affected walls/floors/cabinets (not just the visible surface)
- Humidity control to keep drying efficient
- Monitoring and adjustments until moisture readings show materials are dry
- Repair/rebuild of materials that swelled, delaminated, or couldn’t be dried reliably
Internal references (kept informational):
Water-heater leak mistakes that make the damage worse
The most common “damage multipliers” are leaving the heater powered, letting water spread into porous edges, or starting repairs before drying is verified.
Common mistakes / red flags
- Not shutting off power/fuel (especially if the heater is actively leaking or overheating)
- Letting water sit against cabinet toe-kicks and baseboards (they wick water and swell)
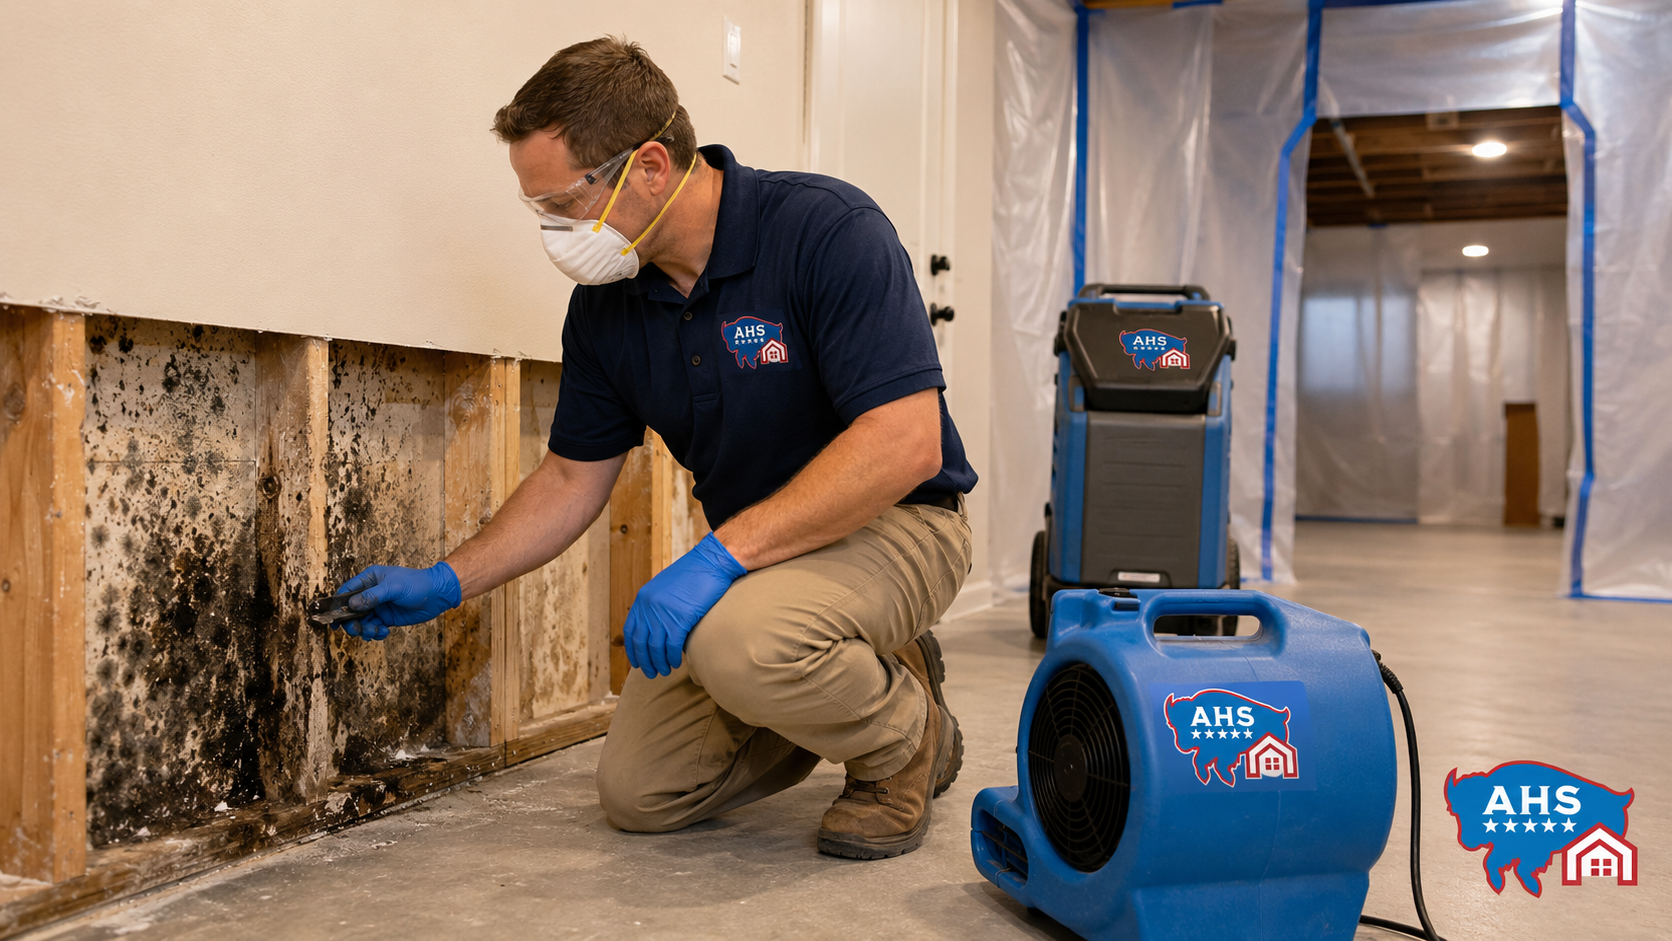
- Assuming the floor is fine because the surface looks dry (moisture can stay in layers)
- Reinstalling baseboards or flooring before you’re confident materials are dry
- Disabling or capping the T&P relief line (safety risk)
For safety context around water-heater overheating/discharge, see: National Board
Two real-world examples (what a good response looks like)
Example 1: Slow leak from the top fitting soaked the utility closet floor
The homeowner shuts off the cold-water supply to the heater and switches off the water-heater breaker. They take photos of the fitting and the wet flooring edge, move stored items off the floor, and use towels to block water from reaching adjacent carpet. Once the plumber addresses the fitting, drying focuses on flooring transitions and baseboards.
Helpful internal references:
- Extraction scope if water pooled.
- Structural drying when moisture moved into layers.
Example 2: Tank leaked from the bottom and flooded part of the basement
The homeowner shuts off the water supply and turns off the heater. Water spread across the slab and reached stored cardboard boxes, which were moved immediately. Standing water removal happens first, then drying/monitoring targets low wall edges and cabinet bases. The tank is replaced, and the restoration plan focuses on verifying dryness before finishes are rebuilt.
Frequently Asked Questions
Should I turn off the water heater if it’s leaking?
Yes in most cases—after shutting off the water supply, turning off power/fuel reduces risk and prevents the system from operating in an unsafe condition. National Board
What if I smell gas near a gas water heater?
Treat it as a safety issue: avoid flames or switches, ventilate if safe, and contact your gas utility or a qualified professional.
Do I need restoration if the leak looks small?
Sometimes a “small” leak still pushes moisture under flooring edges or into cabinets. The deciding factor is whether materials absorbed water and can be dried/verified.
Should I drain the tank right away?
In a major leak, shutting off water and power/fuel comes first. Drain decisions depend on the situation and should be done carefully.