BLOG
Water Mitigation Cost in Denver: Why Estimates Vary (and What You’re Paying For)

This guide answers one question: What drives the cost of water mitigation, and what line items should you expect to see on a mitigation estimate?
Not covered: full restoration/rebuild pricing, flooded-basement cost scenarios, or emergency first-hour steps. For the canonical overview of the full service workflow (assessment → drying → documentation), use Accountable Home Services
External references (definitions + consumer context):
- IICRC S500 overview (industry best-practice framework)
- EPA mold/moisture guidance (why drying quickly matters)
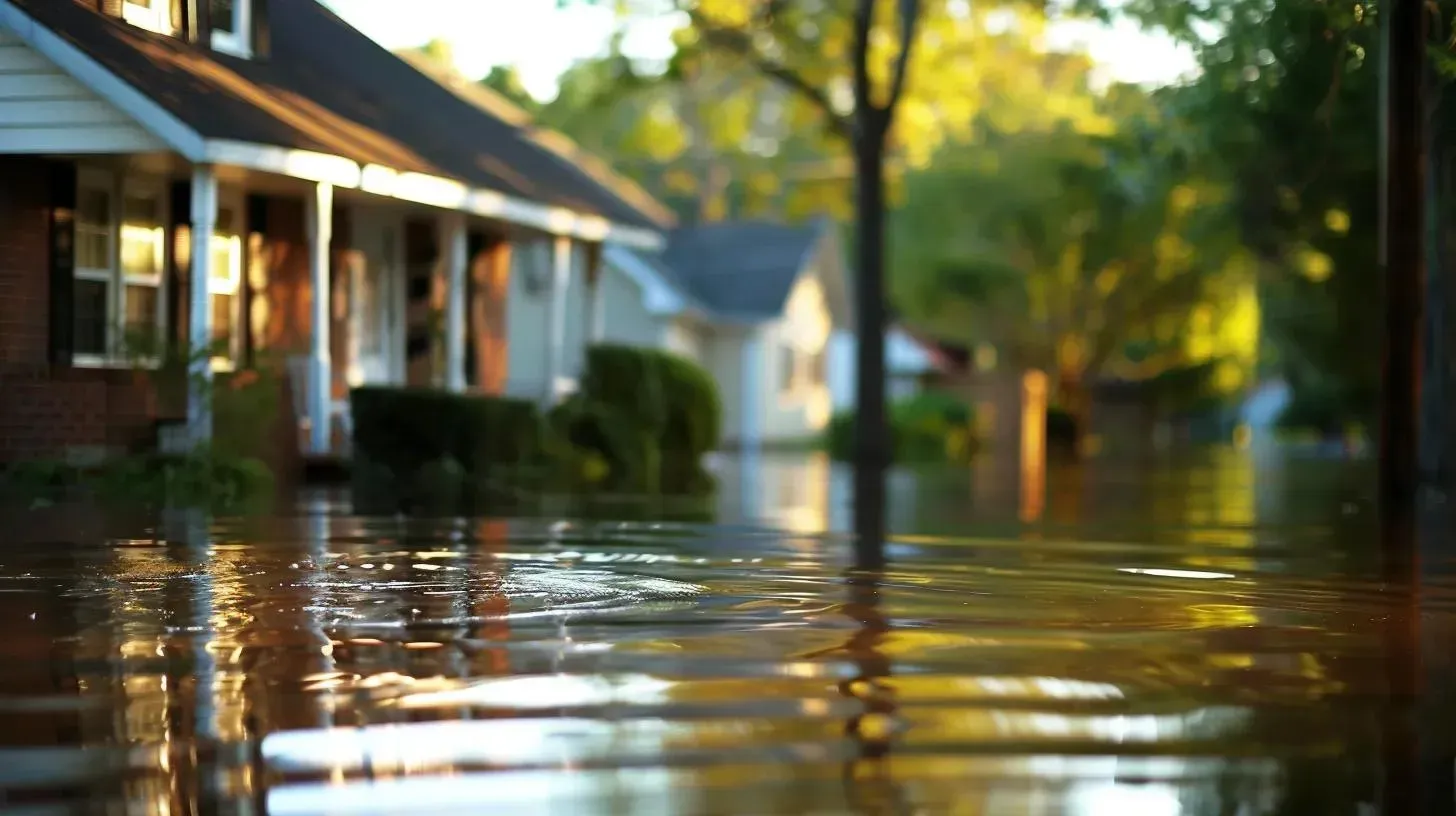
What is “water mitigation,” and where does it stop?
Water mitigation is the stabilize-and-dry phase: stopping further damage, removing water if needed, and drying the structure with monitoring until moisture levels are trending safely. It typically stops before major rebuild work (new drywall, flooring replacement, cabinetry rebuild), which is often quoted separately.
Internal scope reference: Water Mitigation
Why do water mitigation estimates vary so much?
Mitigation pricing varies because it’s driven less by a single “flat fee” and more by how long equipment must run, how much monitoring is needed, and how much hidden spread must be accessed.
In practical terms, two homes with the same visible puddle can have very different mitigation scopes if one has water under flooring and inside cabinets while the other does not.
What are you actually paying for in a mitigation estimate?
Most mitigation estimates break into a few common buckets: water removal, drying equipment and setup, humidity control, monitoring visits, and selective removal/access when materials trap moisture.
Here are the most common line items and what they mean.
Mitigation line-item table (what each charge usually covers)
| Line item you may see | What it covers (plain English) | Why it changes price | What to ask so scope is clear |
|---|---|---|---|
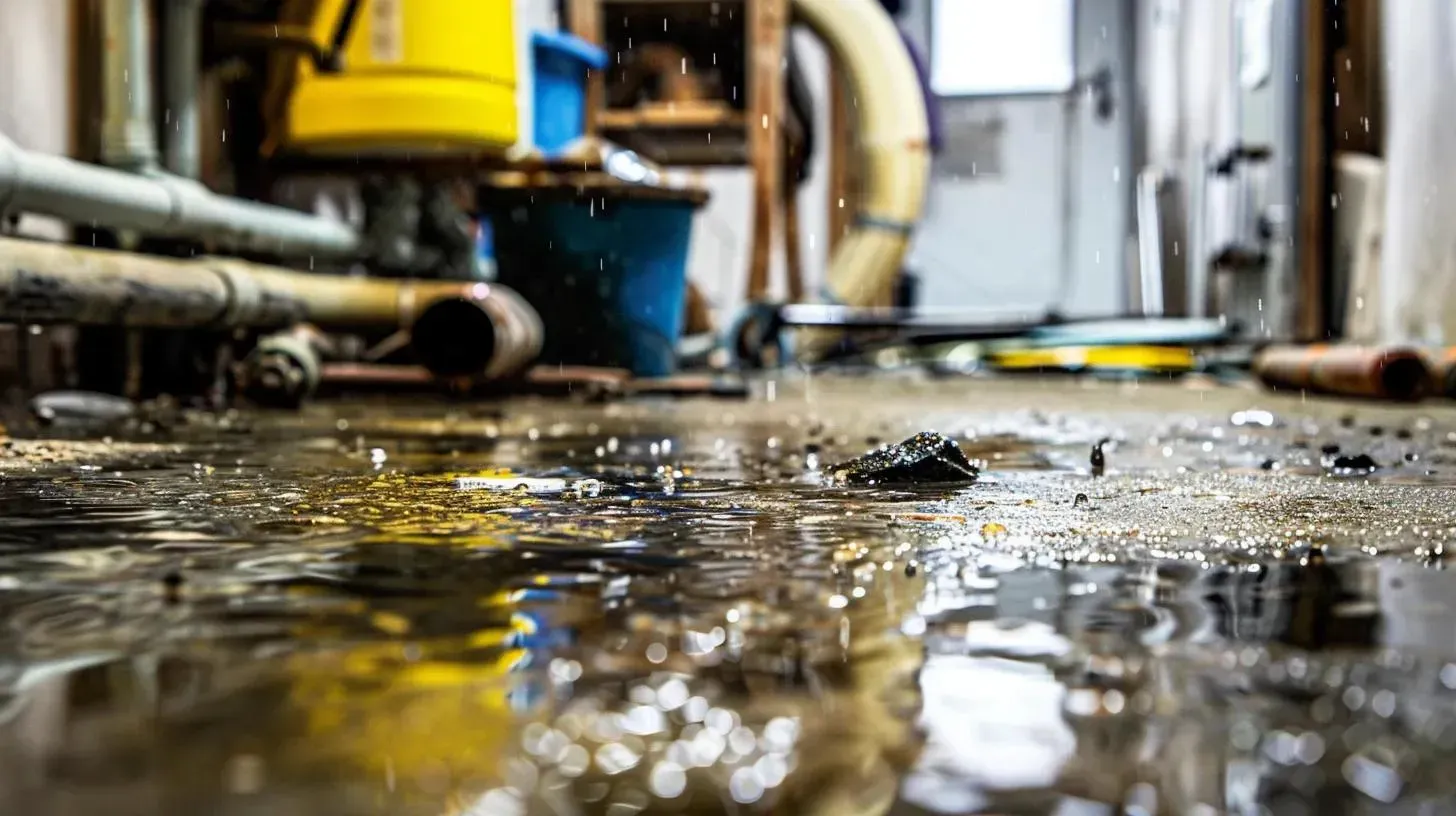
| Extraction / water removal | Removing standing water from floors, carpet, or low points | Larger area and deeper water require more time and tools | How much standing water is being removed and from where? |
| Air movers / drying equipment | High airflow to move moisture out of materials and cavities | Equipment count and days on site drive cost | How many units, and for how many days? |
| Dehumidification | Pulling moisture out of the air so drying stays efficient | High humidity or lots of wet materials increase demand | What humidity targets are you aiming for? |
| Moisture mapping / documentation | Defining what’s wet versus dry and documenting boundaries | Hidden spread requires more mapping and notes | Which rooms or materials are inside the drying boundary? |
| Monitoring visits (adjustments) | Re-checking moisture readings and repositioning equipment | Longer dry-down or complex assemblies require more visits | How often will moisture be checked, and what readings define dry? |
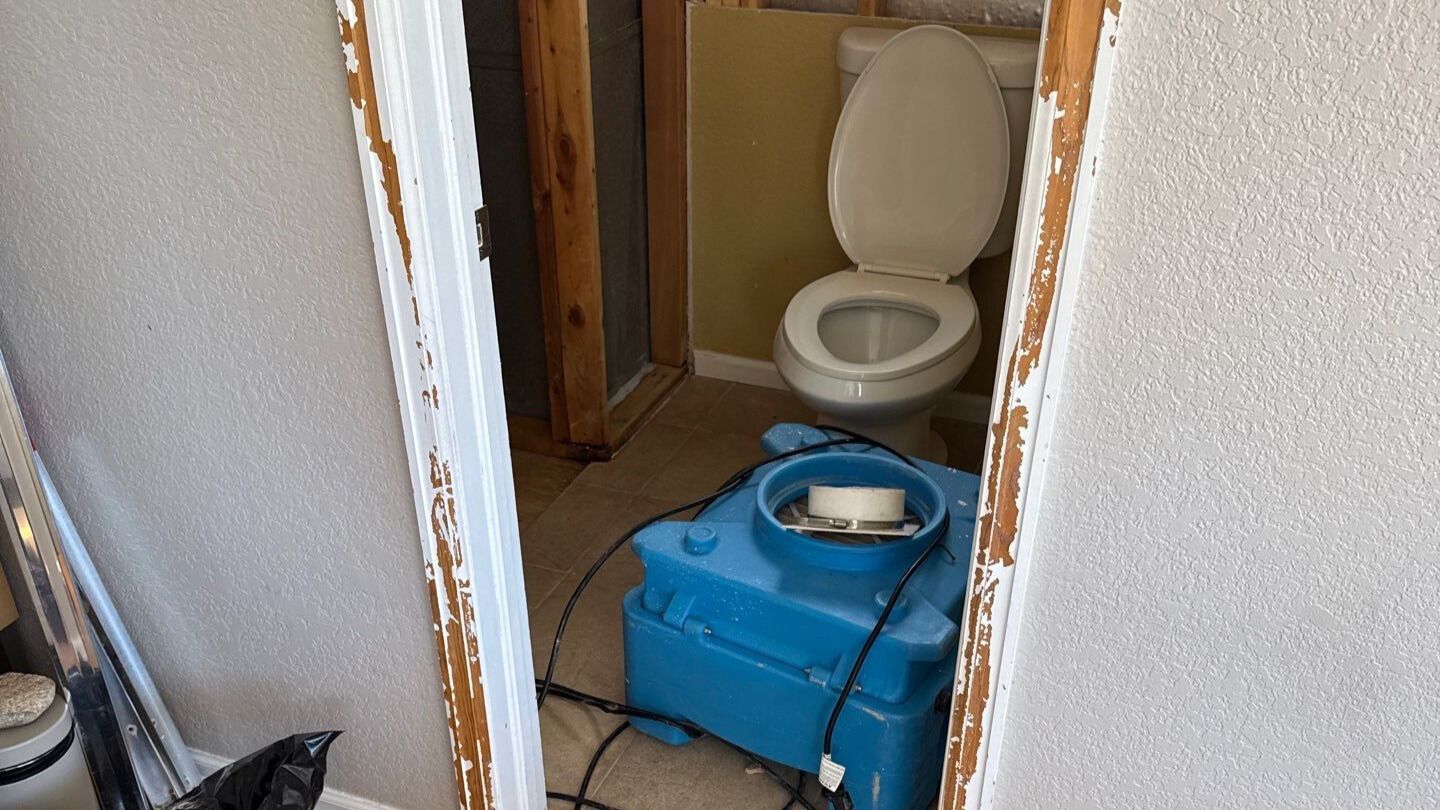
| Selective demo / access | Removing baseboards, cutting access points, pulling toe-kicks | Needed when moisture is trapped in layers | What is being removed for access, and why is it necessary? |
| Contents manipulation | Moving or raising items to access wet zones and prevent wicking | More contents equal more labor | What items need to be moved, and can I prep the area? |
| Cleaning / sanitizing steps | Basic cleaning appropriate to the water source | Dirty or unknown water requires more precautions | How is the water categorized, and what cleaning steps are included? |
Internal references for these scope buckets (kept informational):
- Standing water removal
- Structural drying and monitoring
- Dehumidification
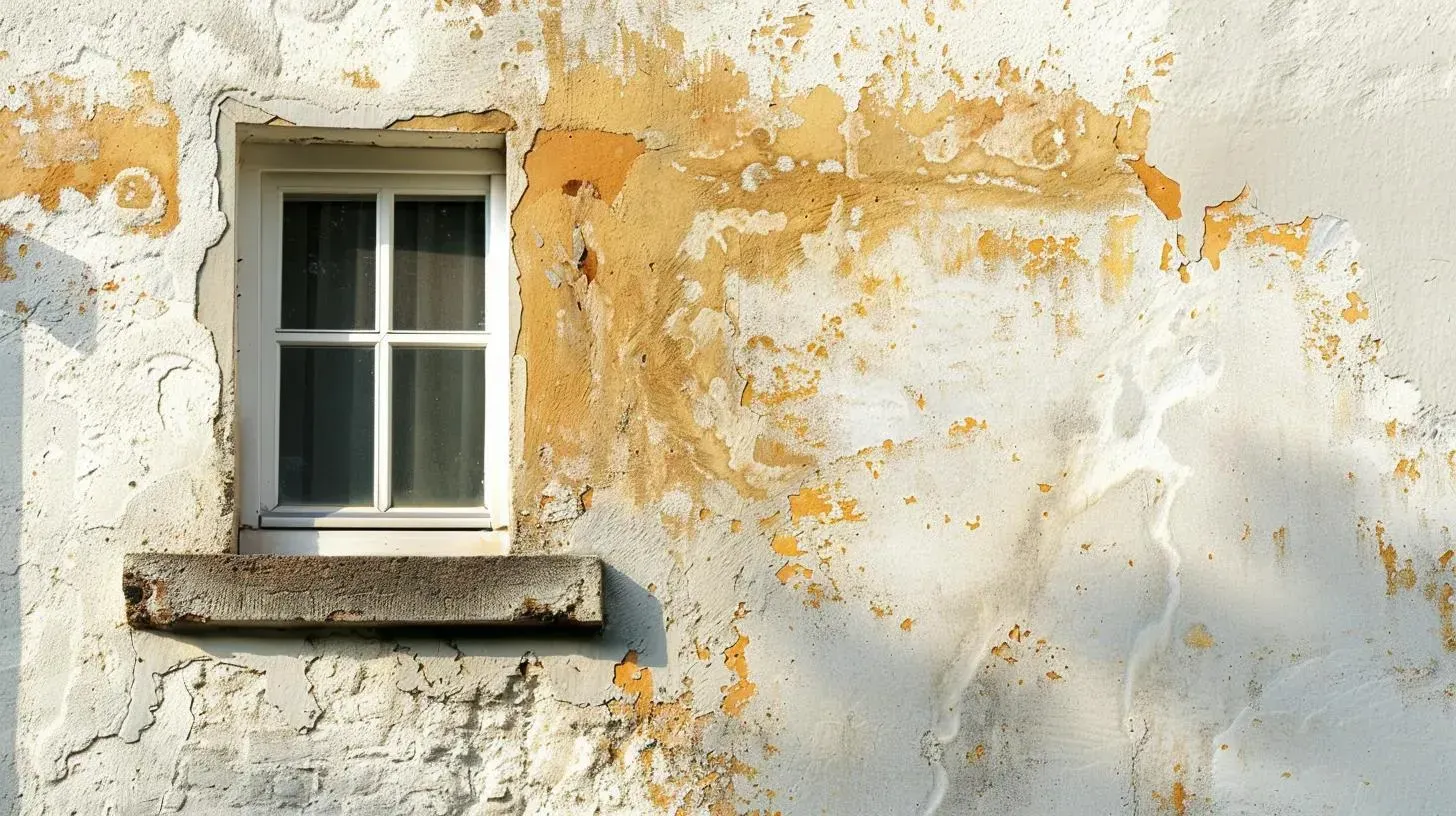
What makes mitigation take longer (and cost more) even when it looks “small”?
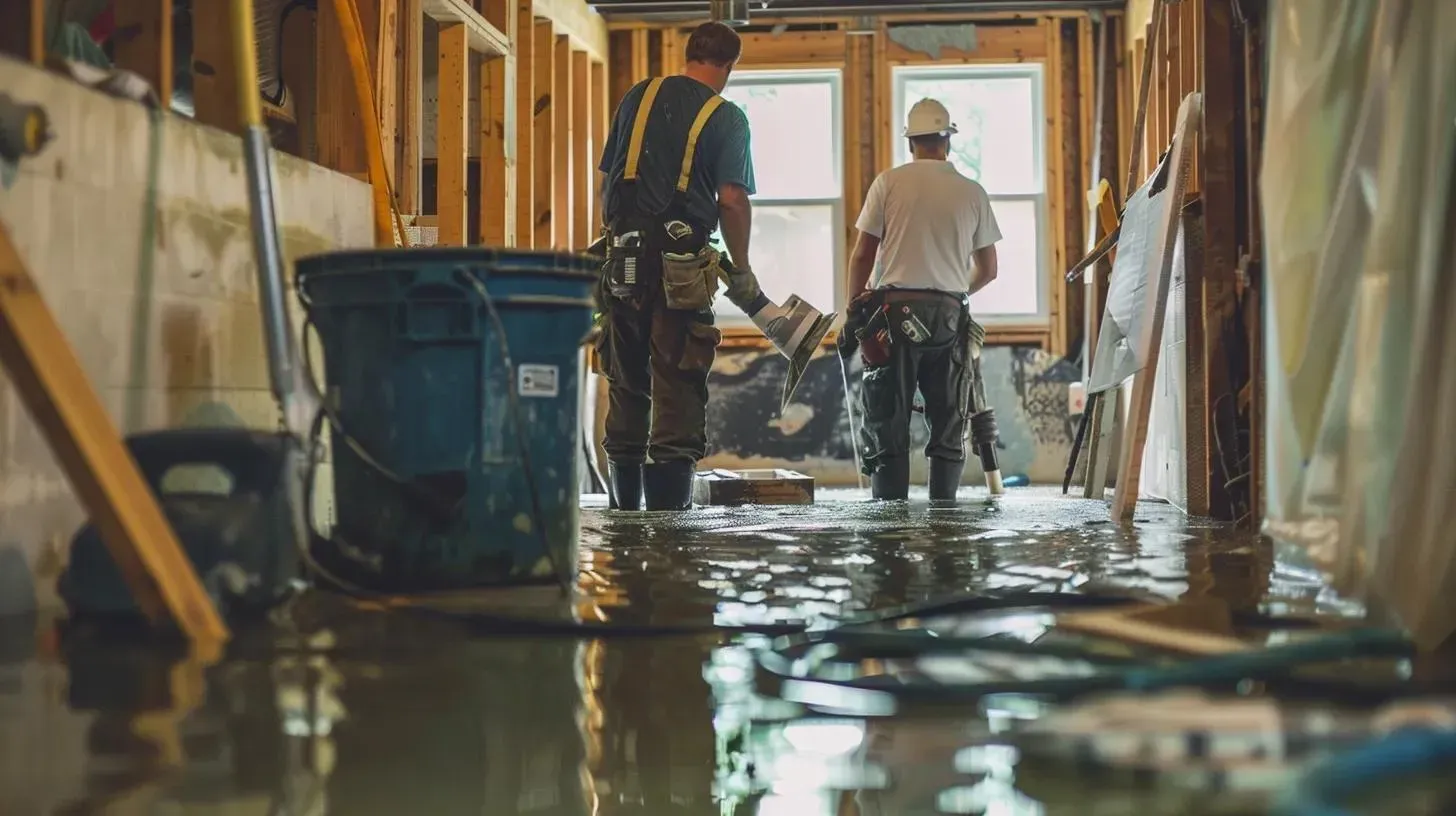
Mitigation often runs longer when water gets into layered assemblies—carpet padding, underlayment, subfloors, cabinet bases, and wall cavities. Those areas can’t be “towel-dried,” and they usually require longer equipment time and monitoring.
The biggest cost multipliers tend to be:
- Water under flooring edges and transitions
- Moisture inside cabinet toe-kicks and sink bases
- Wet drywall bottoms and insulation in wall cavities
- High indoor humidity from lots of wet materials
Checklist: how to compare two mitigation proposals (without guessing)
The best proposal is usually the one with the clearest boundaries and verification plan, not the one with the shortest equipment list.
Use this checklist:
- Does the proposal define the drying boundary (rooms + materials included)?
- Is equipment listed with both quantity and expected days?
- Is there a stated plan for monitoring visits and adjustments?
- Does it explain how “dry” will be verified (readings, targets, documentation)?
- If access/removal is included, is it explained (what is removed and why)?
- Are exclusions clear (repairs/rebuild, flooring replacement, cabinetry rebuild, contents restoration)?
Common mistakes that inflate mitigation cost later
Most “unexpected” cost increases happen when drying is stopped early or when hidden moisture is ignored.
Red flags
- Equipment removed early because “it feels dry” (without a verification plan)
- No written drying boundary (unclear what’s included)
- Repairs scheduled immediately while drying is still in progress
- No plan to address moisture under flooring edges or inside toe-kicks
EPA guidance emphasizes controlling moisture and drying/cleanup rather than cosmetic cover-ups.
Two realistic mitigation scenarios (how scope changes the price)
Scenario 1: Clean-water supply leak in one room, caught quickly
There’s minimal standing water, but carpet padding and baseboards are damp. The mitigation scope is usually: targeted extraction (if needed), drying equipment for a few days, dehumidification, and a couple of monitoring visits to verify materials are trending dry.
Related internal scopes:
- Extraction/removal
- Structural drying/verification
Scenario 2: Water reached cabinets and traveled under flooring edges
The surface may look improved quickly, but moisture under flooring and inside toe-kicks often requires longer equipment time, more monitoring cycles, and sometimes selective access/removal to dry correctly. The cost driver here is usually “hidden spread + time-on-equipment,” not the initial puddle.
Frequently Asked Questions
Is mitigation the same as restoration?
Not exactly. Mitigation is the stabilize-and-dry phase. Restoration often includes return-to-normal work and may include rebuild/repairs.
Why do some mitigation jobs feel expensive for a ‘small’ leak?
Because the bill often reflects equipment time, monitoring labor, and access needs—especially when moisture spreads into layers under floors or inside cabinets.
What’s the single best question to ask about mitigation cost?
Ask: “What is the drying boundary and how will you verify materials are dry?” Clear boundaries and verification usually predict fewer surprises.