How Much Does Water Remediation Cost for a Small Bathroom in Thornton, CO?
How Much Does Water Remediation Cost for a Small Bathroom in Thornton, CO?
A small bathroom water loss can look contained, but the cost can change quickly once moisture gets behind baseboards, under flooring, into drywall, or below the toilet flange. The Local Restoration Guide helps Thornton and Denver metro homeowners, plumbers, insurance agents, and property managers understand what usually drives the bill, what belongs in mitigation versus repairs, and why a moisture assessment matters before anyone gives a reliable estimate.
How much cost to do water remediation in small bathroom?
For a small bathroom, the honest answer is that the water remediation cost depends on what is wet, how long it stayed wet, and whether the water is clean, gray, or contaminated. A minor clean-water supply line leak caught early may involve limited bathroom water cleanup, a short drying period, and modest material removal. A toilet overflow water damage situation, shower leak water damage behind a wall, or water damaged flooring that reaches the subfloor can require more labor, more equipment, and more careful disposal.
National cost discussions often show wide ranges because they combine very different losses: small clean-water leaks, sewage backups, multi-room floods, mold work, and reconstruction. That is why a single flat number is not very useful for bathroom water remediation. In Thornton, the more useful question is what a technician finds with moisture meters, thermal imaging when appropriate, and hands-on inspection of drywall, flooring, trim, vanity cabinets, insulation, and subflooring.
A professional estimate should separate the emergency drying work from later finish repairs. The initial water mitigation cost Thornton homeowners see may include extraction, containment if needed, demolition of unsalvageable materials, antimicrobial treatment where appropriate, equipment placement, monitoring visits, and drying documentation. Reconstruction costs, such as replacing tile, drywall texture, paint, trim, flooring, or cabinetry, are usually a separate phase.
Why small bathroom water damage cost varies so much
Small bathrooms have compact square footage, but they also have many failure points in one tight area. A toilet, sink, shower, tub, supply lines, drain lines, caulk joints, valves, and flooring penetrations can all direct water into hidden spaces. Because of that, small bathroom water damage cost is often less about room size and more about material layers and contamination risk.
The biggest pricing factors usually include:
- Source of water: Clean water from a supply line is generally simpler to dry than gray water from certain drain or appliance sources. Black water or sewage-related damage requires stricter handling, removal, and disposal.
- Duration of exposure: Water discovered within hours is different from bathroom leak water damage that has been active for days or weeks. Longer exposure increases swelling, delamination, odor, and mold risk.
- Affected materials: Wet drywall bathroom areas may be cut and removed if they cannot be dried safely. Flooring, vanity toe-kicks, particleboard cabinets, insulation, and subflooring can change the scope significantly.
- Amount of water extraction needed: Standing water requires extraction before drying. The water extraction cost rises when water has spread under flooring, into adjacent rooms, or into wall cavities.
- Number of drying days: A small loss may dry quickly if materials are accessible and airflow is strong. Dense flooring systems, cold surfaces, poor ventilation, or trapped moisture can extend drying time.
- Contaminated material removal: If water came from a toilet backup, sewage line, or long-standing leak with microbial growth, porous materials may need to be removed rather than dried in place.
This is also why a phone quote can be misleading. A restoration professional can discuss likely ranges, but the actual water remediation cost Thornton CO homeowners face should be based on moisture readings, category of water, affected square footage, and what materials can reasonably be saved.
What water mitigation includes
Water mitigation is the emergency cleanup and drying phase. Its purpose is to stop the damage from spreading, remove water, dry affected materials, reduce mold risk, and create documentation that shows what happened and what work was performed. It is not the same as putting the bathroom back together cosmetically.
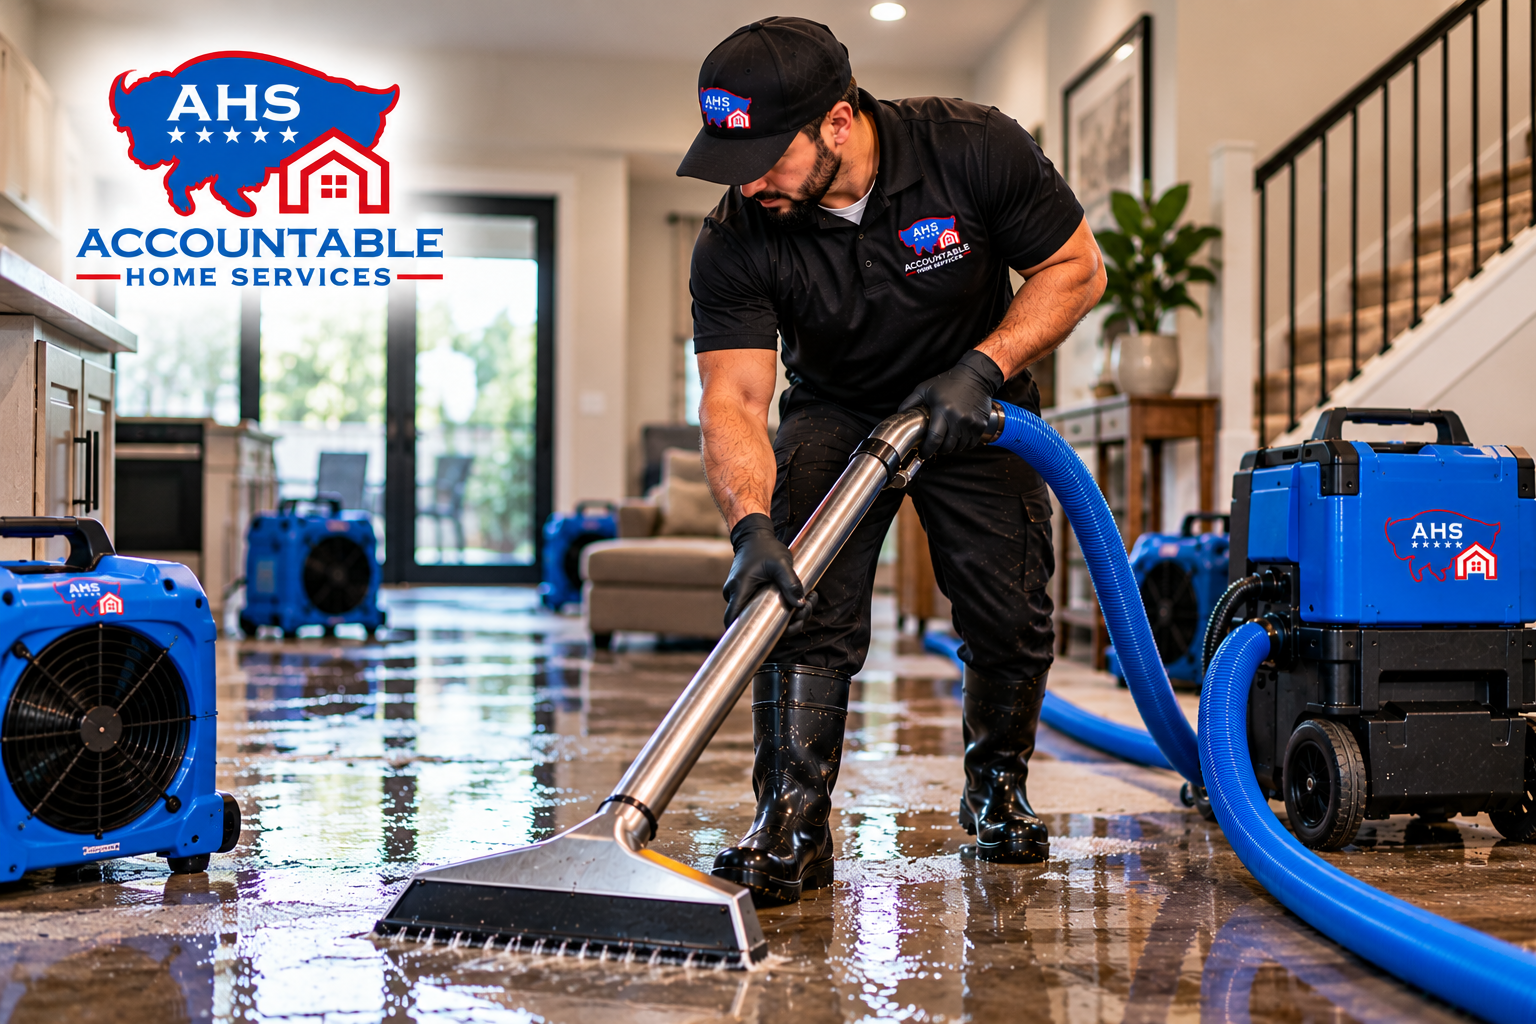
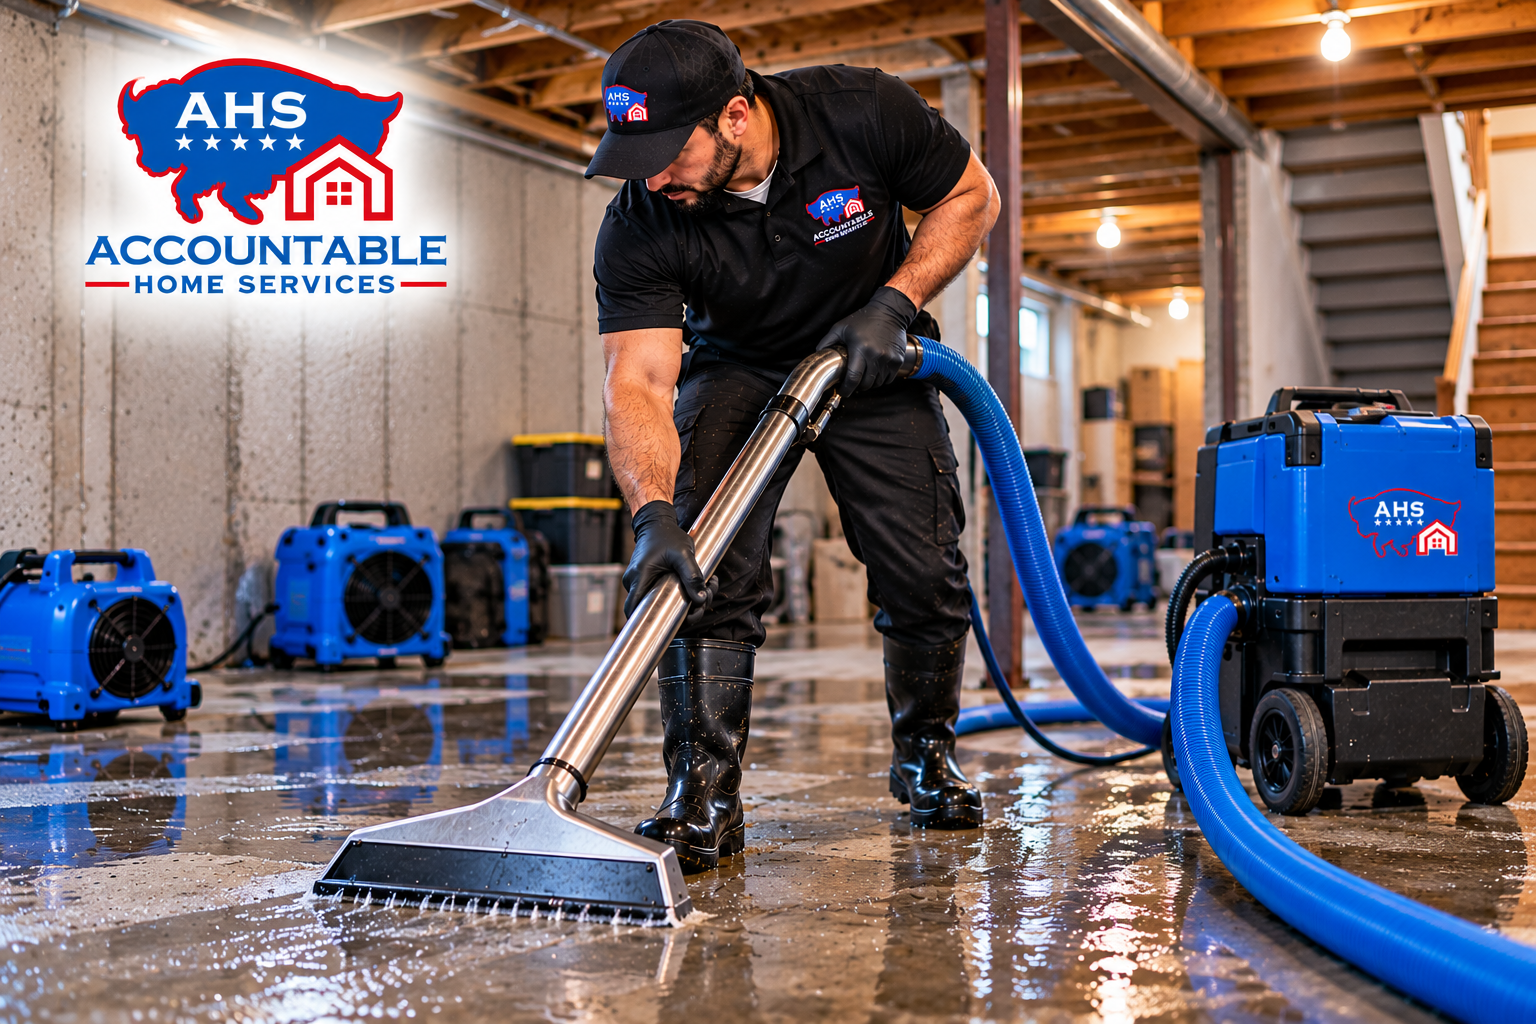
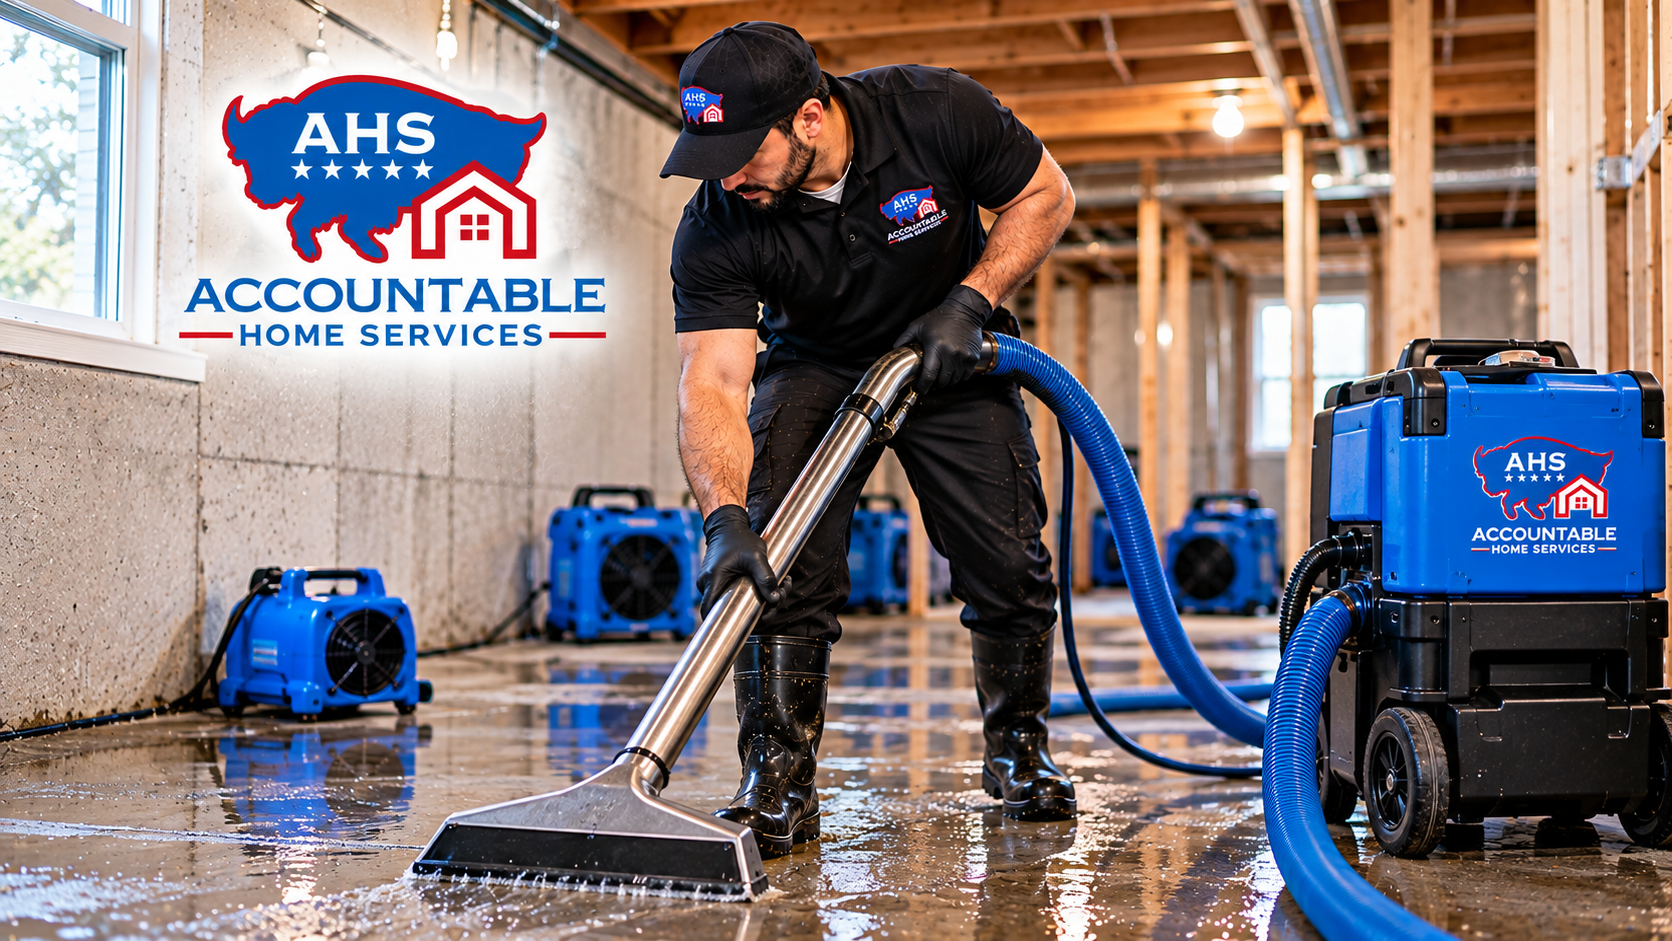
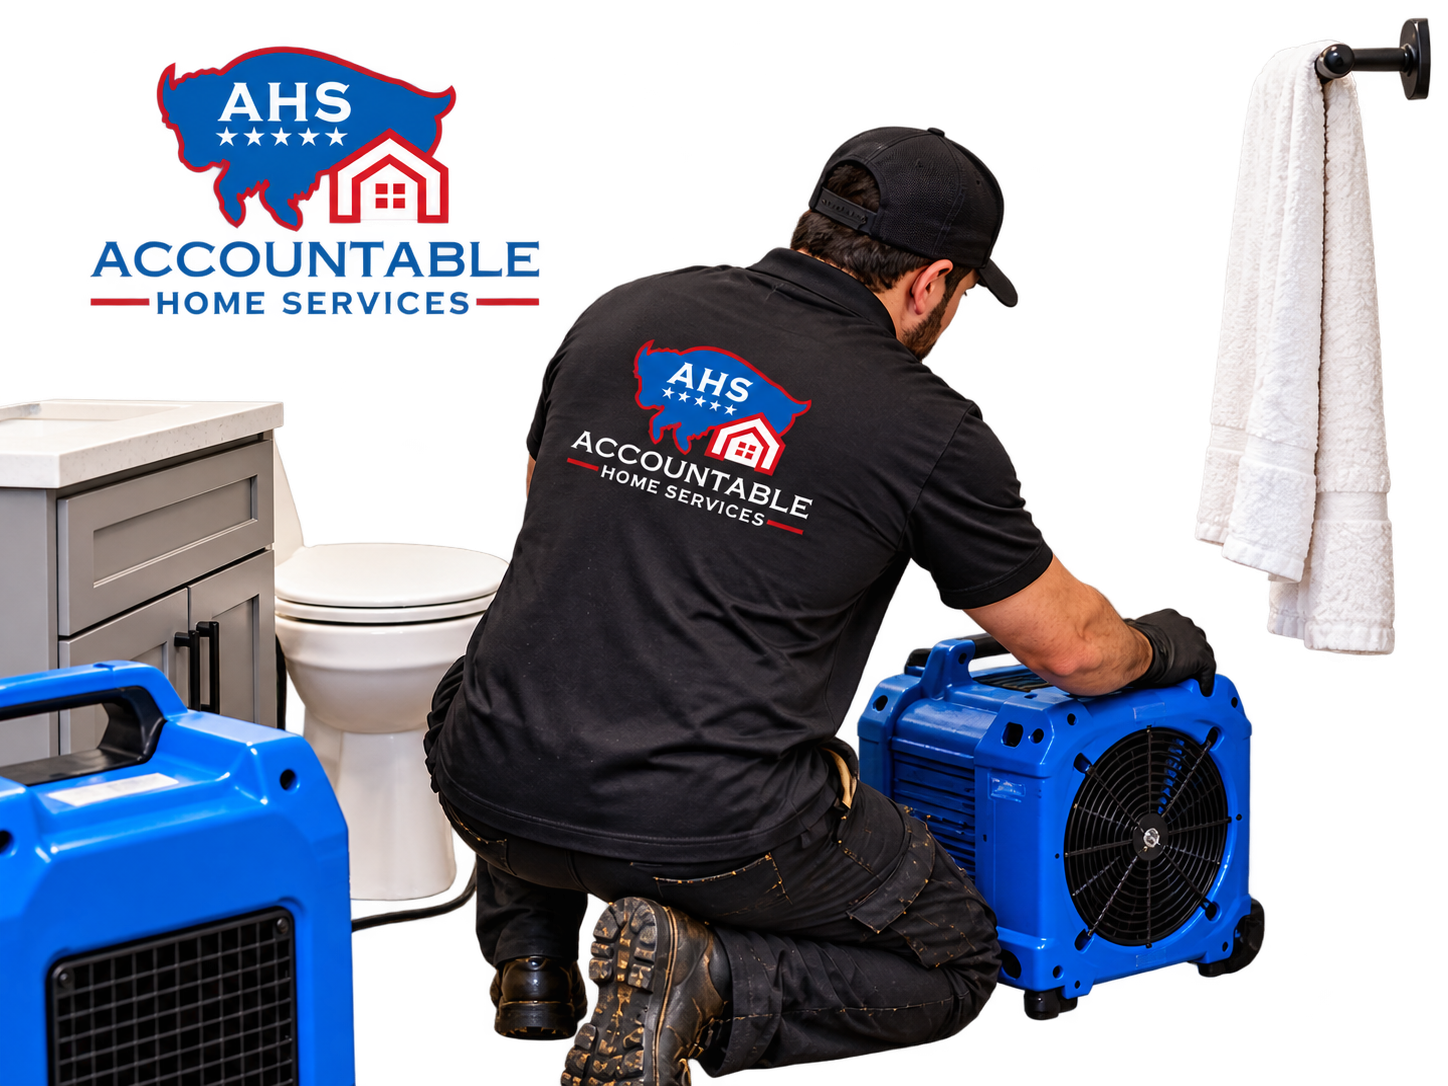
Typical mitigation for bathroom water damage Thornton properties may include stopping the source after the plumber has made repairs, extracting water, removing wet baseboards or damaged flooring, opening wall cavities when needed, setting air movers and dehumidifiers, and checking moisture levels over several days. In a structural drying bathroom situation, the technician is not simply “running fans.” They are trying to create controlled airflow and humidity conditions so framing, subflooring, drywall edges, and cavities dry to acceptable levels.
This phase often includes daily or periodic monitoring. Moisture documentation is important for homeowners, but it is also useful for insurance agents, property managers, and plumbers who need clear communication. Good documentation can show the source area, affected materials, readings, equipment used, drying progress, photos, and notes about material removal.
Reconstruction and finish repairs are separate costs
After mitigation, the bathroom may still need reconstruction. This can include drywall replacement, texture, paint, tile work, flooring installation, trim, vanity repair or replacement, toilet reset, shower enclosure repairs, or other finish work. These items are usually priced separately because they involve different trades, materials, timelines, and sometimes different insurance claim categories.
This distinction matters when comparing estimates. One company may provide only emergency bathroom water cleanup and drying. Another may include both mitigation and reconstruction. If those phases are blended together without explanation, homeowners can struggle to understand whether they are paying for drying, demolition, rebuild, or upgrades.
For insurance claims, separating the phases also helps reduce confusion. Sudden and accidental losses may be handled differently from long-term leaks, maintenance issues, or flood-related damage. The restoration estimate should not replace the insurance carrier’s coverage decision, but clear scope notes and photos can make the claim easier to review.
What happens with mold after bathroom leak?
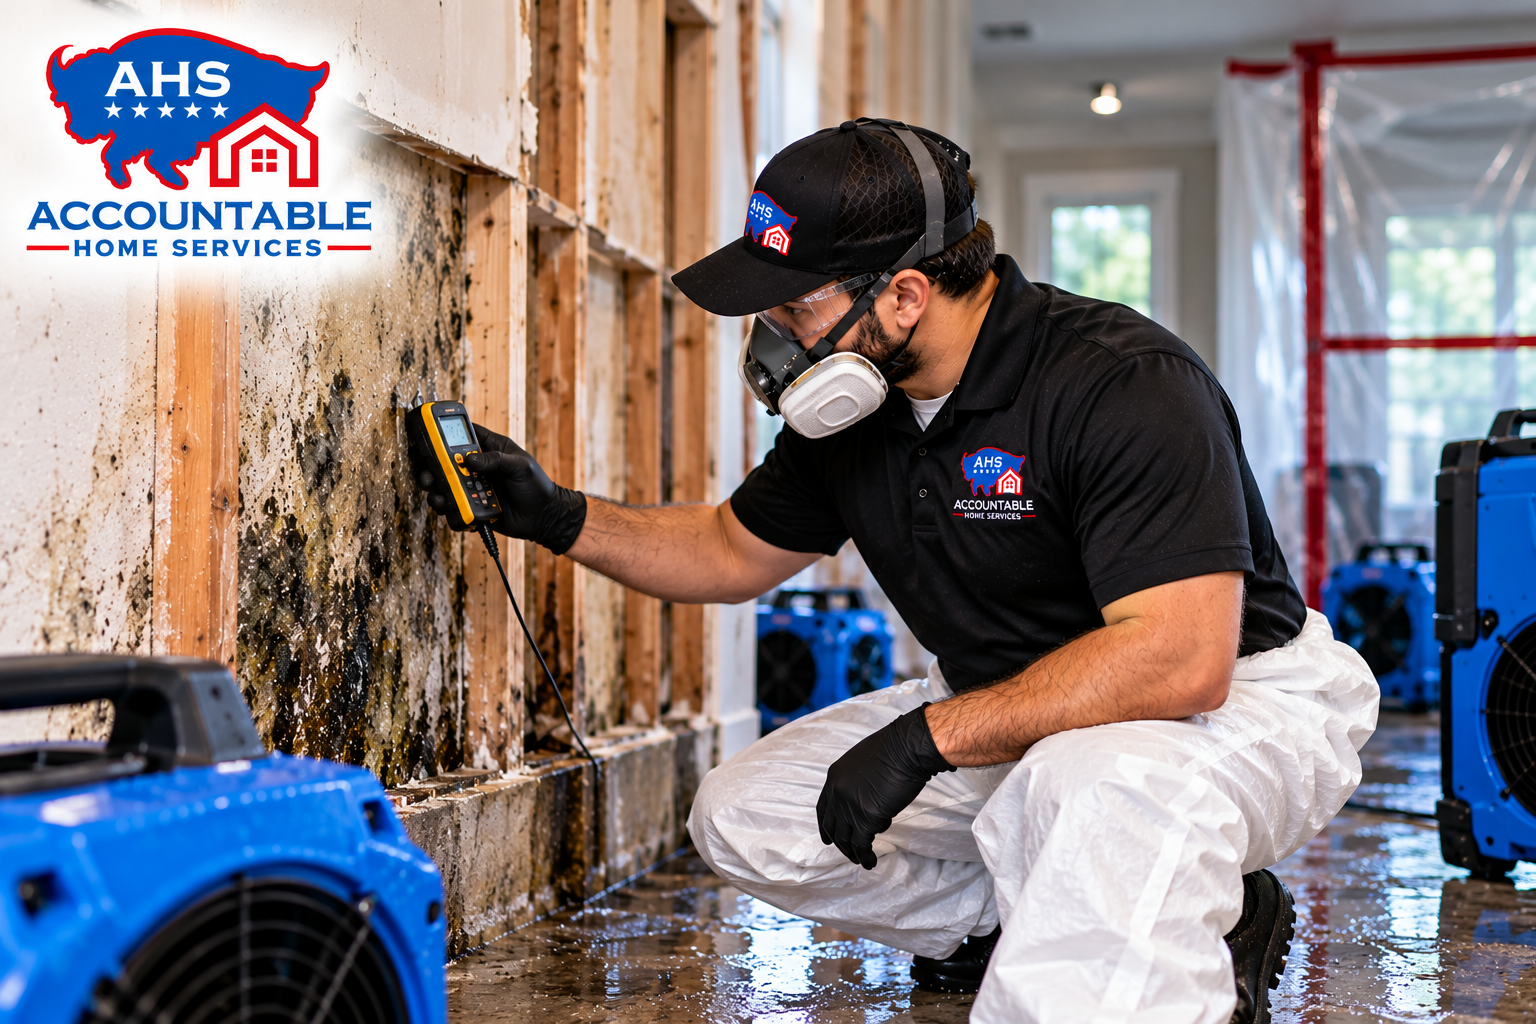
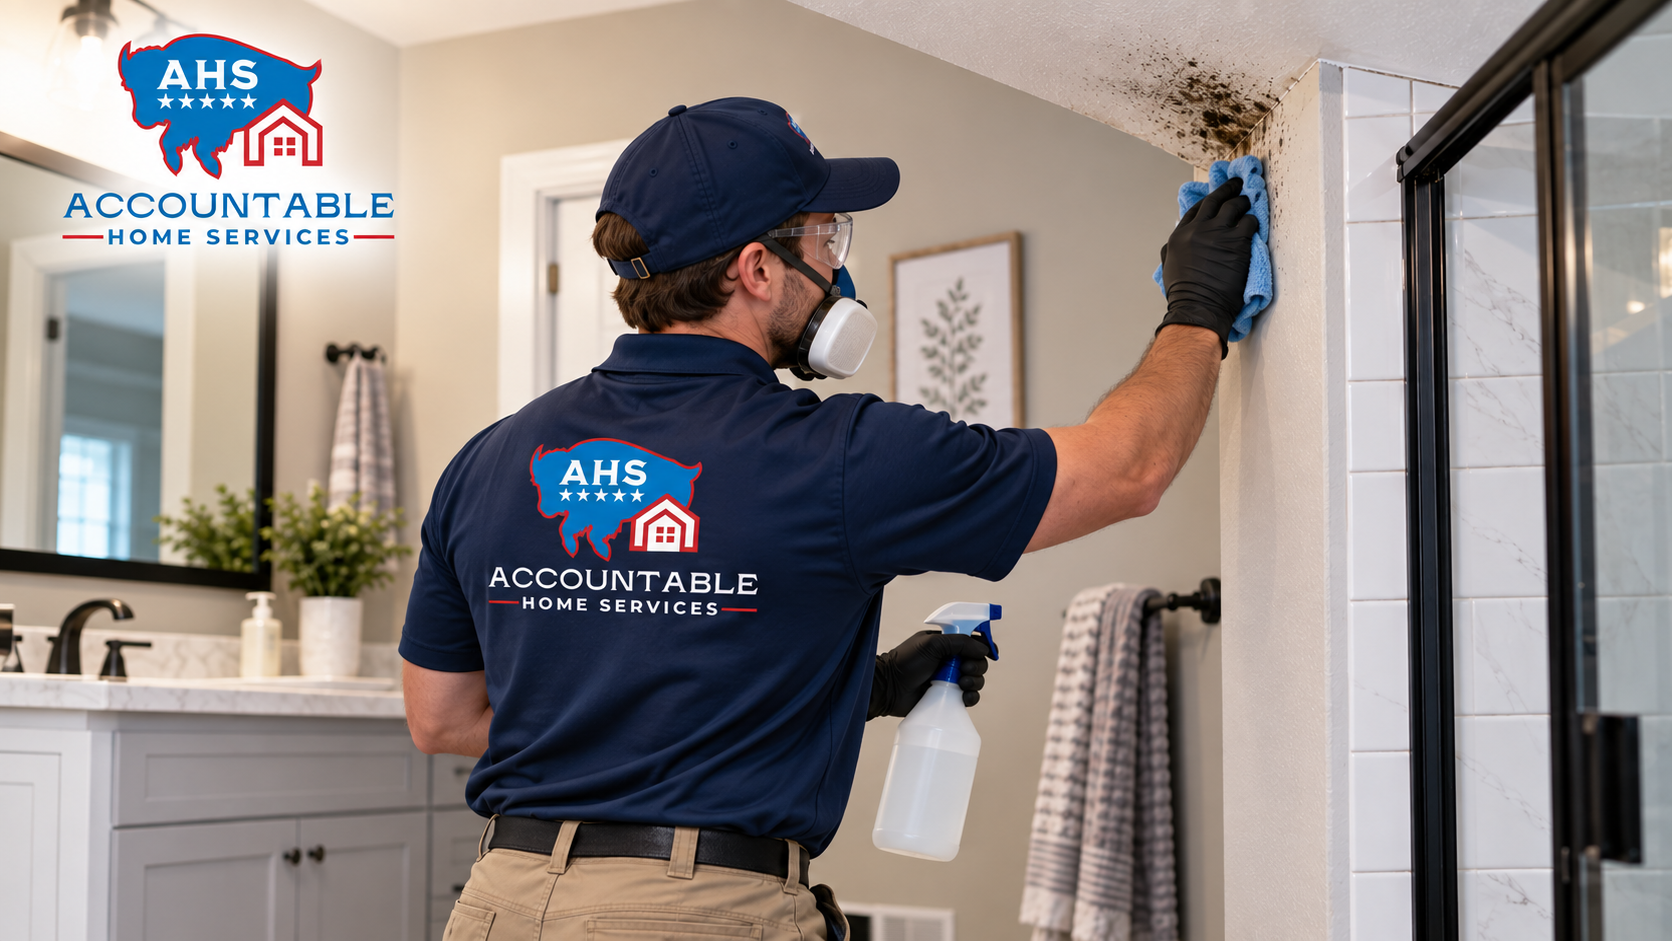
Mold after bathroom leak becomes a concern when moisture remains in porous materials long enough for growth conditions to develop. Bathrooms already have regular humidity, limited ventilation in some homes, and many concealed spaces where moisture can linger. If wet drywall, insulation, subflooring, or vanity materials stay damp, a simple water loss can become a larger remediation issue.
Early response helps control both risk and cost. If water is clean and addressed quickly, technicians may be able to dry more materials in place. If the leak has been hidden behind a shower wall, under vinyl flooring, or below a toilet for an extended period, the team may need to remove affected materials and evaluate whether mold remediation is necessary.
Homeowners should avoid painting over stains, sealing damp walls, or reinstalling flooring before the materials are dry. Those steps can trap moisture and create a worse problem. A professional moisture assessment helps determine whether the bathroom is truly dry or only looks dry at the surface.
Bathroom scenarios that change the scope
Different sources create different work plans. A sink supply leak caught the same day may involve limited extraction, baseboard removal, and focused drying. A shower leak water damage situation may require investigation behind tile, around the shower pan, near the curb, or in the wall shared with another room.
Toilet overflow water damage can be more complicated because the water category depends on the source and contents of the overflow. Clean tank water is different from a bowl overflow or drain backup. When contamination is involved, carpet outside the bathroom, drywall, underlayment, and porous flooring materials may need removal rather than drying.
Water damaged flooring is another common cost driver. Sheet vinyl can trap water below the surface. Laminate can swell. Tile may look fine while moisture remains in underlayment or subflooring. A small visible area does not always mean the affected area is small.
Safe first steps before the restoration team arrives
If the situation is safe, quick action can reduce the final water treatment cost and help protect an insurance claim. Do only what you can do without risking electrical shock, contamination exposure, or further property damage.
Helpful first steps include:
- Stop the source if possible. Shut off the fixture valve or main water valve if the leak is active.
- Call the right trade. A plumber should repair the failed pipe, valve, toilet, drain, or shower component. A restoration company handles drying and damage control.
- Document before cleanup. Take photos and short videos of standing water, wet materials, the source area, and affected rooms.
- Remove small loose items. Move rugs, toiletries, wastebaskets, and storage items if they are not contaminated.
- Avoid unsafe DIY drying. Do not pull contaminated materials without protection, cut walls randomly, or aim household fans at sewage-affected areas.
- Notify insurance promptly. Ask your carrier or agent what documentation they want and whether emergency mitigation is authorized under the policy.
These steps are practical, but they do not replace professional inspection. In a bathroom, moisture can travel behind trim, under thresholds, and into adjacent rooms while the surface appears manageable.
Local considerations in Thornton and the Denver metro area
Water damage restoration Thornton work often involves homes with varied construction styles, from older properties with layered flooring to newer homes with engineered materials that react differently to water. Dry indoor air may help some drying conditions, but it does not guarantee that trapped moisture inside walls or under flooring will resolve on its own. Bathrooms are especially prone to hidden moisture because plumbing penetrations and finish materials conceal the path water takes.
For plumbers, the key handoff point is when the leak is repaired but building materials are wet. For property managers, speed and communication are critical because tenant disruption, owner concerns, and documentation all matter. For insurance agents, a restoration partner should provide clear photos, moisture readings, notes, and a reasonable scope without making the claim process harder than it already is.
What a proper estimate should explain
A good estimate should show what the homeowner is actually paying for. It should identify the water source, category concerns, affected rooms, wet materials, extraction needs, demolition scope, equipment plan, monitoring schedule, and whether reconstruction is excluded or included. If the estimate simply lists a total without explaining the work, it is hard to judge whether the price is fair.
Before approving work, homeowners can ask:
- What materials are wet, and how was that confirmed?
- Is this clean water, gray water, or contaminated water?
- What can be dried, and what must be removed?
- How many drying days are expected, and how will progress be measured?
- Are mitigation and reconstruction listed separately?
- What photos, readings, and documents will be available for insurance review?
The best answer may not be the cheapest answer. It should be the clearest, best-supported scope for returning the bathroom to a dry, safe, and repair-ready condition.
The practical takeaway
Bathroom water remediation is priced by conditions, not by room label. A small bathroom can be a minor cleanup or a complicated loss depending on water source, exposure time, wet materials, extraction needs, drying days, and contamination. The most reliable next step is a prompt moisture assessment followed by a written scope that separates mitigation from reconstruction.
The Local Restoration Guide recommends acting quickly, documenting carefully, and involving the right professionals early. That approach helps protect the property, supports clearer insurance communication, and gives homeowners, plumbers, agents, and property managers a more dependable path through a stressful situation.