What to Do Immediately After Water Damage in Denver (First Hour + First 24 Hours)
This guide covers what to do in the first 10 minutes, first hour, and first 24 hours after water damage to stay safe and reduce secondary damage.
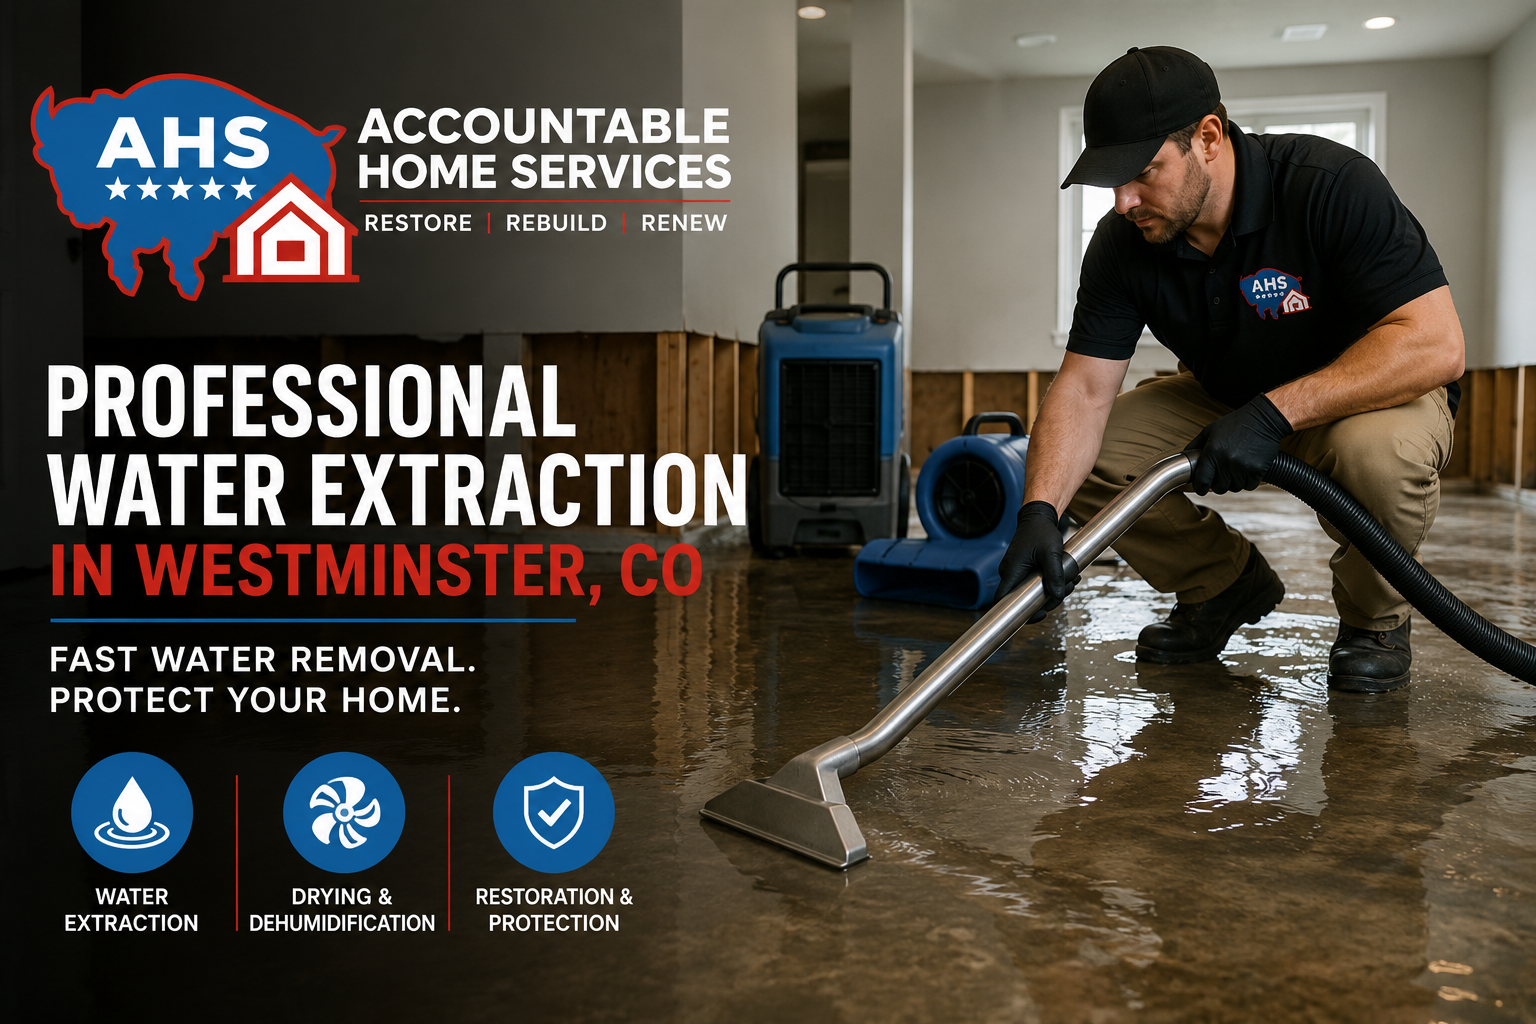
For service details and our full restoration process, visit our water damage restoration page.
What should you do in the first 10 minutes?
Your first job is safety, then stopping the water source only if it’s safe. If water may be near electricity or the structure looks compromised, back out and get help.
Start here:
- Keep kids and pets out of the affected area.
- Avoid standing water near outlets, cords, appliances, or the electrical panel.
- Stop the source if safe (shutoff valve, appliance supply line, overflowing fixture).
- If water is close to electrical systems, turn off power only if you can reach the panel without stepping in water.
- If there’s ceiling sagging, cracking, or shifting floors, leave the area (possible structural risk).
Flood safety guidance on hazards like electricity around water:
What’s the fastest way to limit damage in the first hour?
The fastest damage reduction comes from documenting, removing standing water, and starting controlled drying (after confirming electrical safety). Waiting “to see if it dries” often turns a small event into a bigger loss.
Do this in order:
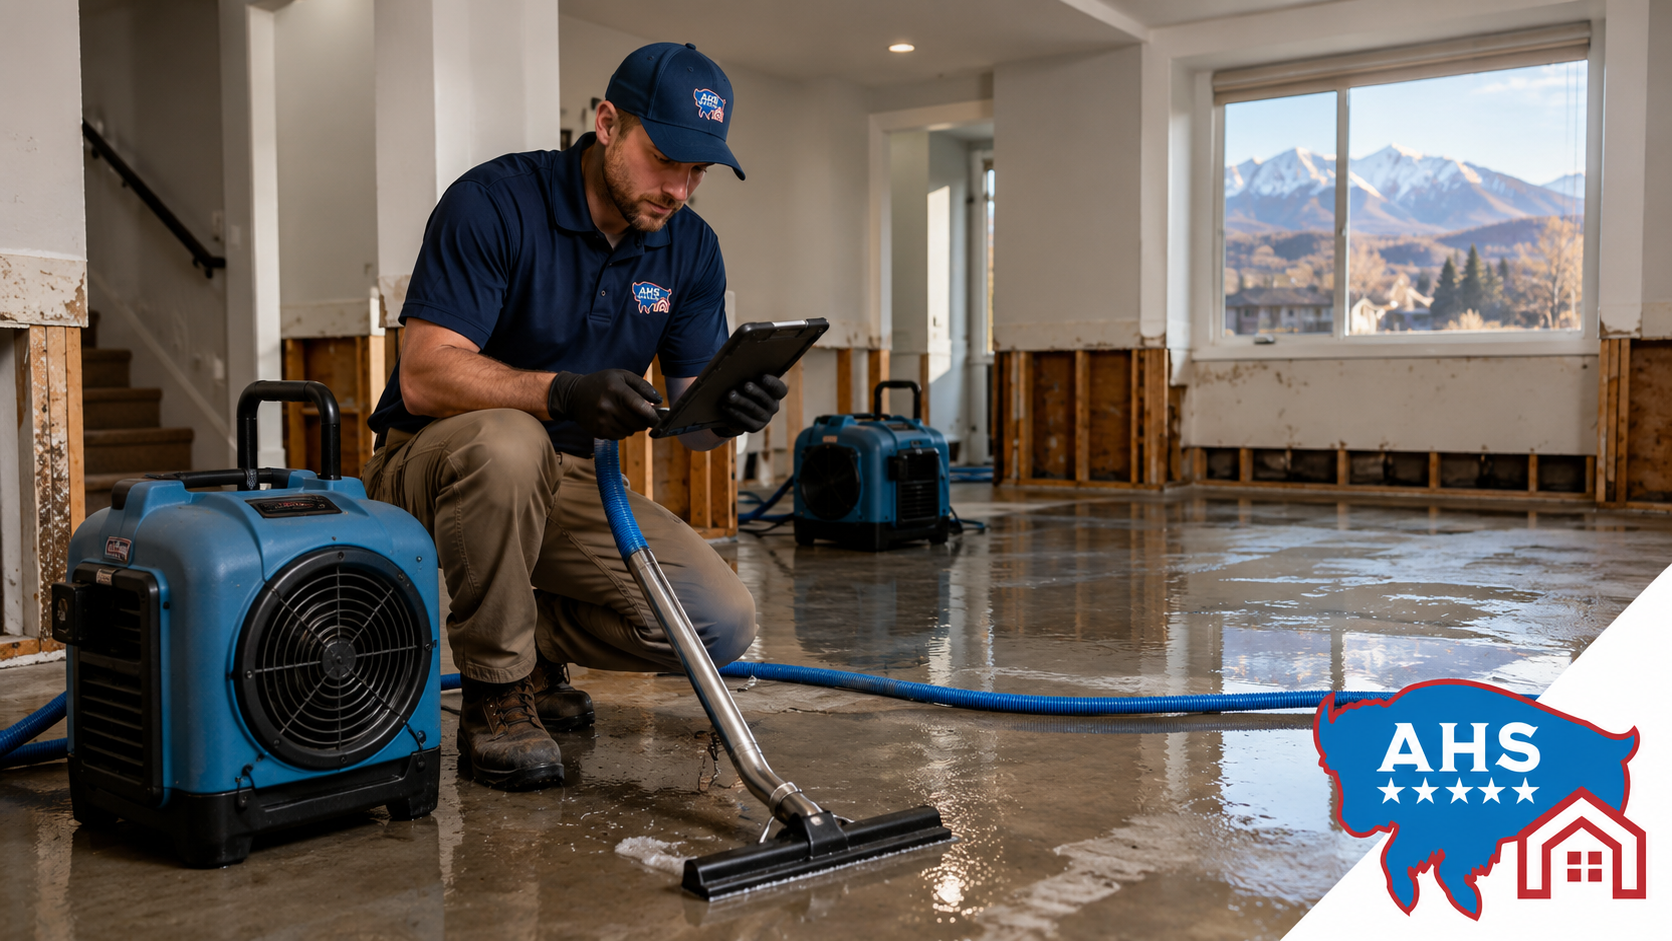
- Document the scene before you move items.
Take wide shots of each room, then close-ups of damaged materials and the water source (if visible). Keep a simple time log (discovered time, shutoff time, first actions). - Move valuables and porous items to a dry area.
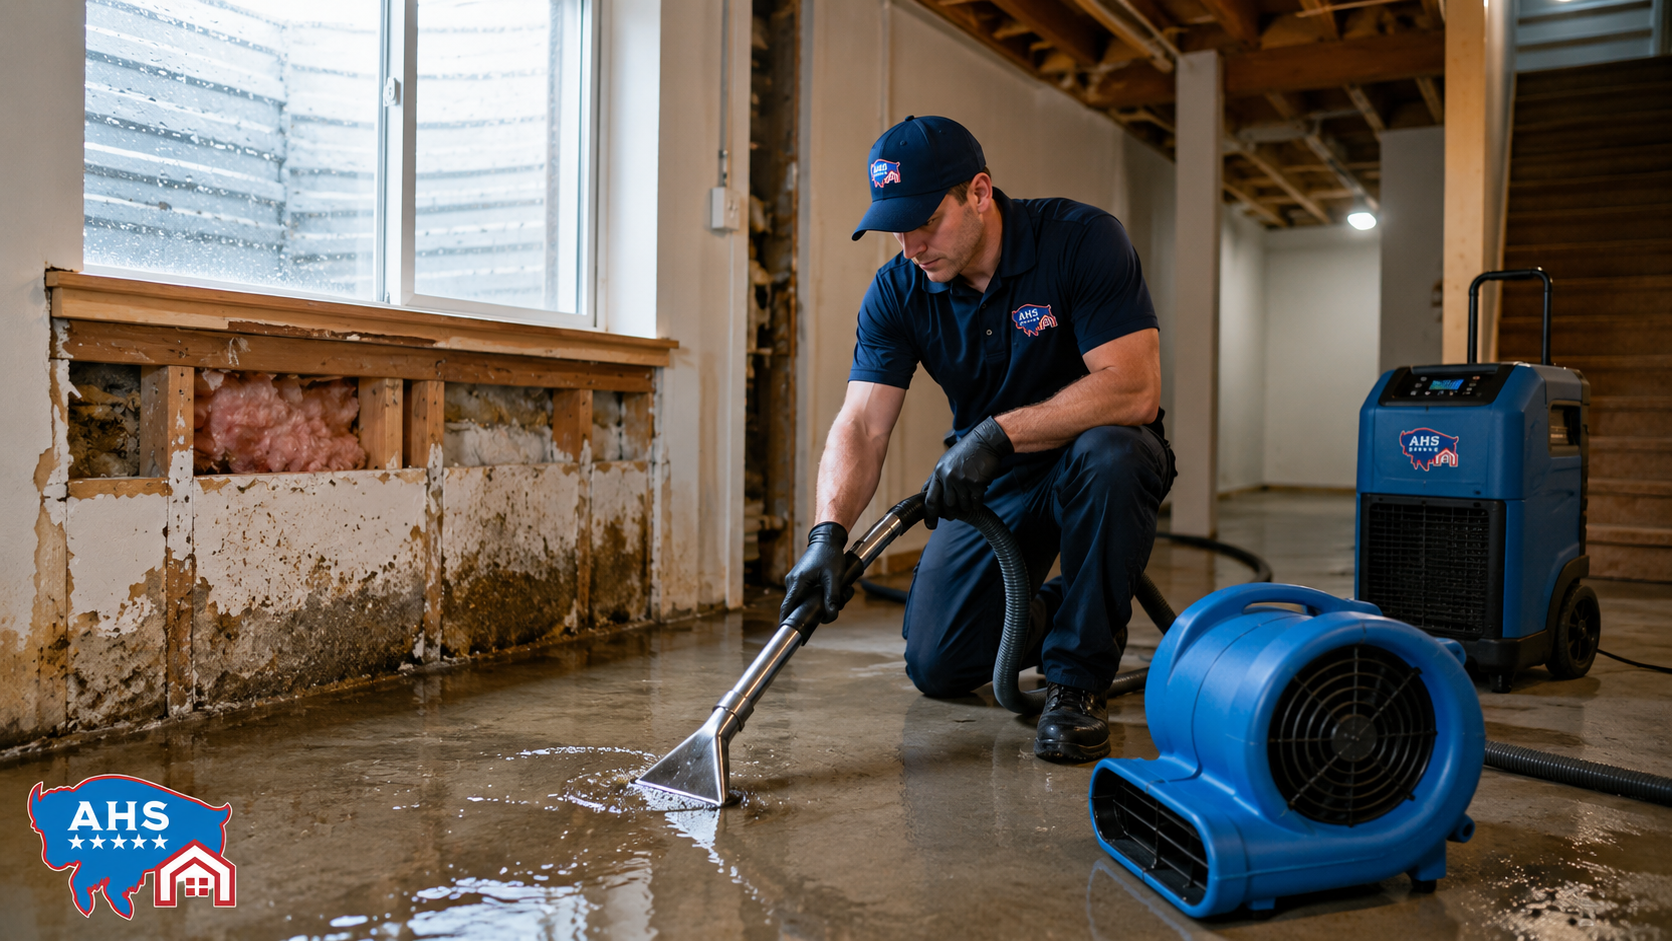
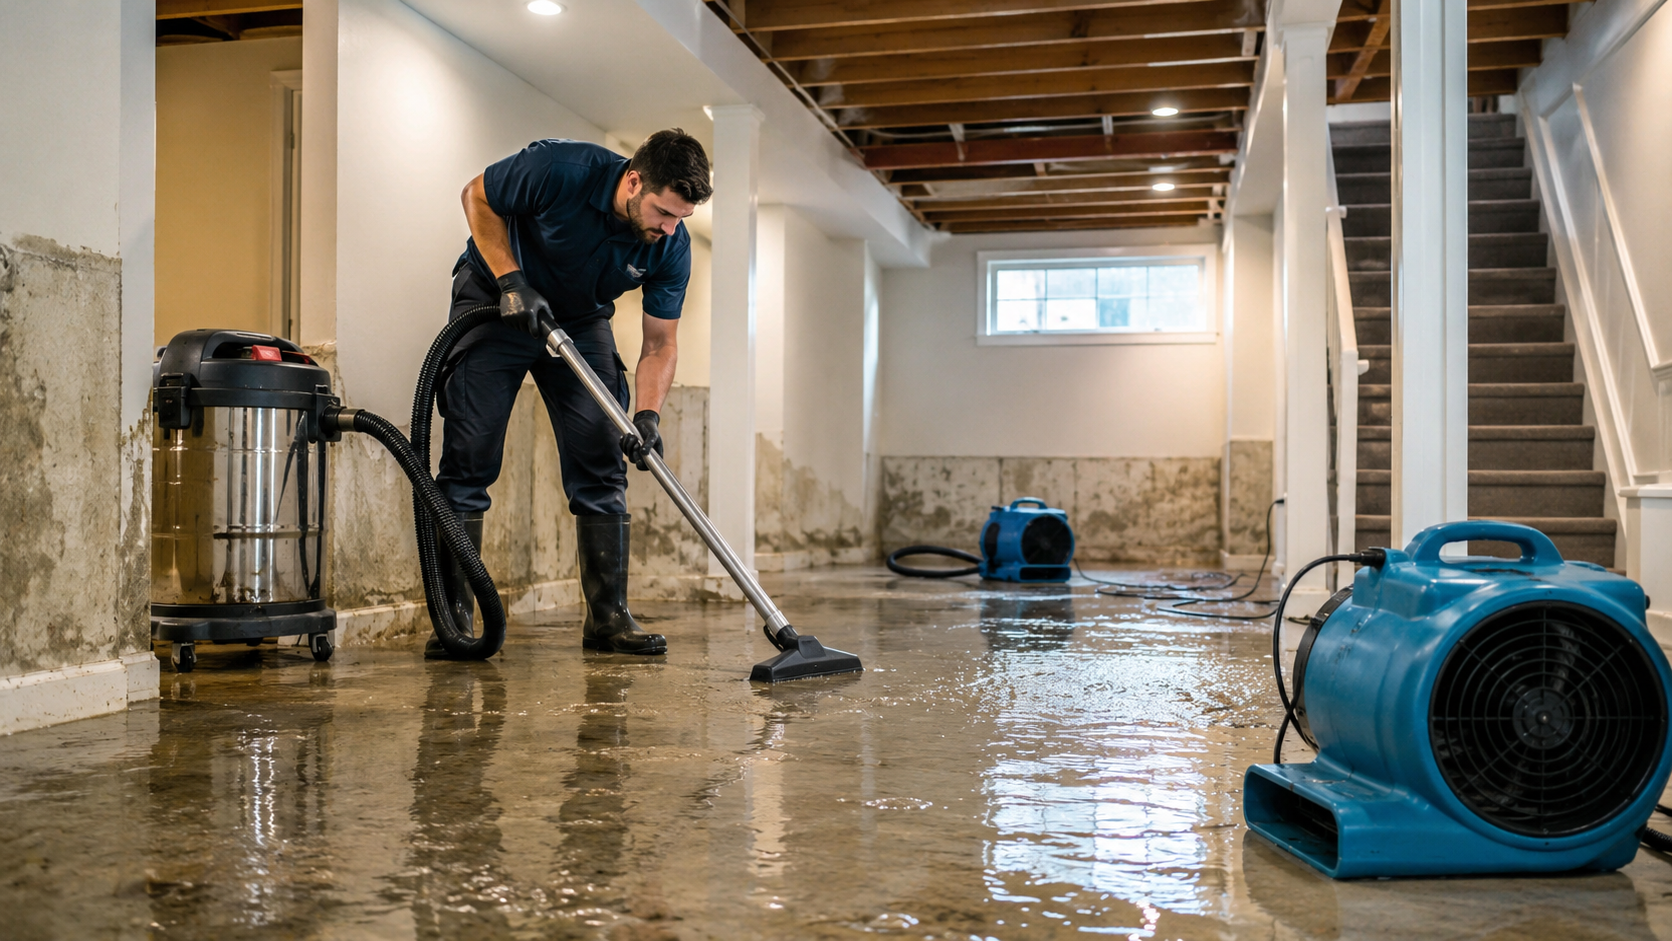
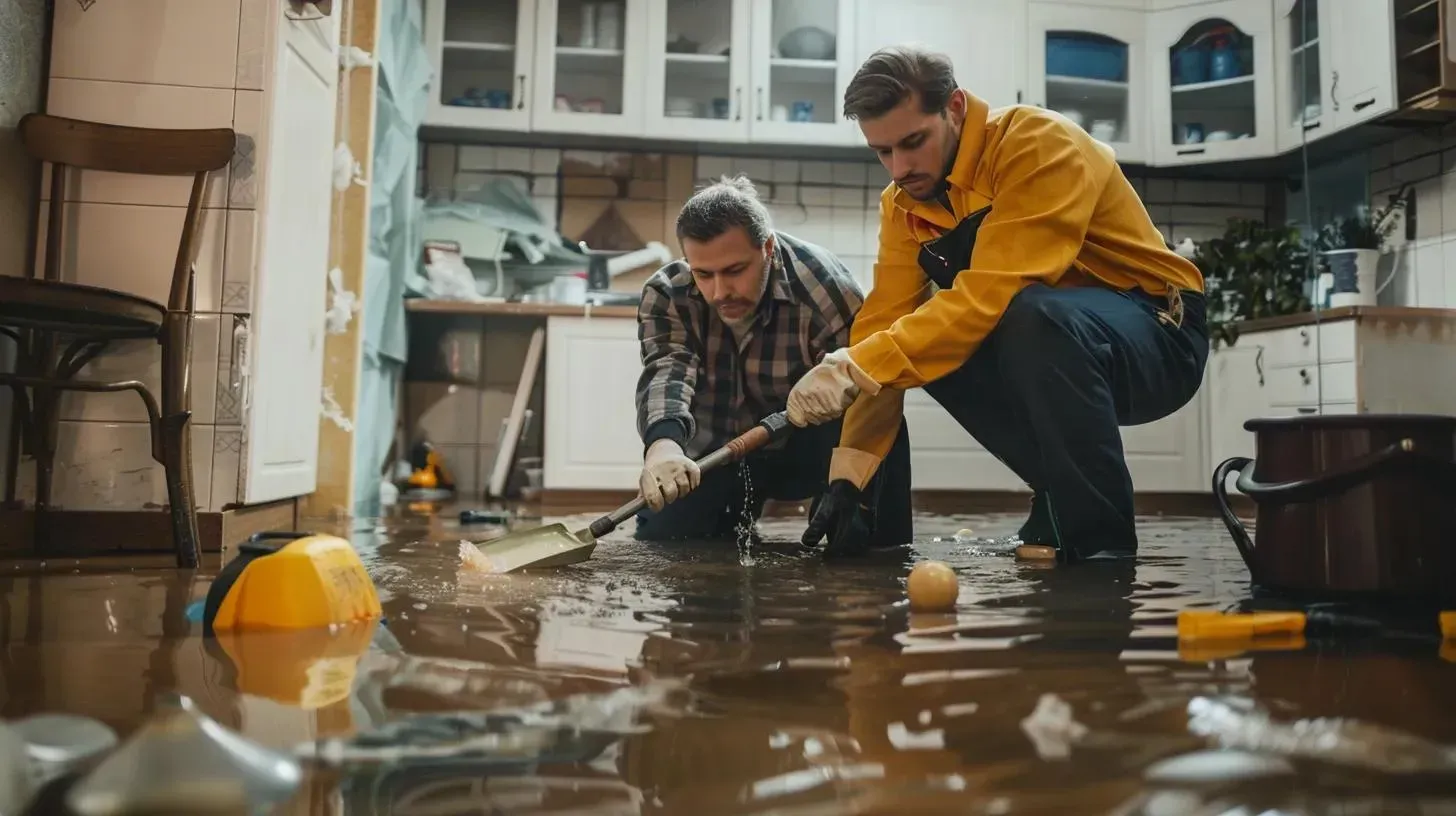
Rugs, cushions, paper goods, clothing piles, electronics—anything that soaks up water quickly. - Remove standing water (only if safe).
Use towels, mops, or a wet/dry vacuum if the area is electrically safe. If you need professional-grade removal, see: Accountable home services - Protect unaffected areas from spread.
Put plastic under furniture legs. Don’t drag wet items through dry rooms. - Start ventilation carefully.
Open windows if weather allows. Run fans and dehumidifiers only when electrical safety is confirmed.
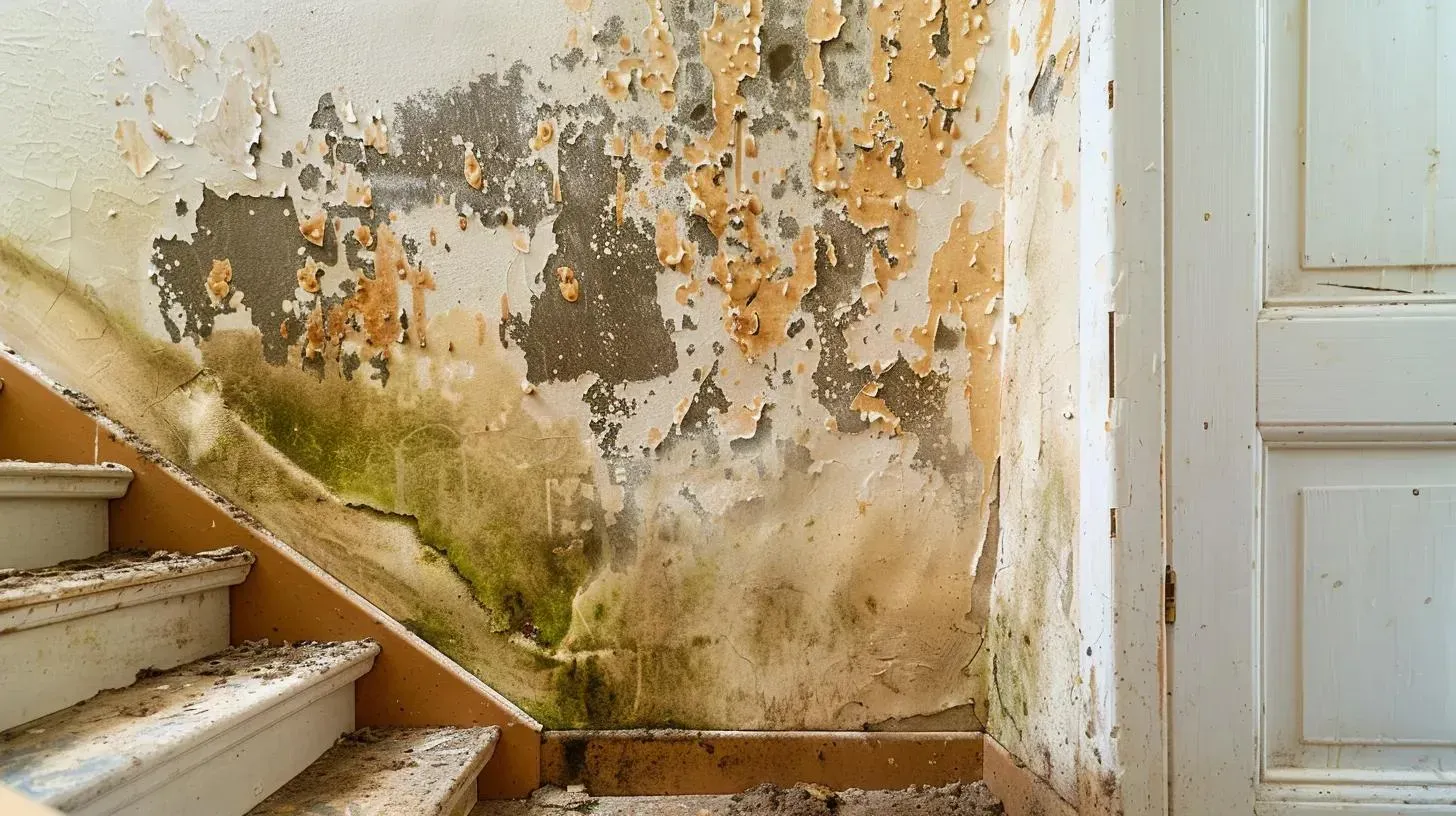
What should you do in the first 24 hours to reduce mold risk?
The goal in the first day is to dry wet materials quickly and isolate anything that can’t be dried promptly. Drying within 24–48 hours is commonly recommended to reduce mold risk.
Authoritative moisture/mold guidance:
Focus on high-impact steps:
- Increase airflow (windows/doors when safe; fans pushing damp air out).
- Reduce indoor humidity (dehumidifier if available and safe to operate). Learn more.
- Pull wet items off floors (cardboard boxes, books, fabric bins).
- Separate wet from dry (don’t stack damp items).
- Treat porous materials as time-sensitive (padding, insulation, some carpet): if you can’t dry it fast, isolate it.
If moisture likely spread into wall/floor cavities, “surface-dry” isn’t enough. This scope is covered here: structural-drying.
What should you document for insurance (without slowing down cleanup)?
Document cause, extent, and timeline—then keep receipts and a simple log so your claim file stays clear.
Minimum documentation that helps most:
- Photos/video: source, standing water, damaged materials, wet contents
- A short timeline note: discovery time → shutoff time → first actions
- Receipts: rentals/supplies (fans, dehumidifier rental, shop-vac, cleaning materials)
If you need the professional documentation + drying workflow summarized in one canonical place, use: Accountable Home Services
Common mistakes to avoid right away
The biggest early mistakes involve electricity risk, contamination spread, and delayed drying.
Avoid these:
- Turning on fans/dehumidifiers before confirming electrical safety.
- Entering rooms with sagging ceilings or visible structural damage.
- Dragging wet carpet/items through clean rooms.
- Painting/caulking over damp materials (traps moisture).
Waiting 1–2 days to act—mold risk rises when materials stay wet. (EPA)
When should you stop DIY steps and call a professional?
Stop DIY steps when safety is uncertain, water may be contaminated/unknown, or the affected area is large enough that thorough drying isn’t realistic with household equipment.
Decision table
| Situation | Safe step you can do now | Don’t do this | Time to call a pro when… |
|---|---|---|---|
| Water near outlets/appliances | Keep people out; shut off water source if accessible | Don’t touch cords or appliances while wet | You can’t shut off power safely or water reached electrical systems |
| Ceiling bulging/sagging | Evacuate room; photograph from doorway | Don’t poke holes or stand underneath | Any sign of structural compromise |
| Sewage/backup/unknown water | Isolate area; avoid contact | Don’t attempt DIY cleanup | Any suspected contamination |
| Multiple rooms soaked | Document; move valuables; start safe airflow | Don’t rely on one fan | You can’t get materials drying quickly |
| Carpet/padding soaked | Lift edges; towel blot; isolate wet contents | Don’t trap it under furniture | Padding stays soaked or odor develops |
| Suspected moisture behind walls | Document; avoid random demolition | Don’t start tearing out materials blindly | Water likely migrated into cavities or subfloors (see structural drying) |
Next step : Water Damage Restoration
First-hour checklist
- Keep people/pets out of affected areas
- Stop the water source if safe (valve/shutoff)
- Avoid electrical hazards; shut off power only if you can do it without standing in water
- Photo/video the damage and source before moving items
- Move valuables and porous items to a dry room
- Remove standing water (safe tools only)
- Start airflow and dehumidification once electrical safety is confirmed
- Keep receipts and a simple timeline note
- If contamination/unknown source: isolate and avoid DIY (See) Sewage Cleanup
Two realistic examples
Example 1: Dishwasher supply line leak at 2:00 AM
You shut off the under-sink valve, photograph pooled water and the wet cabinet base, move rugs to a dry area, shop-vac the floor, then run a dehumidifier once the outlet area is confirmed safe. You keep receipts and a short timeline note.
Example 2: Basement water after a storm
You avoid the breaker panel because water is on the floor, take wide photos, move stored cardboard boxes off the ground, remove shallow standing water, and ventilate once it’s safe. Because the source could be ground-influenced/dirty, you isolate the area and stop short of DIY disinfecting.
Frequently Asked Questions
How fast do I need to start drying to reduce mold risk?
As soon as it’s safe. Drying within 24–48 hours is commonly recommended. (EPA)
Can I run fans immediately?
Only after you’re confident electrical conditions are safe.
What if the water smells bad or came from a backup?
Treat it as potentially contaminated, avoid contact, and isolate the area. (CDC)
Do I need to remove drywall right away?
Not always. Random demolition can spread contamination and complicate documentation. Prioritize safety and drying first.