How Long Does Water Damage Restoration Take? A Realistic Timeline (Day 1 to Repairs)
This guide explains the typical timeline for water damage restoration—from the first site visit through drying verification and repairs.
Not covered: cost estimates, first-hour emergency steps, mold-timing guidance, or incident-specific playbooks. For the canonical overview of the full service workflow (assessment → drying → documentation), use: Accountable Home Services
External standards reference for industry terminology and drying principles: IICRC
How long does water damage restoration usually take?
In many residential situations, the drying and stabilization phase takes about 3–7 days, and the repair/rebuild phase can add several days to a few weeks depending on how much material needs to be removed and replaced.
The key reason timelines vary is simple: water doesn’t spread evenly, and different materials dry at different rates. The job is “done” only when affected materials meet a verified dry standard and the space can be safely returned to normal.
What does the timeline look like by phase?
Use this table as a realistic “shape” of the process (not a promise of exact duration).
| Phase | What the goal is | What typically happens | Typical time range* |
|---|---|---|---|
| 1) Assessment + stabilization | Stop spread, define boundaries, prioritize safety | Moisture mapping, documenting affected areas, stopping the source (when possible) | Same day (first visit) |
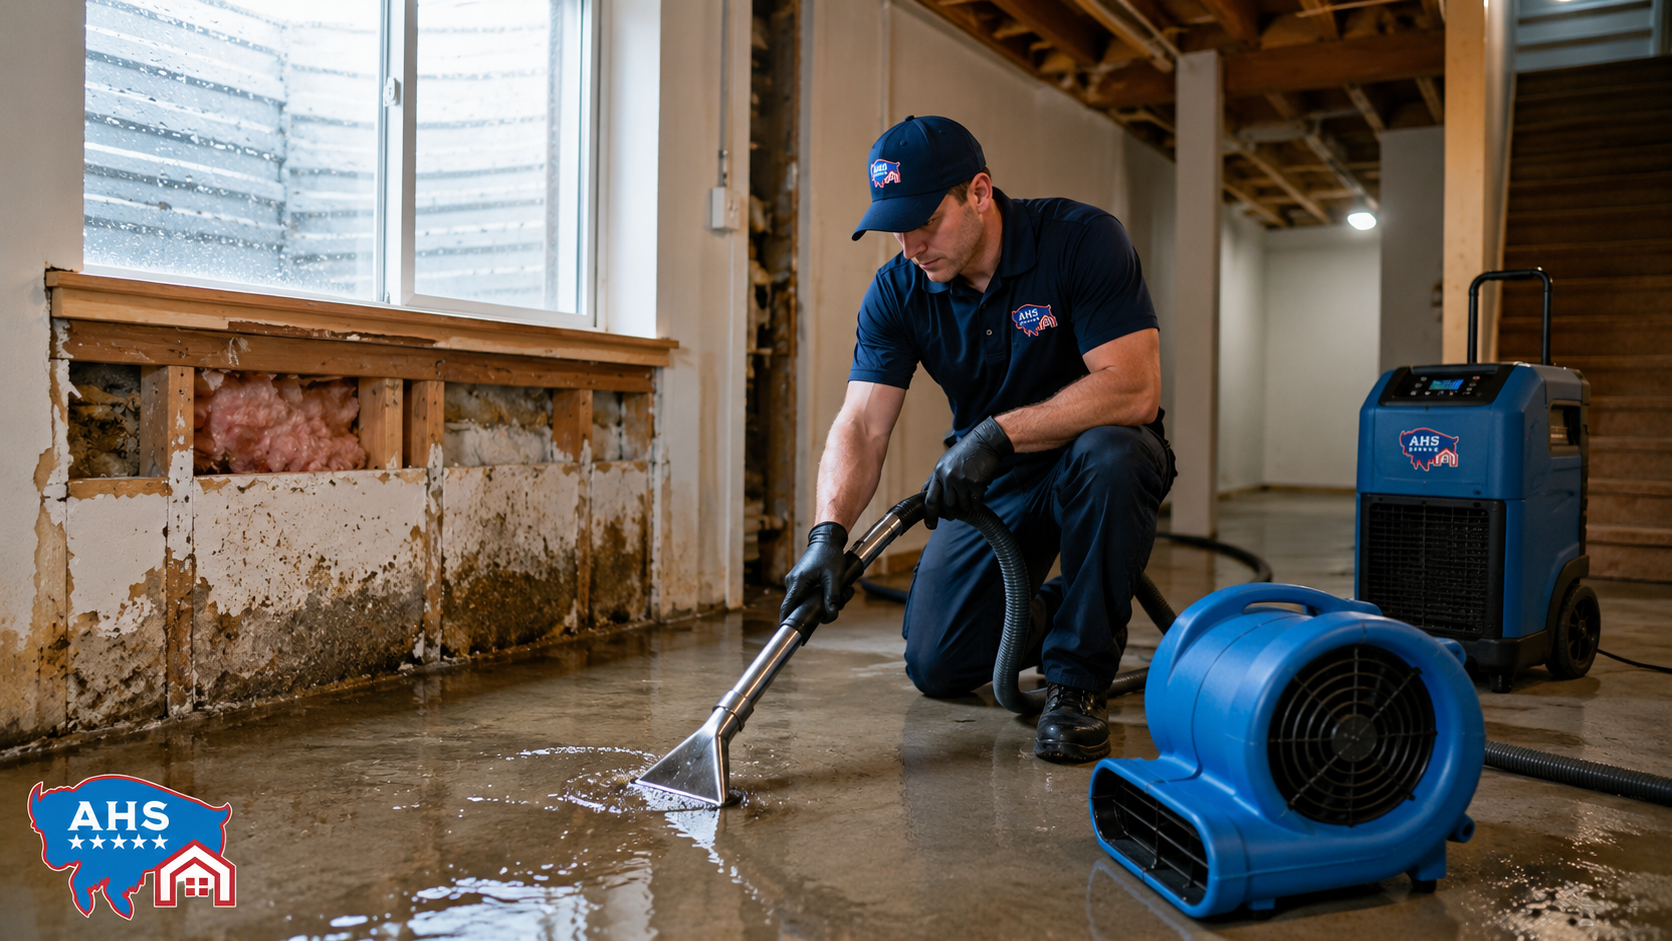
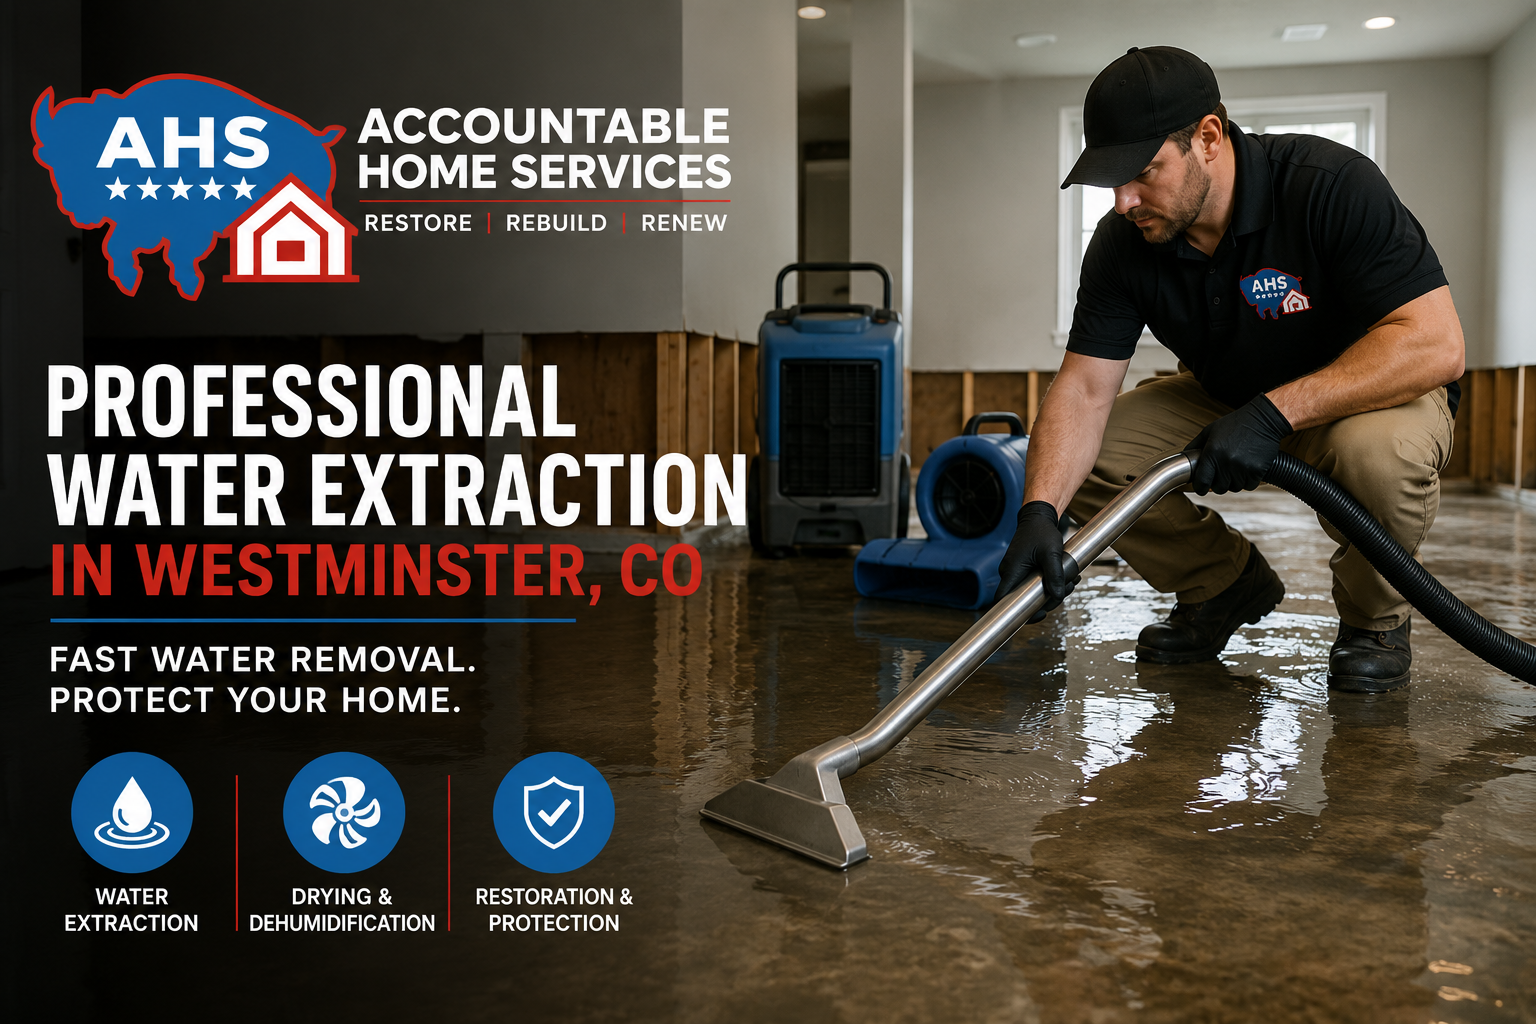
| 2) Extraction (if needed) | Remove standing water fast | Pumping or vacuuming, removing saturated debris that’s actively spreading water | Same day to 1 day |
| 3) Controlled drying setup | Start drying the structure, not just surfaces | Air movers, dehumidification, targeted airflow plans | Day 1 |
| 4) Monitoring + adjustments | Ensure moisture is trending down and stays contained | Daily or periodic moisture checks, equipment repositioning | ~2–6 days |
| 5) Drying verification + wrap-up | Confirm materials meet a dry standard | Final moisture readings, equipment removal | 1 day |
| 6) Repairs / rebuild (if needed) | Return areas to normal | Drywall and baseboard replacement, flooring work, painting, finish carpentry | Several days to weeks |
Time ranges vary by saturation level, materials, access, and whether contaminated water or multiple rooms are involved.
Internal pages that relate to specific phases.
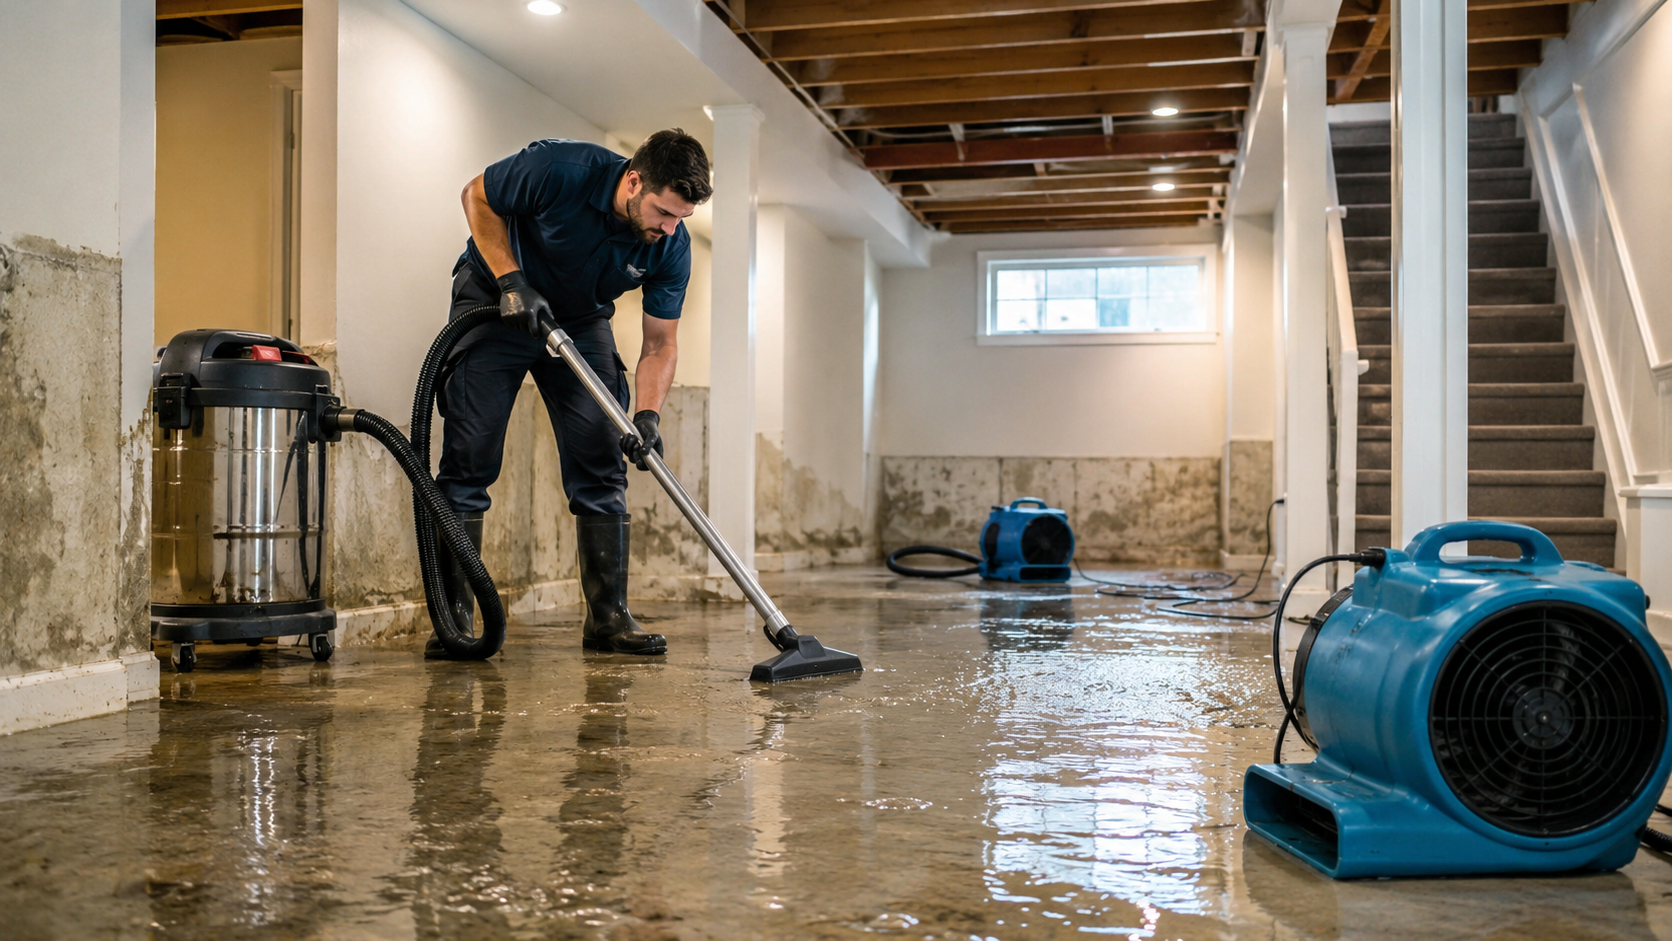
What happens on Day 1?
Day 1 is usually about getting control: defining what’s wet, removing what’s actively spreading water, and starting controlled drying.
What you’ll typically see on the first visit:
- A quick walk-through to identify where water traveled (not just where it’s visible)
- Moisture checks to define wet vs. dry boundaries
- Documentation of affected materials (useful for a clean claim file later)
- Extraction if there’s standing water (when applicable)
- Equipment placement to begin drying and humidity control
If your situation involves visible pooled water, the “remove it first” step aligns with.
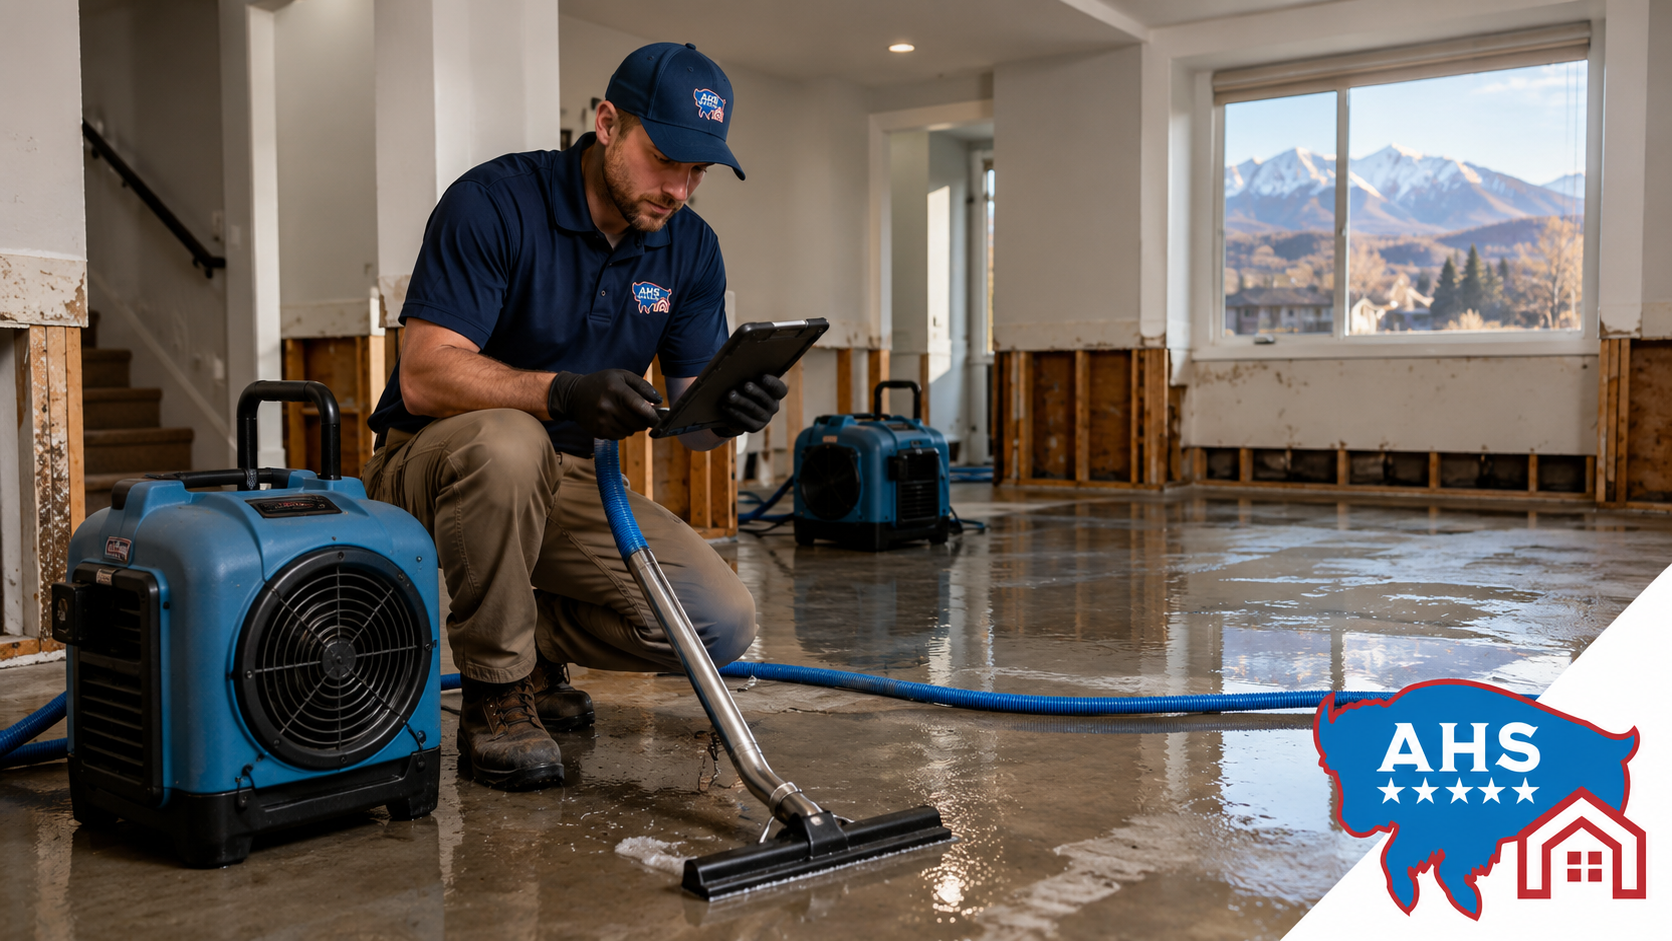
What happens during the drying and monitoring days?
Most of the timeline is the “middle days,” where drying is underway and the plan is adjusted based on real moisture readings. This phase is less about dramatic actions and more about measurable progress.
Typical activities during monitoring:
- Checking moisture levels in materials that were affected (flooring edges, baseboards, cabinet bases, subfloor zones)
- Adjusting airflow and dehumidification so you’re drying the right areas, not just moving air around
- Keeping humidity controlled so moisture continues to leave the structure efficiently
If you want to keep internal linking clean and non-salesy, use these as “learn what this means” references:
- Structural drying (how the structure is dried and monitored).
- Dehumidification (why humidity control matters for drying).
When do repairs and rebuilding start?
Repairs typically start after drying is verified, because rebuilding over damp materials can lock moisture in and create repeat damage.
In practical terms, this means:
- Drywall, baseboards, flooring, and cabinets are repaired/replaced only when the substrate is confirmed dry
- If materials were removed to access wet cavities, repairs begin after the drying phase is complete
What factors make the process take longer?
A water job tends to take longer when any of these are true:
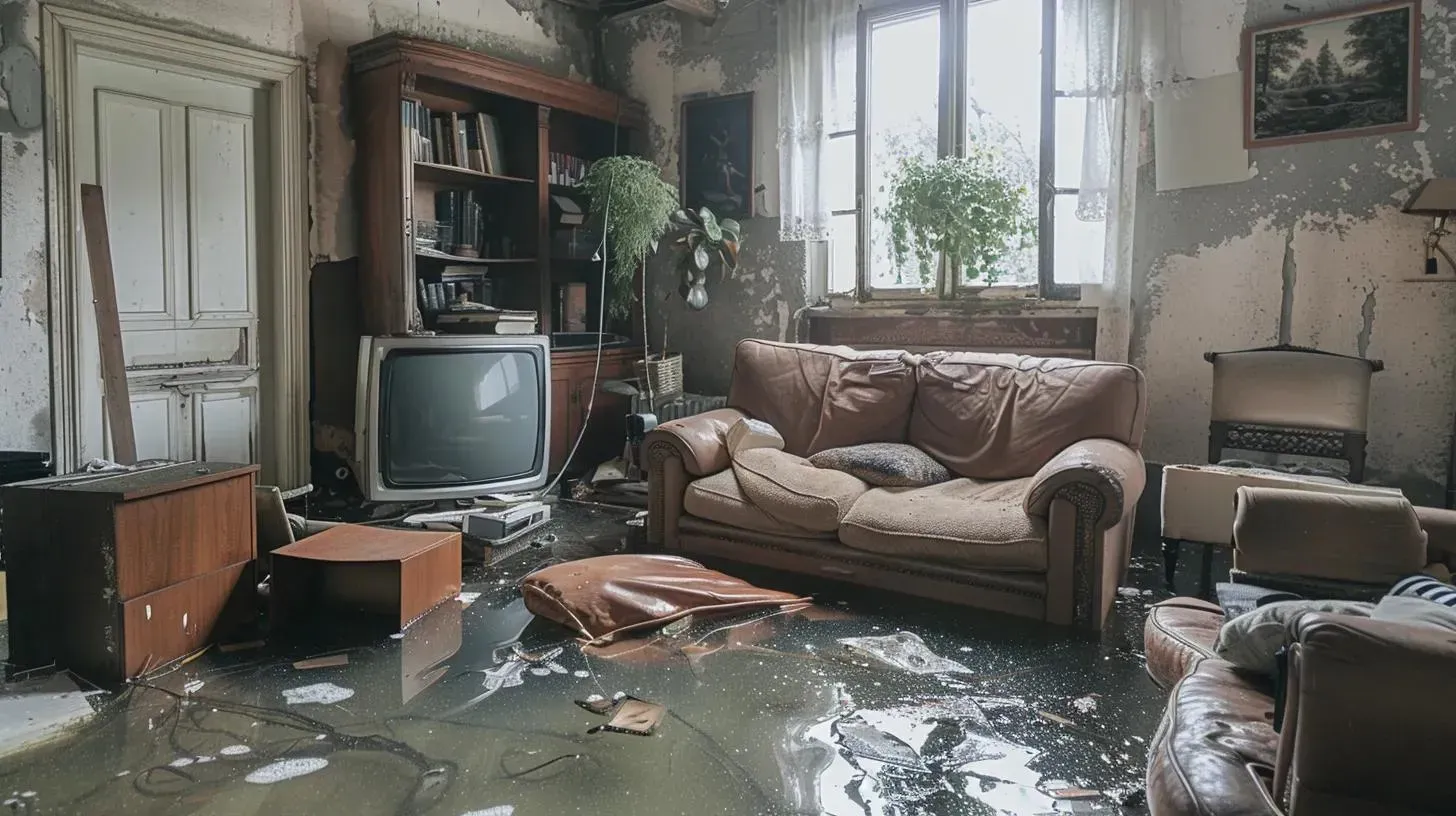
- More materials absorbed water: carpet padding, drywall paper, insulation, subfloors, and cabinets can hold moisture longer than people expect.
- Water spread into hidden cavities: behind baseboards, under flooring, inside toe-kicks, or under built-ins.
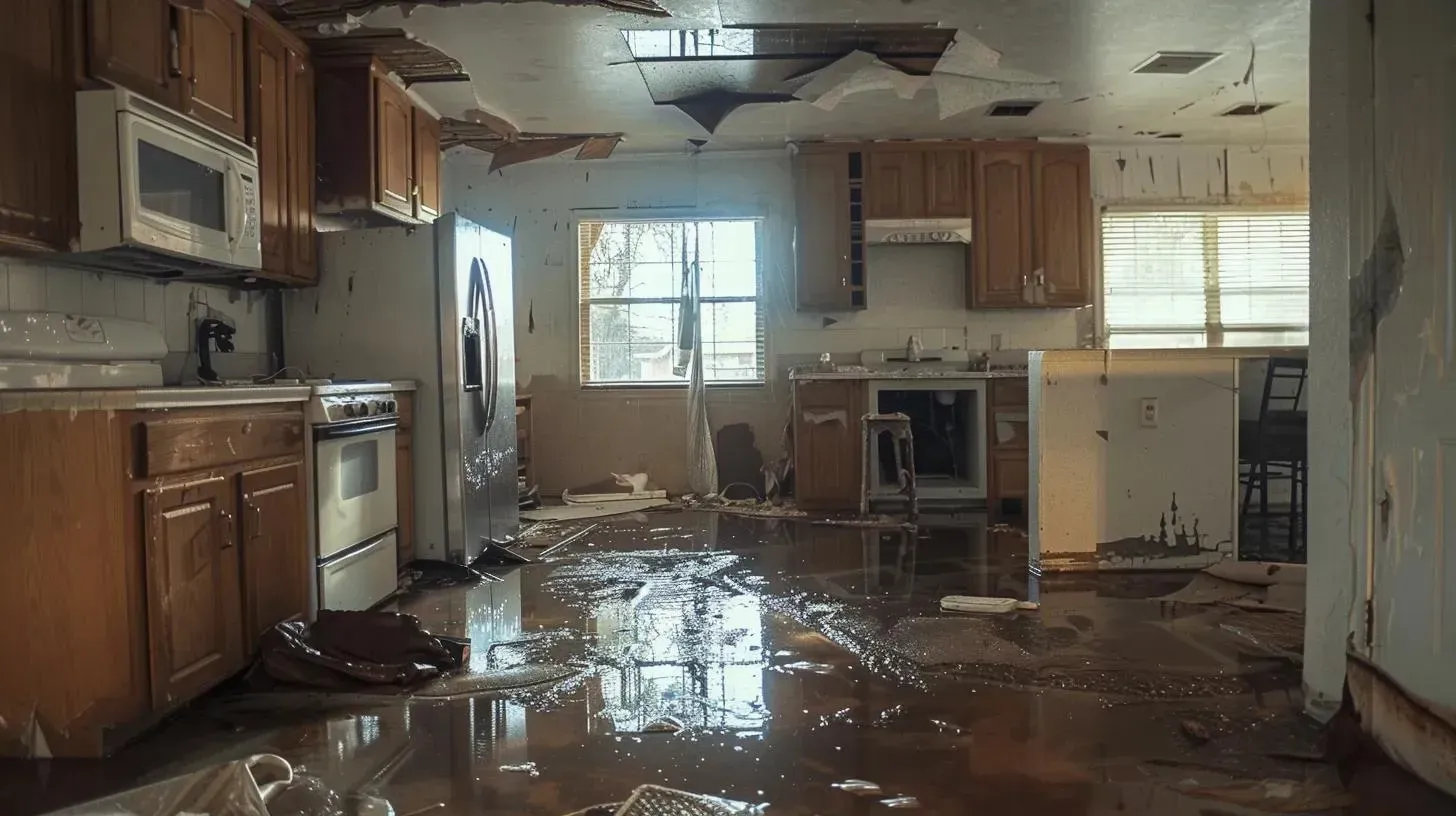
- Multiple rooms or multiple levels are involved: moisture boundaries get bigger and drying becomes more complex.
- The water source is contaminated or unknown: additional safety, cleaning, and disposal steps can extend the process.
- Access is limited: tightly built cabinets, dense flooring assemblies, or areas blocked by contents slow down drying and verification.
- Repairs require specialty trades: flooring transitions, cabinets, and matching finishes can add calendar time.
How can you shorten the timeline without cutting corners?
The best way to shorten the timeline is to reduce preventable delays: access, documentation, and consistent drying conditions.
Homeowner prep checklist (helps the process move faster)
- Take clear photos/video before major items are moved (quick documentation saves back-and-forth later)
- Move small valuables and loose items out of affected rooms (so boundaries can be inspected)
- Keep HVAC settings consistent unless told otherwise (large swings can slow drying)
- Don’t run “random fans” that fight the drying plan (ask where airflow should go)
- Provide access to shutoffs, affected rooms, and any crawlspace/basement entries
- Ask for the written boundaries: “Which rooms/materials are included in drying?”
If the job involves stabilization steps, this internal reference matches that scope. Water Mitigation
Common mistakes and red flags that delay restoration
These issues often add days (or trigger repeat work) because they interfere with verification or trap moisture.
Mistakes to avoid:
- Starting repairs before materials are verified dry (especially flooring and baseboards)
- Painting or sealing stains as a “fix” (cosmetic cover-ups don’t confirm dryness)
- Piling wet contents in one area (creates a humid pocket that slows drying)
- Turning off equipment early because things “feel dry”
Red flags to take seriously:
- No clear boundaries (you can’t get a stable timeline if nobody defined what’s wet)
- No plan for verification (how will “dry” be measured?)
- Repairs scheduled immediately while drying is still in progress
Two example timelines (what “realistic” looks like)
Example 1: Small supply-line leak in one room (limited spread)
- Day 1: Assessment + moisture boundary + minimal extraction; drying equipment set
- Days 2–4: Monitoring and adjustments; moisture trends down consistently
- Day 4–5: Drying verified; equipment removed
- Following days: Minor repairs (baseboards, small drywall patches, paint)
Example 2: Multi-room water spread into flooring edges and cabinets
- Day 1: Assessment + larger moisture mapping; extraction; drying plan set
- Days 2–6: More monitoring cycles; adjustments to reach under/behind cabinets and transitions
- Day 6–7: Drying verified; equipment removed
- Following 1–3+ weeks: Repairs depend on flooring/cabinet scope and scheduling
Frequently Asked Questions
Why does “drying” take several days even with big fans?
Because it’s not just surface water. Moisture can be inside materials and assemblies, and the goal is measurable, consistent drying—not temporary surface dryness.
Do repairs always happen immediately after drying?
Not always. Repairs depend on what was removed, material lead times, and coordination with flooring/cabinet/paint work.
What should I ask to understand my specific timeline?
Ask these in plain language:
“Which rooms and materials are included in the drying boundary?”
“How will you verify materials are dry?”
“What would extend the timeline in my case (access, materials, contamination, repairs)?”
General flood and home recovery guidance from a U.S. government readiness site.