Roof Water Leak Repair in Littleton, CO: What Homeowners Should Do First
Roof Water Leak Repair in Littleton, CO: What Homeowners Should Do First
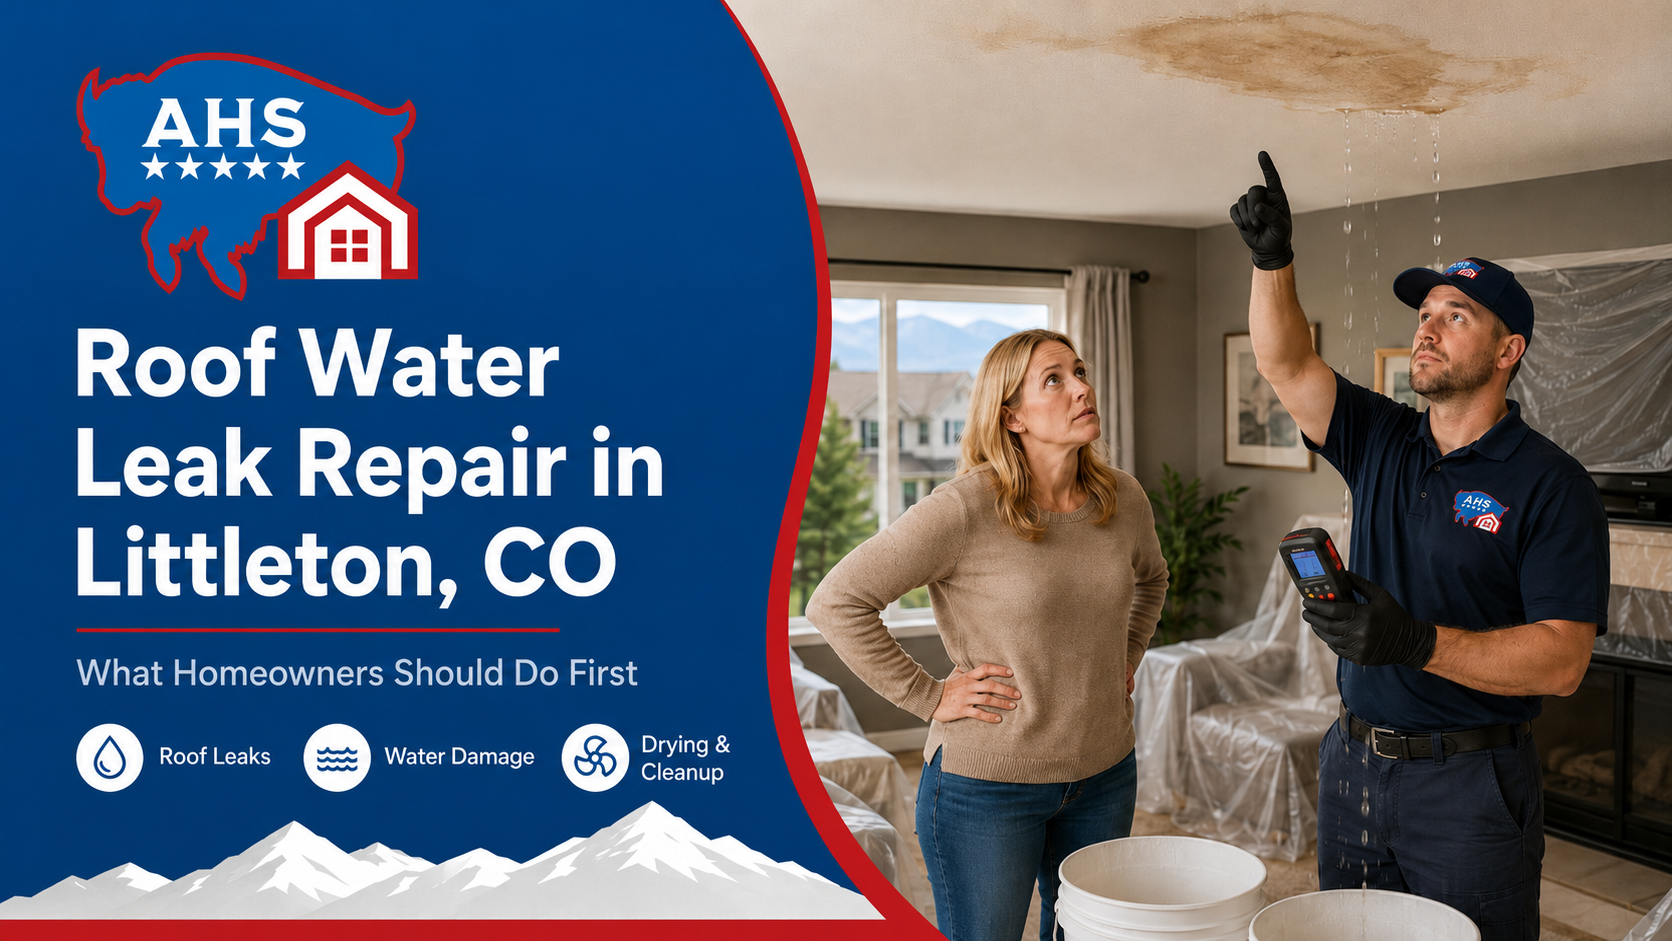
A roof leak can go from “minor drip” to major mess fast—especially in Littleton, where sudden hail, wind-driven rain, and freeze-thaw cycles can turn small openings into active water entry. If you’re seeing stains, bubbling drywall, or actual dripping, the priority isn’t guessing the source—it’s stopping water damage from roof leak right away, then documenting everything so you can make smart repair and insurance decisions. This guide covers roof water leak repair in Littleton step-by-step, including what to do first, how to track down the cause, and when to bring in help.
Step 1: Protect people and stop the water from spreading
Before you worry about a permanent fix, focus on safety and containment—this is the “first hour” plan for roof leaking water Littleton emergencies.
Quick safety checklist
- Turn off electricity to any wet ceiling areas (wet drywall can hide energized wiring).
- If water is pouring through a light fixture, do not touch it—shut power off at the breaker and call a pro.
- Keep kids/pets away from sagging drywall; it can collapse.
Roof leak cleanup basics (indoors)
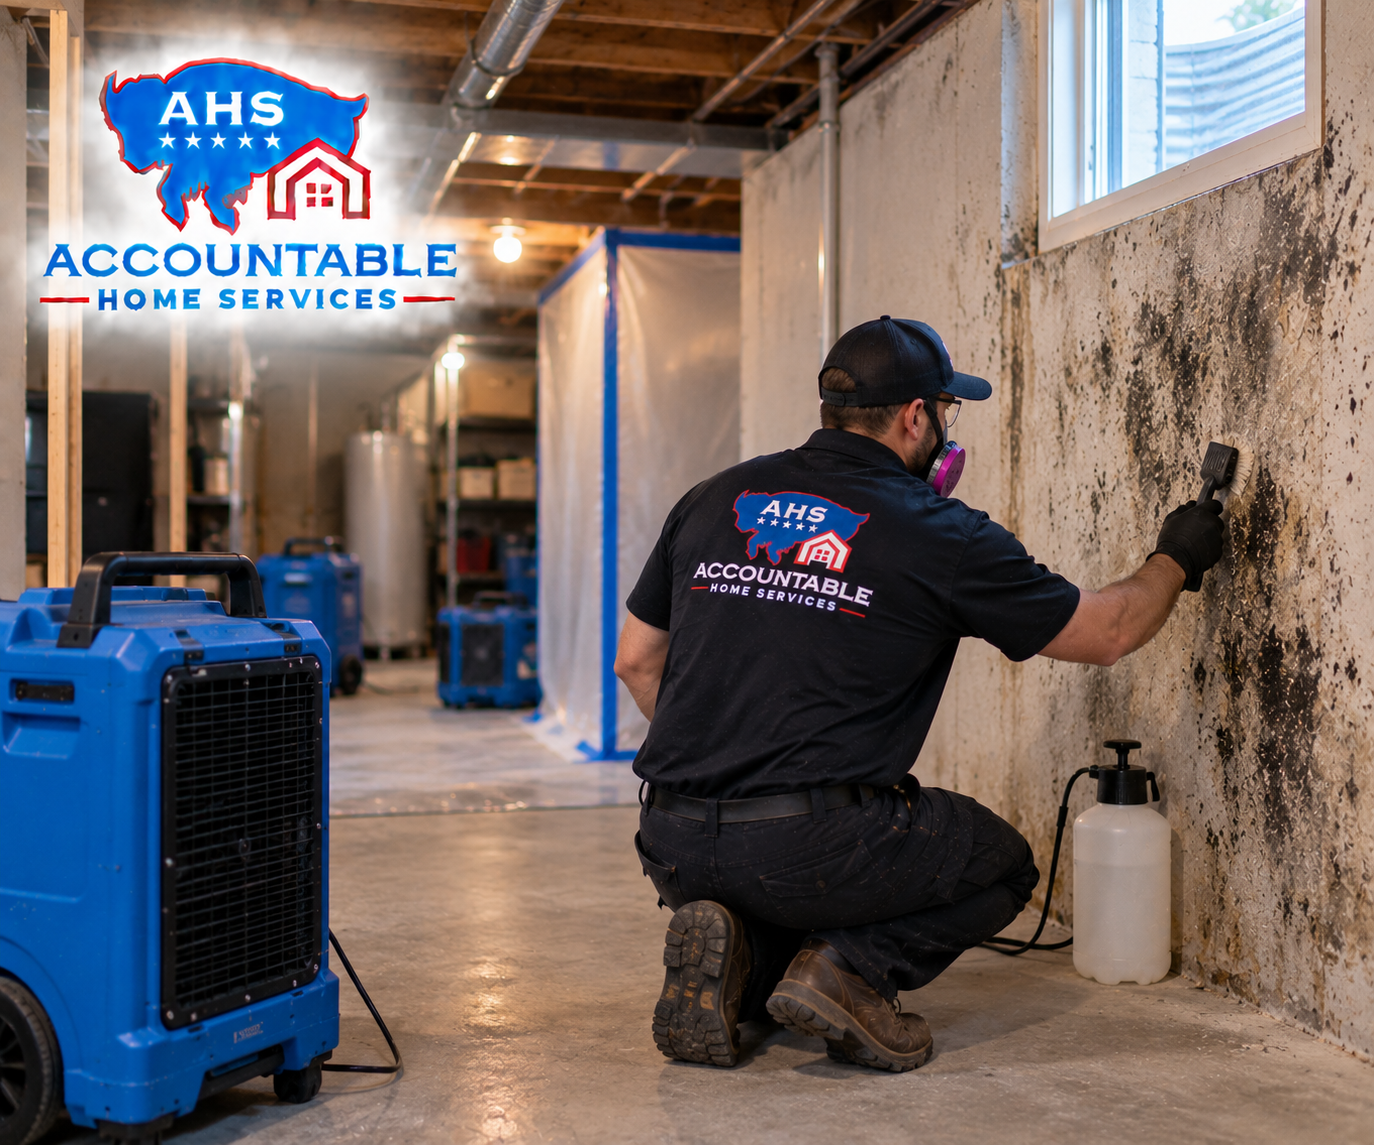
A solid roof leak cleanup reduces secondary damage and mold risk:
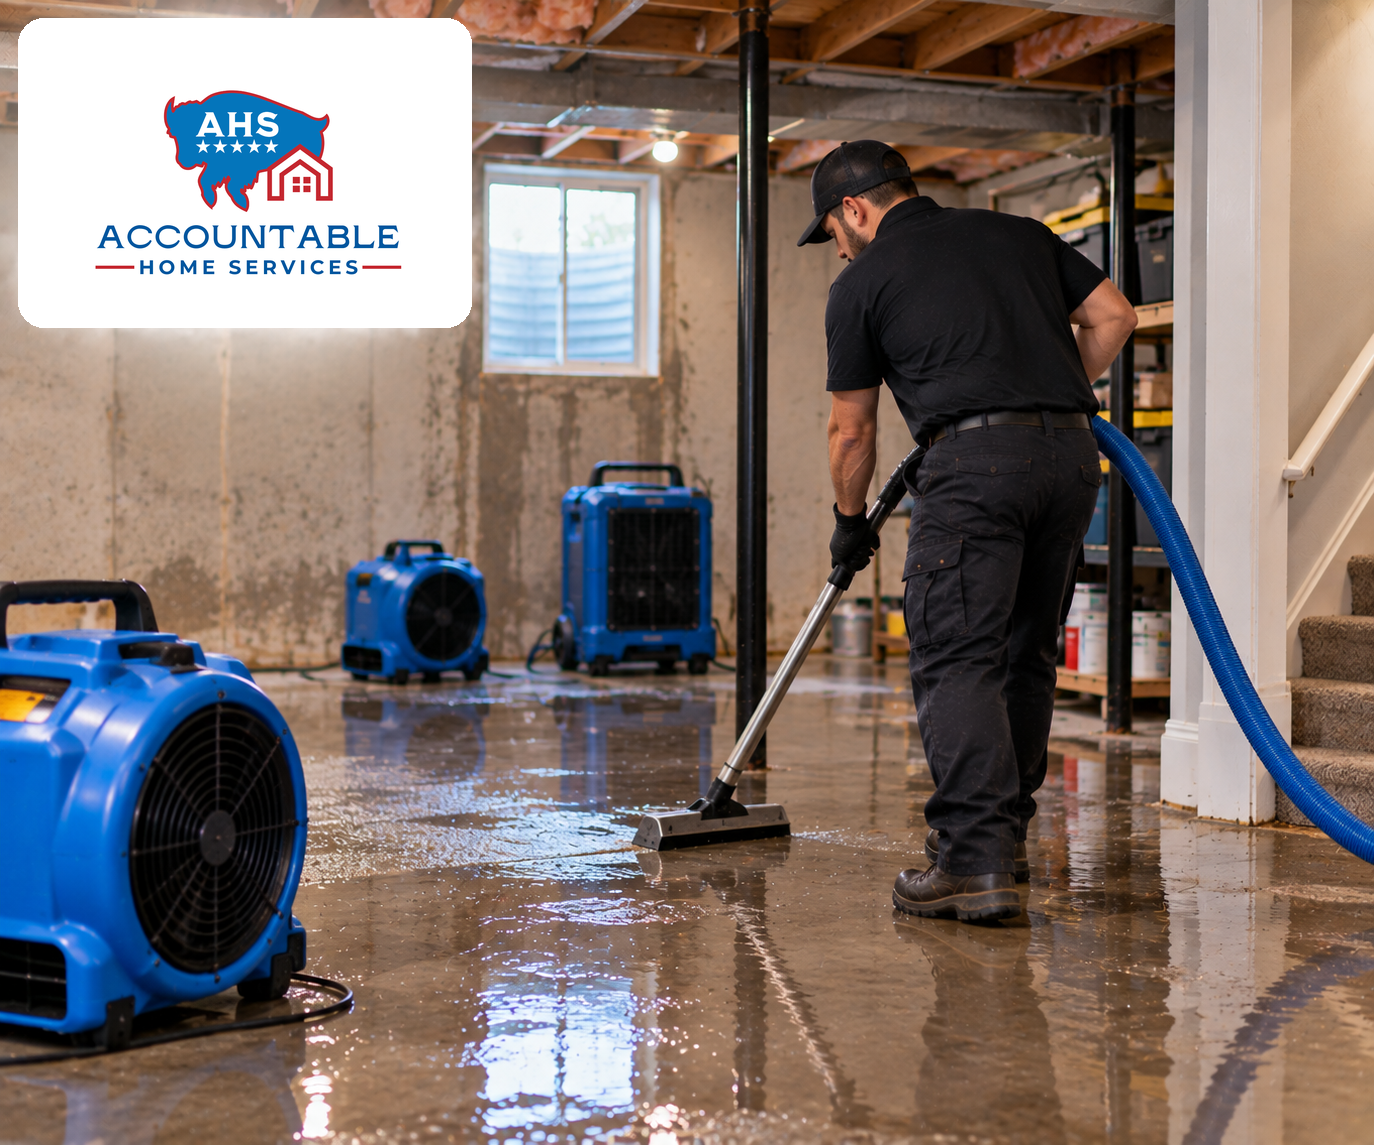
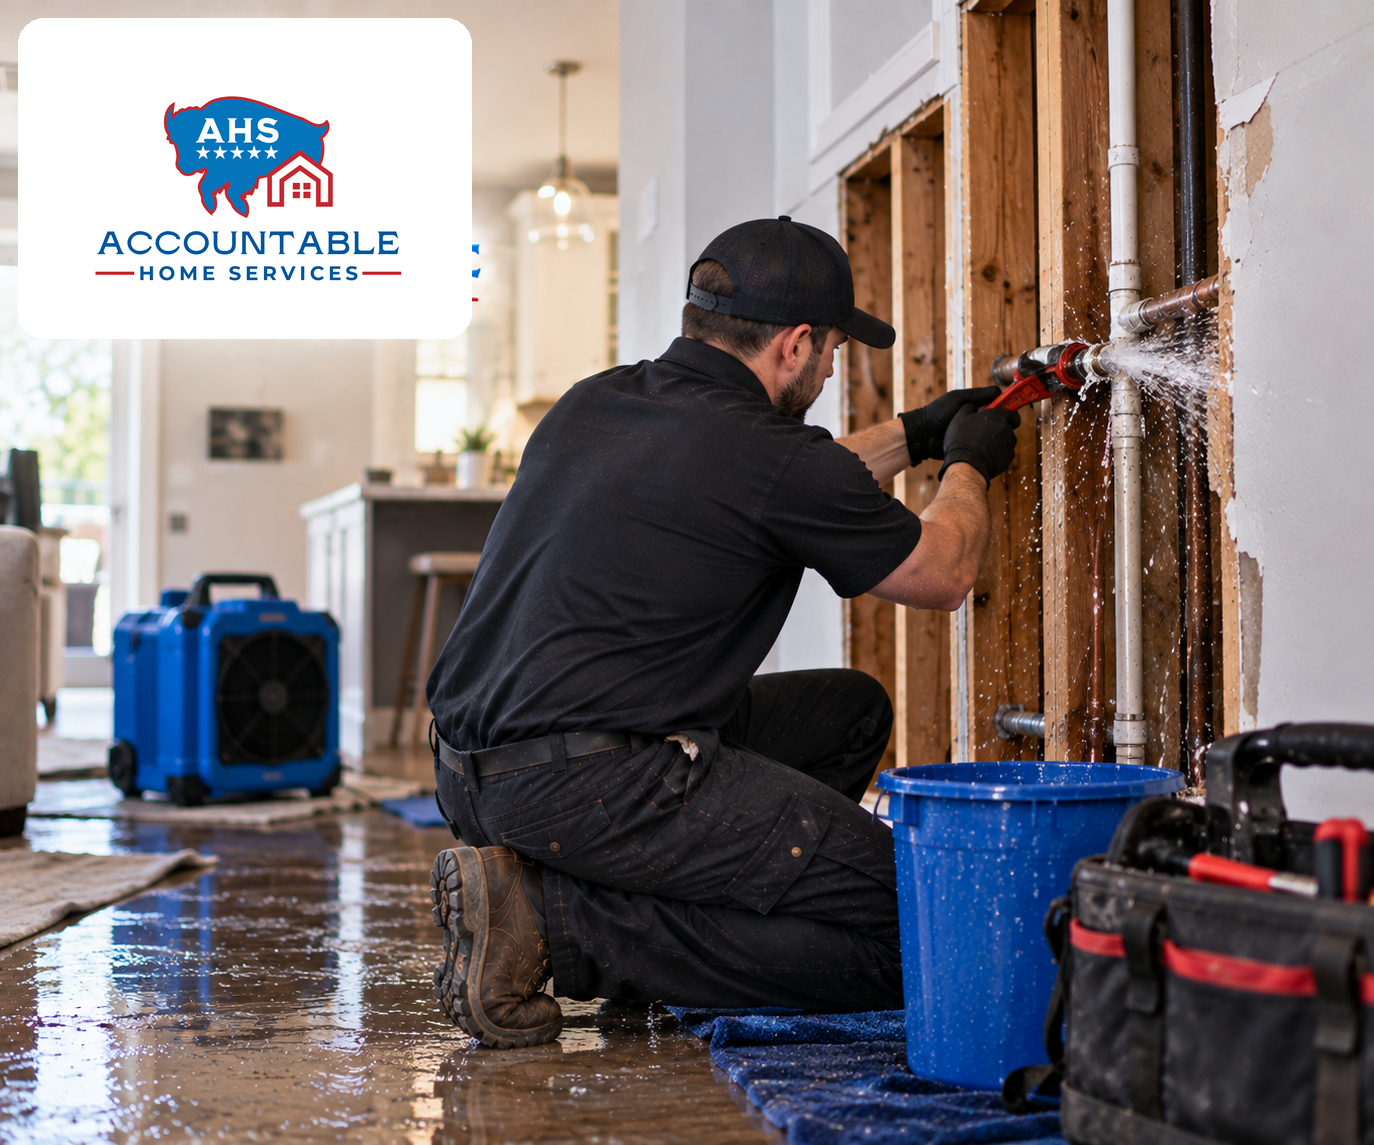
- Place buckets and towels; use a tarp or plastic sheeting to protect floors.
- If the ceiling is bulging, you may need to carefully relieve pressure by making a small drain hole in the lowest point (only if you can do so safely and power is off).
- Move furniture and valuables out of the path.
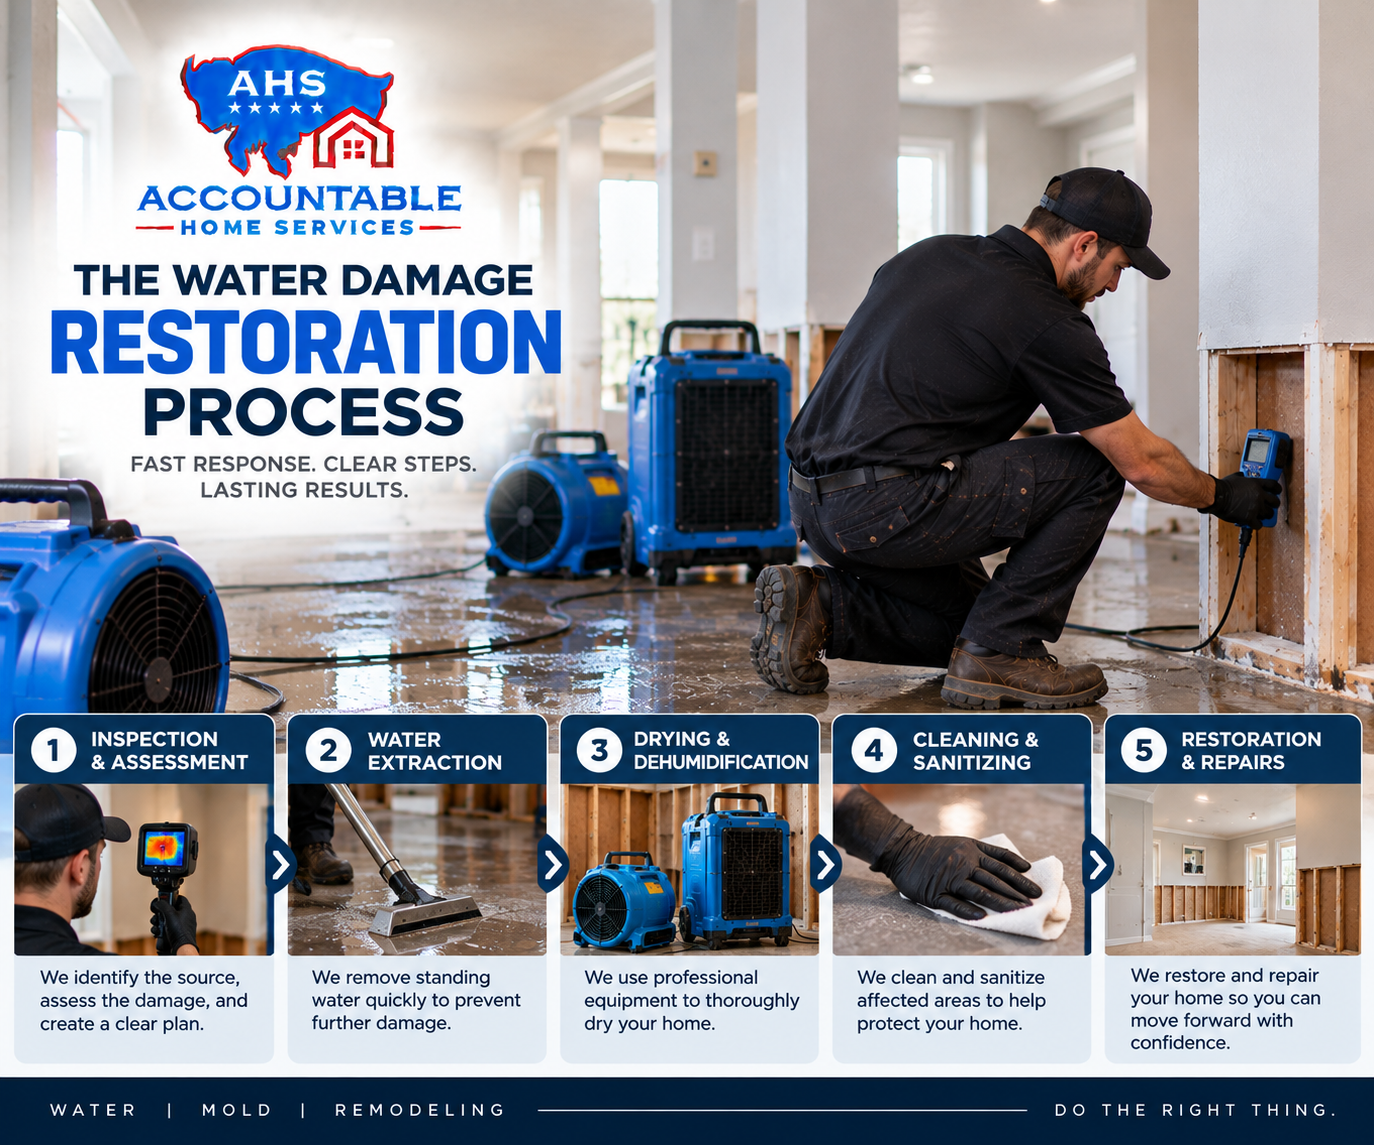
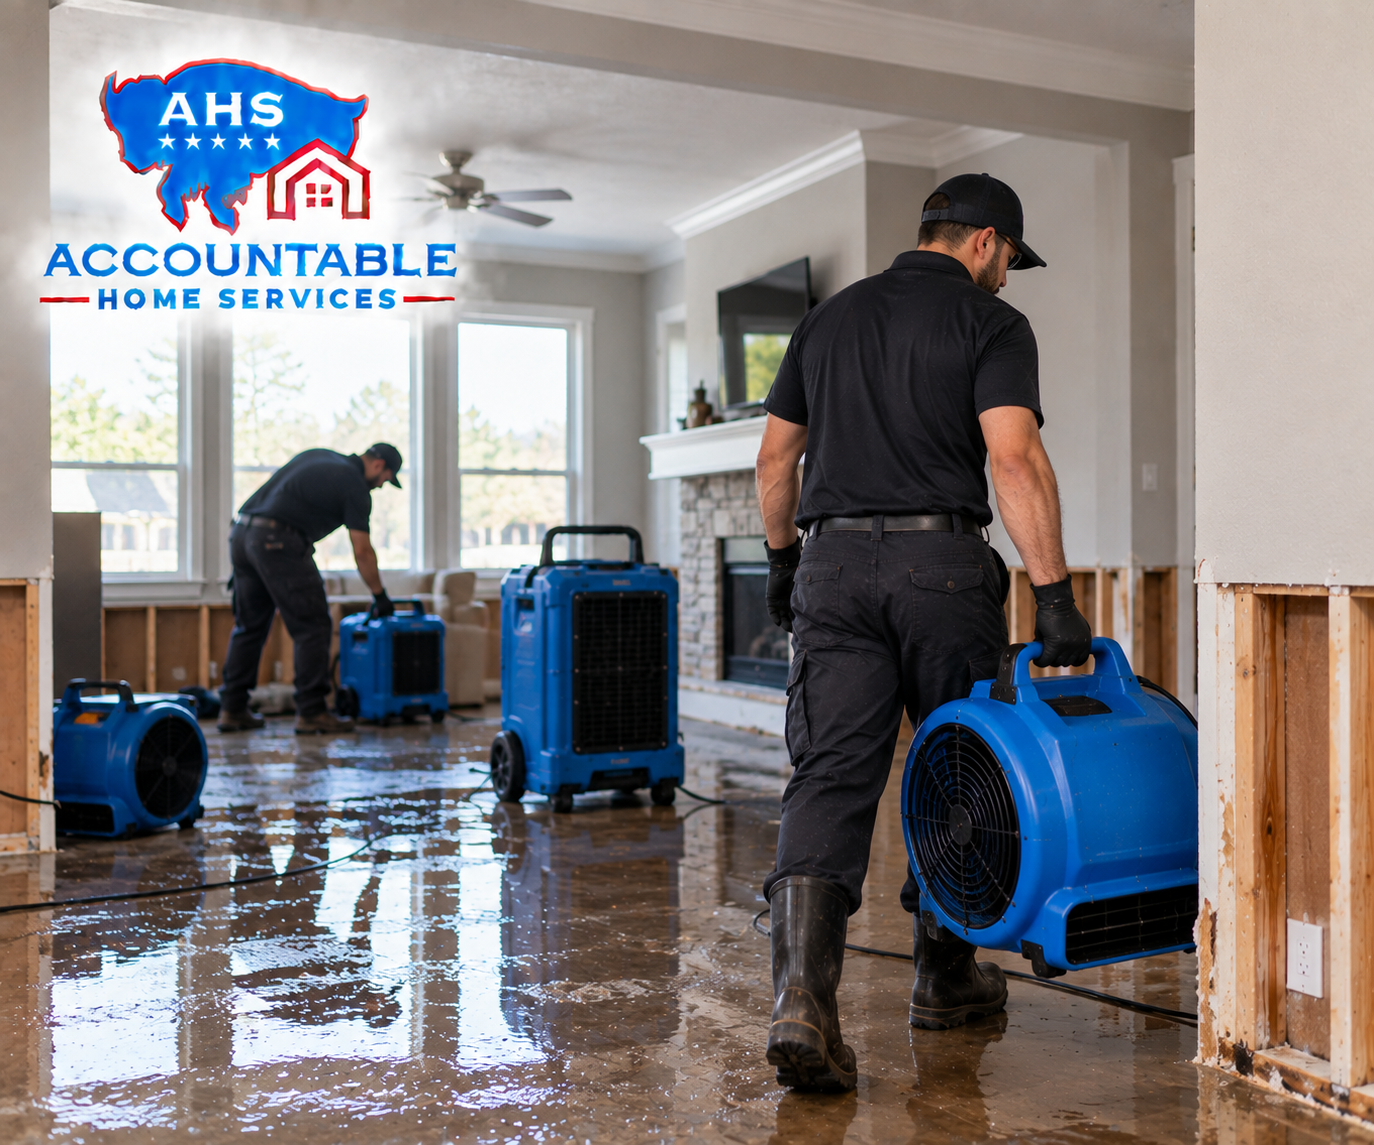
- Start airflow: fans + dehumidifier if you have them.
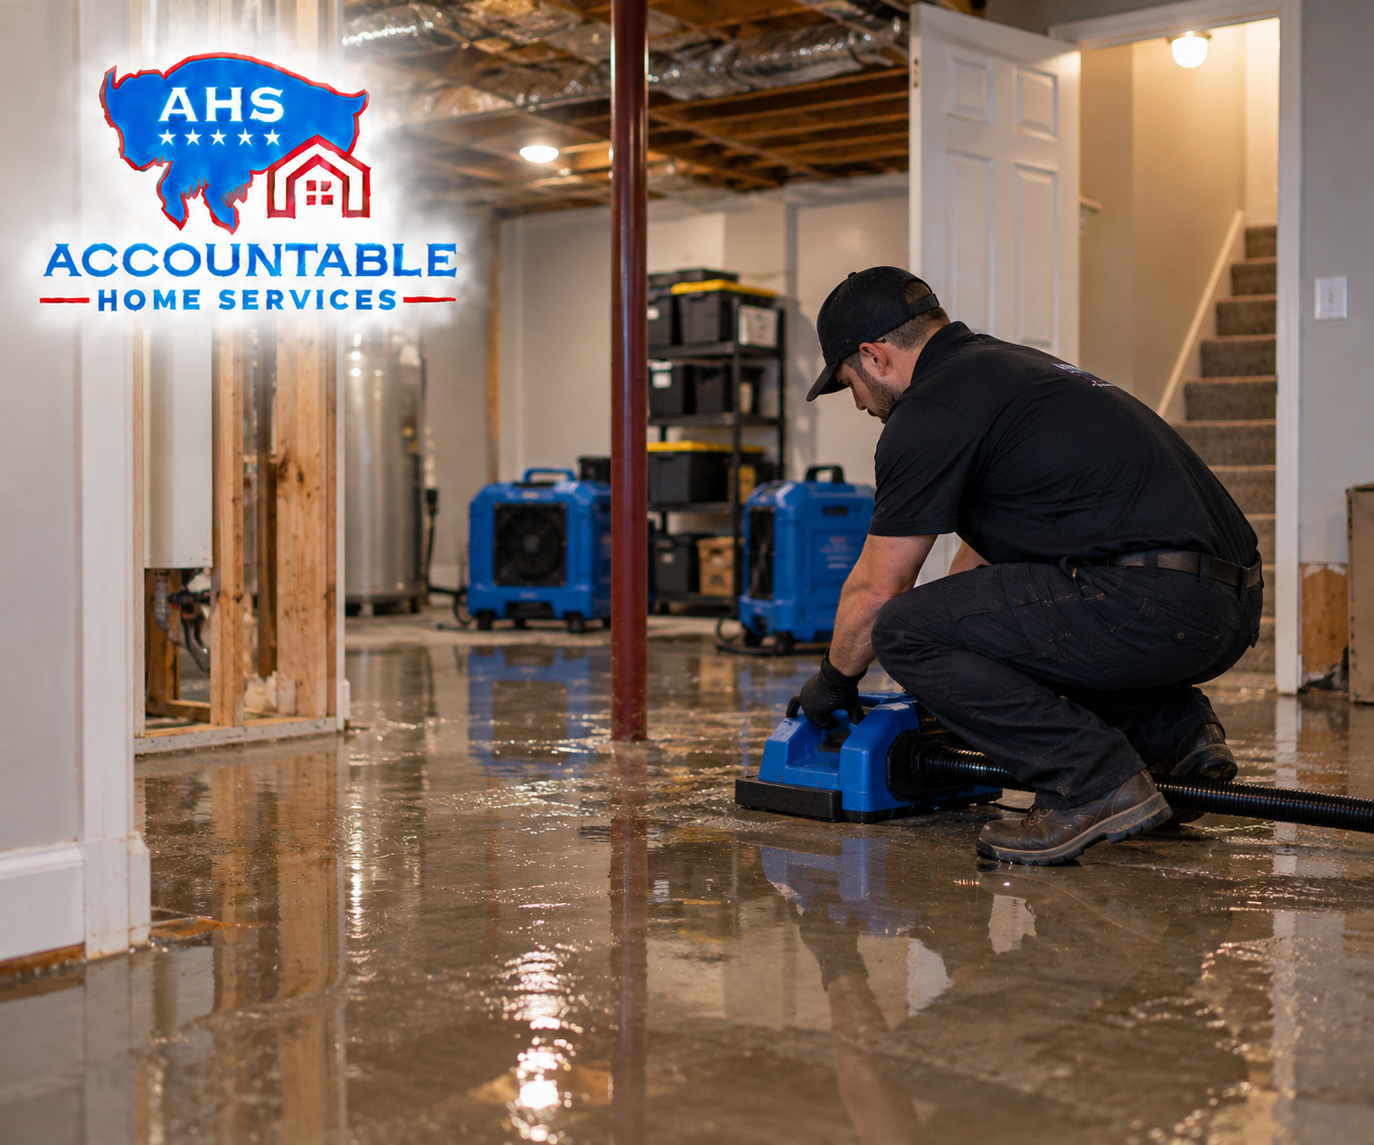
If multiple rooms are affected, treat it like emergency water damage Littleton: containment first, then drying and documentation.
Step 2: Document everything (you’ll thank yourself later)
Whether you hire a roofer or handle a claim, documentation supports a water damage insurance claim Colorado.
Take:
- Wide photos of each affected room
- Close-ups of stains, wet insulation, damaged shingles/flashings (if visible)
- A quick video showing active dripping or pooling
- Notes: date/time, weather conditions, and what you did to mitigate damage
This record helps with the roof leak insurance claim process and speeds up approvals if the loss is covered.
Step 3: Identify the symptom pattern inside the home
When homeowners search roof leak signs inside house, they’re usually seeing one of these:
- Brown/yellow ceiling spots or expanding rings
- Paint bubbling or peeling
- Musty smells (often attic water damage or damp insulation)
- Drips that appear only during wind, heavy rain, or melting snow
- Wet walls near chimneys, skylights, or exterior corners
- Sudden new stains after a storm (storm damage roof leak) or after hail (hail damage water leak)
If you have a ceiling water leak Littleton issue, remember: the spot on the ceiling is often not directly below the roof opening. Water travels along rafters, trusses, and drywall seams.
Step 4: How to find a roof leak (without making it worse)
If it’s safe and you can access the attic, an interior inspection is often the fastest way to locate the path of water.
Attic inspection for water intrusion
Bring a flashlight and look for:
- Wet or compressed insulation
- Darkened roof decking, shiny nail tips, or water trails on rafters
- Mold-like staining (a sign of repeated moisture)
- Daylight through the roof deck (a strong clue)
This attic inspection for water intrusion can help you narrow the exterior area to check—valleys, vents, chimneys, skylights, and flashing lines.
Exterior clues (view from the ground if possible)
Don’t climb on a wet, steep, or hail-damaged roof. From the ground or a ladder only if safe, look for:
- Missing, creased, or lifted shingles (shingle damage causing leaks)
- Damaged ridge caps
- Exposed nail heads
- Debris jams in valleys or gutters that push water backward
- Bent or separated flashing edges
Step 5: Use a temporary fix only if needed (and do it correctly)
Temporary measures can prevent rapid deterioration, but they’re not a substitute for professional roof water leak repair.
Emergency tarp roof leak fix
An emergency tarp roof leak fix is most effective when:
- You can cover the suspected source area above where water is entering
- The tarp extends beyond the leak zone and is secured properly
Key tips:
- Use a heavy-duty tarp large enough to reach past ridges/valleys if possible.
- Secure with boards/straps—avoid “peppering” the roof with nails.
- Do not attempt in high wind or during lightning.
Temporary roof leak sealing (use caution)
Temporary roof leak sealing products (roof cement, tape, sealants) may help around small penetrations, but misapplication can trap water or void warranties.
If you must seal something short-term:
- Clean and dry the area as much as possible
- Apply only where you can clearly see the opening (not “guessing”)
- Treat it as a stopgap until a proper repair
Homeowners often ask for the best roof sealant for leaks—the reality is the “best” depends on the material, temperature, and location (flashing vs shingle vs vent boot). A roofer can match the sealant to the system so it lasts.
Step 6: Know the most common causes in Littleton homes
Many local leak calls come down to details around transitions—not the middle of a shingle field.
Roof flashing leak repair (the usual suspect)
Flashings are thin metal pieces that direct water away from joints. When they fail, leaks can show up far from the actual gap. Common failure points:
- Wall-to-roof intersections
- Valleys
- Vent pipes
- Step flashing at sidewalls
A proper roof flashing leak repair often involves replacing damaged metal and integrating it with underlayment and shingles—not just smearing caulk.
Chimney flashing leak symptoms
Watch for chimney flashing leak symptoms like:
- Stains on ceilings/walls near the chimney chase
- Damp framing in the attic near the chimney
- Efflorescence or spalling on masonry
- Leaks that worsen with wind-driven rain
Chimneys are complex: step flashing, counterflashing, and cricket/saddle (on larger chimneys) must work together.
Skylight leak troubleshooting
With skylight leak troubleshooting, the skylight itself isn’t always “bad.” Common causes include:
- Failed flashing kit
- Improper underlayment/ice-and-water protection
- Condensation issues mistaken for leaks
- Debris buildup that redirects water
If you see leaks only during certain wind directions, flashing is a prime suspect.
Flat roof ponding water solution
If you have a low-slope section (porch, addition, or modern flat area), standing water after storms is a red flag. A flat roof ponding water solution might include:
- Improving drainage/scuppers
- Adding tapered insulation for slope
- Re-coating or replacing membrane sections
- Clearing drains and correcting low spots
Ponding accelerates membrane wear and increases the odds of roof leak water damage Littleton events.
Step 7: Understand material differences (and what they mean for leaks)
Homeowners comparing asphalt shingles vs metal roofing leaks should know:
- Asphalt shingles often leak due to wind lift, broken seals, or aging underlayment.
- Metal roofs can leak at fasteners, seams, penetrations, or incorrectly detailed flashing—especially if expansion/contraction wasn’t accounted for.
Either system can perform well when installed correctly; most leaks come from penetrations, details, and aging components—not the field material alone.
Step 8: When to call a roofer for leaks (and who else you may need)
Call promptly if:
- There’s active dripping you can’t stop
- Water is near electrical fixtures
- You suspect structural damage (sagging ceiling, soft decking)
- The leak started after hail/wind (possible storm damage roof leak)
- You need a written report for insurance
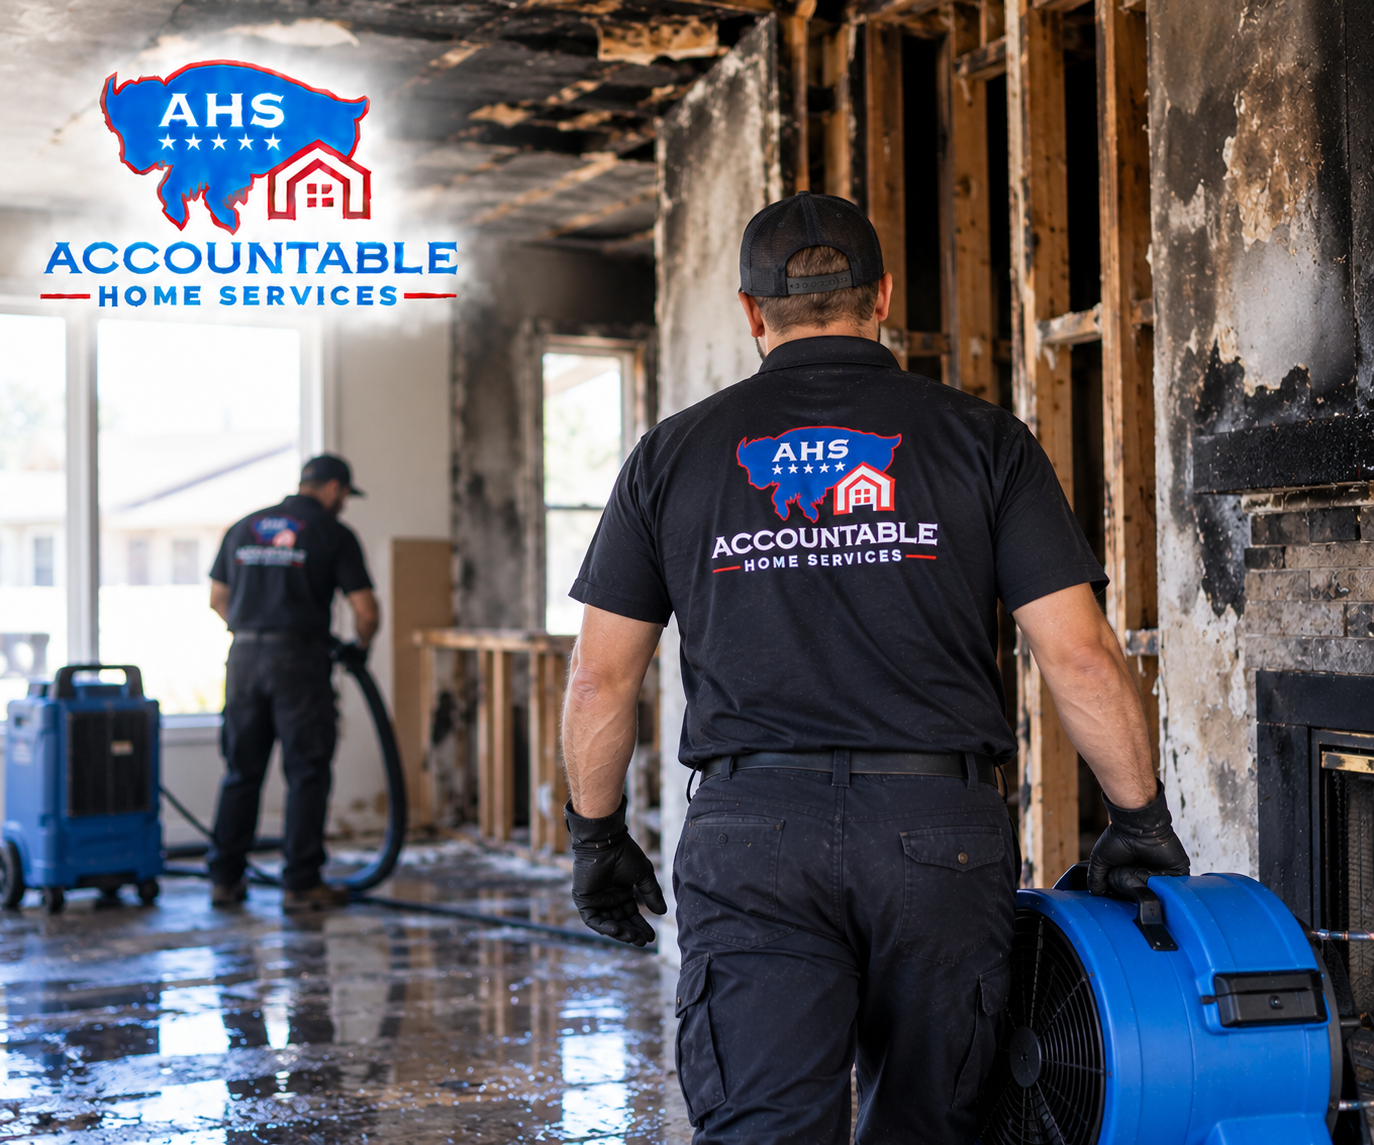
A roofing contractor addresses the roof system; for extensive interior saturation, you may also need water damage restoration Littleton services to handle drying, antimicrobial treatment, and rebuild planning. That’s especially true for soaked insulation and hidden attic water damage.
Step 9: Roof leak repair cost estimate—what influences price?
A fair roof leak repair cost estimate depends on:
- Access and roof pitch
- Leak source complexity (simple shingle replacement vs flashing/chimney work)
- Extent of underlayment/decking damage
- Number of penetrations or affected areas
- Interior damage (drywall, insulation, paint)
Small, straightforward repairs are typically far less than repairs involving chimney rebuilds, widespread flashing replacement, or rotted decking. Ask for photos of the problem area and a clear scope of work, not just a dollar figure.
Step 10: Insurance basics in Colorado (what to do and what not to do)
If the leak followed a covered event (hail, wind), you may be eligible for a roof leak insurance claim process. For a smoother water damage insurance claim Colorado experience:
- Mitigate immediately (buckets, drying, tarp if safe)
- Keep receipts (fans, dehumidifier rental, tarp materials)
- Don’t throw away damaged materials until advised (or at least photograph them)
- Request a detailed roofer assessment identifying storm-related damage when applicable
Also note: insurance often distinguishes between sudden storm damage and long-term wear/maintenance issues. That’s why documentation and a professional inspection matter.
Takeaway: Act fast, then fix the cause—not just the symptom
For roof water leak repair Littleton CO, the winning approach is: contain the water, document the damage, identify the leak path, and get the right repair for the actual cause—whether it’s shingle damage causing leaks, a flashing failure, a chimney issue, skylight details, or a low-slope drainage problem. The sooner you address it, the less likely you’ll face escalating water damage from roof leak and the easier it is to restore your home confidently.