Drywall Water Damage in Cherry Hills Village, CO: What Homeowners Should Know
Drywall Water Damage in Cherry Hills Village, CO: What Homeowners Should Know
When drywall gets wet, the most important question is not how it looks from the room side. The real question is whether the material, the wall cavity, and the insulation behind it can be dried safely, or whether removal is the better path. For homeowners dealing with drywall water damage Cherry Hills Village CO, the right answer depends on the source of the water, how long the drywall stayed wet, what the moisture readings show, and whether mold or structural deterioration has started.
As The Local Restoration Guide, we approach this decision calmly and practically. Some wet drywall can be dried in place with the right equipment and monitoring. Other water damaged drywall needs to come out so the wall can dry fully, the source can be corrected, and the repair does not hide a continuing problem.
Can this drywall be dried, or does it need to come out?
Drywall may be dryable when the water is clean, the exposure was brief, the drywall is still firm, and moisture readings confirm that the wall cavity is drying properly. It usually needs removal when it is swollen, soft, sagging, crumbling, contaminated, moldy, or wet behind the surface after drying has been attempted. The decision should be based on condition and measurement, not guesswork.
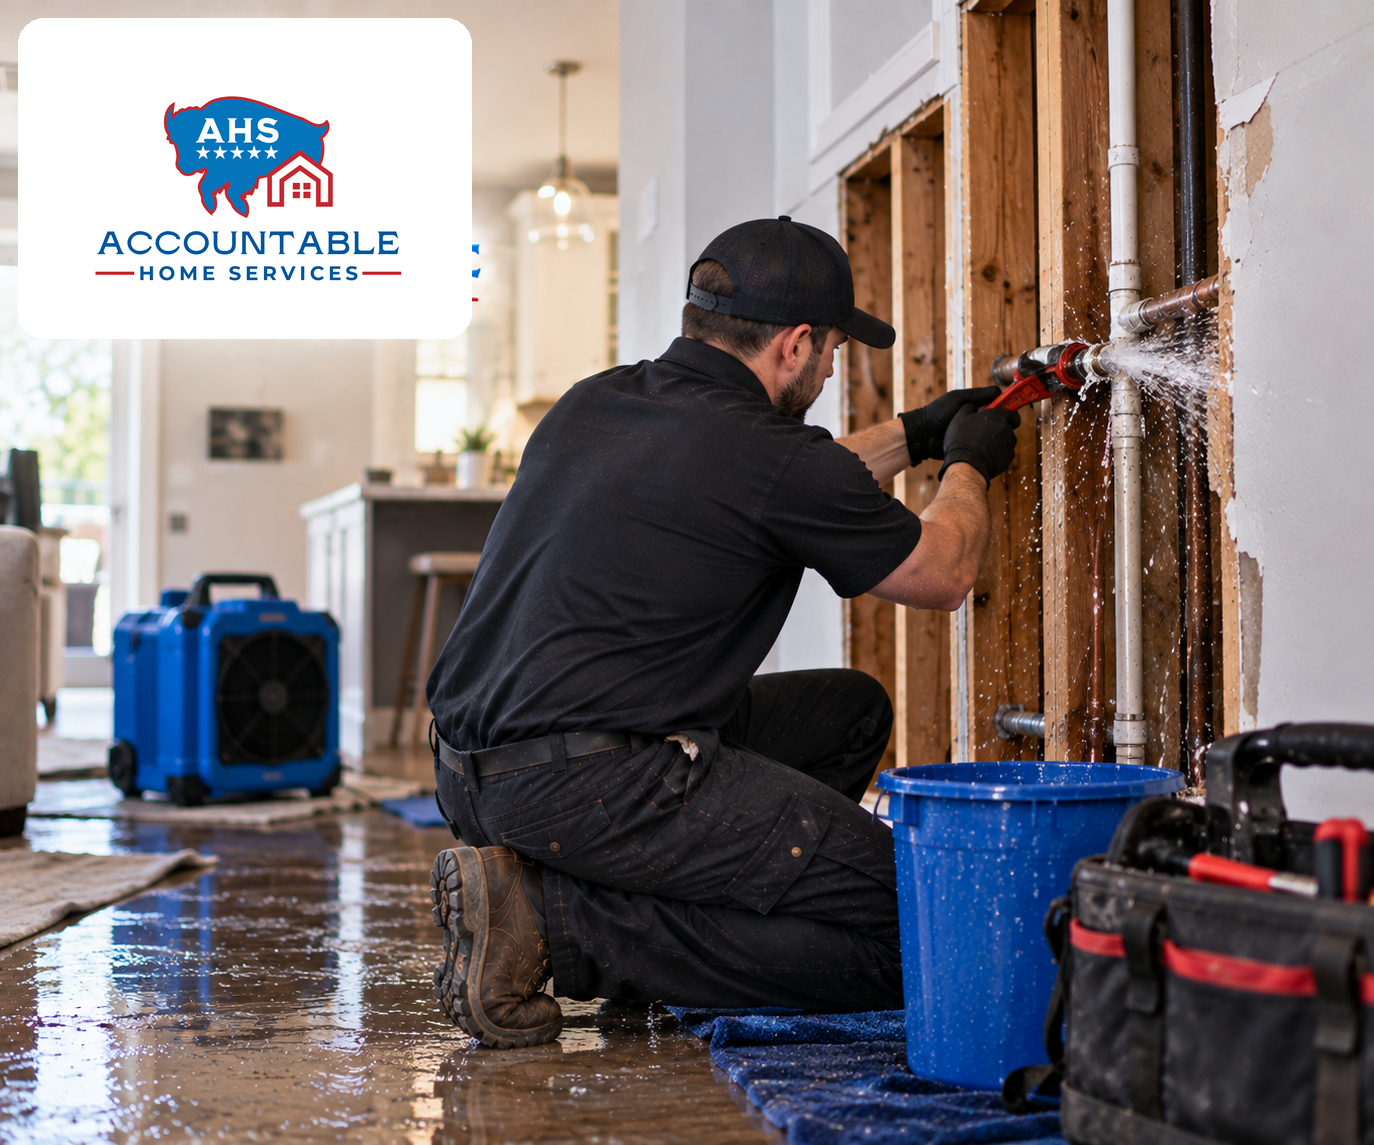
A small ceiling stain from a quickly repaired roof or plumbing leak may only require drying, stain-blocking primer, and cosmetic drywall repair if the material remains solid. By contrast, burst pipe drywall damage often affects insulation, framing pockets, baseboards, flooring edges, and adjoining rooms. In those cases, drying only the painted surface may leave hidden moisture in walls, especially where insulation is holding water against the back side of the drywall.
The source of the water matters as much as the appearance. Clean supply-line water is different from drain backups, toilet overflows, or water that has moved through dirty building materials. If the water is unsanitary, professional water restoration is usually the safer choice because removal, containment, and disposal may be necessary.
Surface appearance does not tell the full story
Drywall is made to be flat, rigid, and paintable, not to perform well after prolonged saturation. Painted drywall can look deceptively normal while the gypsum core remains damp. Paint, texture, primer, vapor-retarding layers, cabinetry, tile, and baseboards can slow evaporation from the room side, which is why drywall can remain wet beneath a dry-looking surface.
Visible staining is often the first warning sign. A yellow, brown, or gray mark on a wall or ceiling usually means water carried minerals, dust, tannins, or other materials through the drywall. Staining alone does not always mean the drywall must be removed, but it does mean the area should be checked for active moisture and the source should be verified.
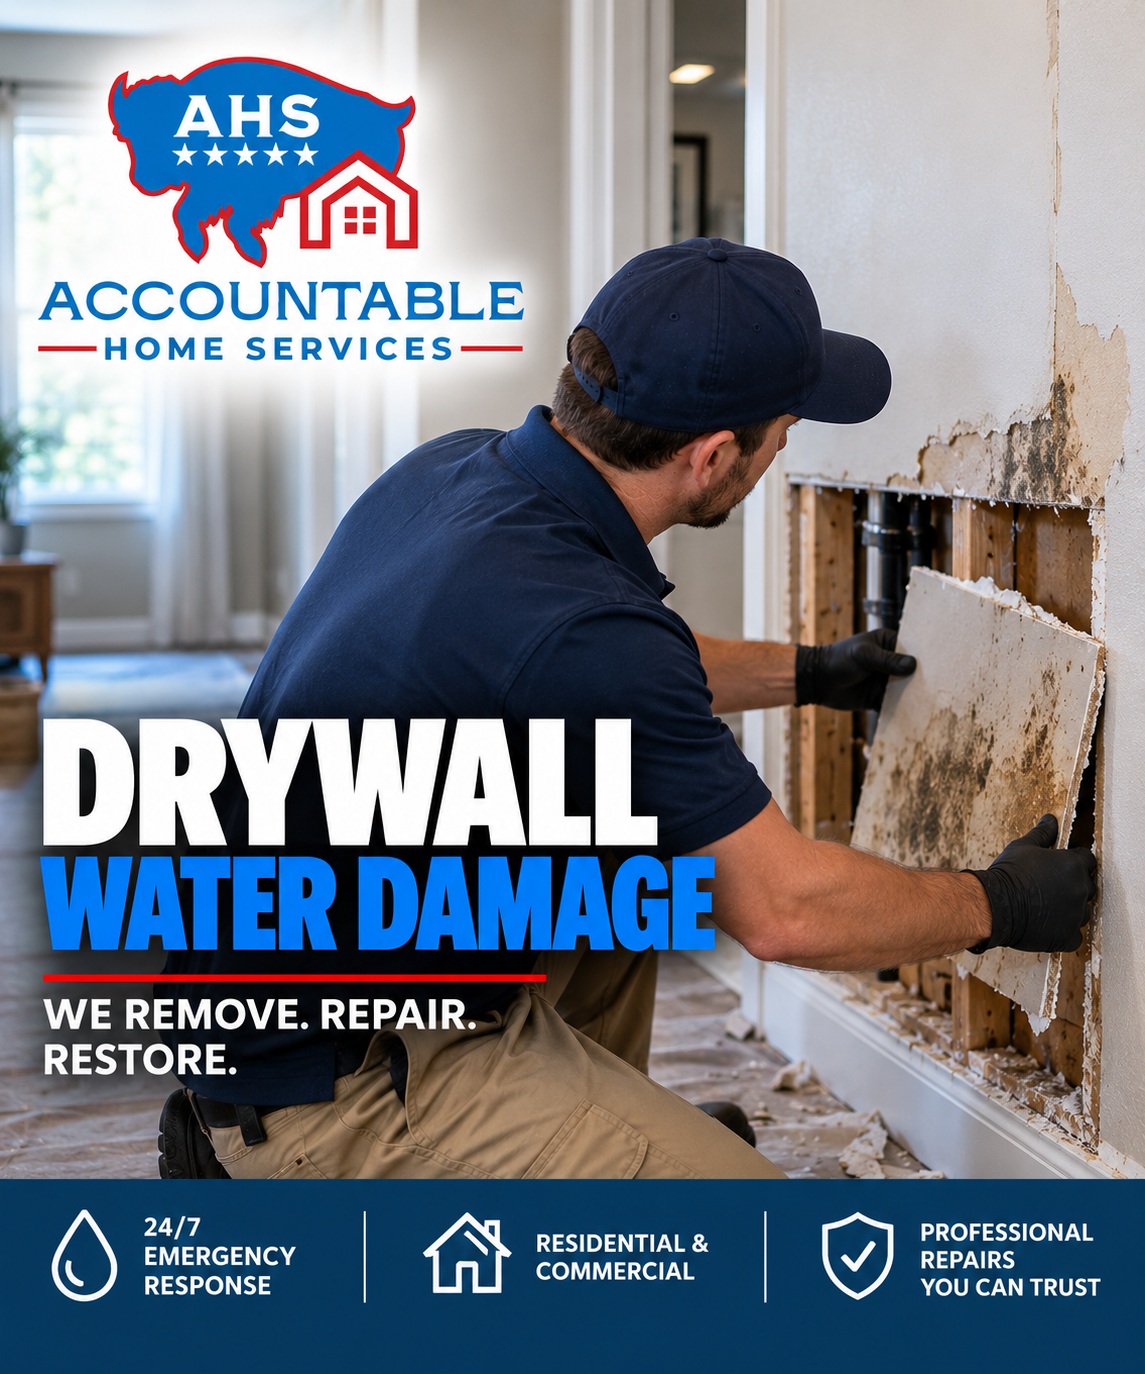
Swelling is more serious. When drywall absorbs water, the paper facing can separate, edges can bulge, and seams may telegraph through the finish. Swollen drywall rarely returns to its original strength and flatness. If the wall has a raised ridge, blistered paint, or a bowed section, replacement is often more reliable than trying to save the panel.
Softness is another key factor. If the drywall feels spongy, dents easily, flakes, or breaks apart when lightly pressed, the gypsum core has likely lost integrity. Soft drywall is not just a cosmetic issue. It may not hold fasteners well, may not finish smoothly, and may continue to support mold growth if moisture remains inside.
Ceiling water damage deserves particular caution because gravity works against the material. A sagging ceiling section can release suddenly, especially if insulation above it is saturated. If you see a bulge overhead, avoid standing under it, keep people away from the area, and arrange an inspection before disturbing the surface.
Moisture readings make the decision clearer
A moisture meter helps determine whether drywall drying is working or whether removal is needed. Homeowners can see staining and swelling, but moisture readings show whether the material still contains elevated moisture below the paint. A professional may compare affected areas to dry, unaffected areas in the same home to understand what is normal for that structure.
Moisture readings are especially useful around baseboards, under windows, near plumbing walls, below bathrooms, and at the edges of ceiling stains. Water often travels farther than the visible mark suggests. It can run along studs, collect at bottom plates, wick into trim, or move into adjacent rooms.
Infrared cameras can also help identify temperature differences associated with moisture, although they do not prove moisture by themselves. A cool-looking area on a thermal image may suggest where to investigate, but it should be confirmed with a meter or by opening the wall when appropriate. The practical point is simple: if readings remain elevated after reasonable drying, the wall may need to be opened.
A responsible water mitigation Cherry Hills Village response should include repeat checks, not just one quick reading. Drying is a process. Equipment placement, airflow, humidity control, and access to the wet materials all affect whether drying succeeds.
Insulation behind the wall often changes the answer
Insulation behind wet drywall is one of the most common reasons a wall that looks manageable still needs to be opened. Fiberglass batts can trap water against the back of drywall and framing. Dense insulation can slow airflow inside the cavity. Once insulation is wet, it may compress, lose performance, and create a damp pocket that is difficult to dry from the room side.
This matters because drywall drying depends on evaporation. If only the front face is exposed to air, but the back side is pressed against wet insulation, the wall can dry unevenly or too slowly. The homeowner may touch the painted surface and think the problem is solved while moisture remains inside the cavity.
Removal is also more likely when exterior walls are involved because they often include insulation, sheathing layers, and temperature differences that complicate drying. Interior plumbing walls can be tricky too, especially around bathrooms, kitchens, laundry rooms, and mechanical areas. The presence of insulation does not automatically mean demolition, but it does raise the need for careful inspection and documentation.
Mold risk increases when wet materials stay enclosed
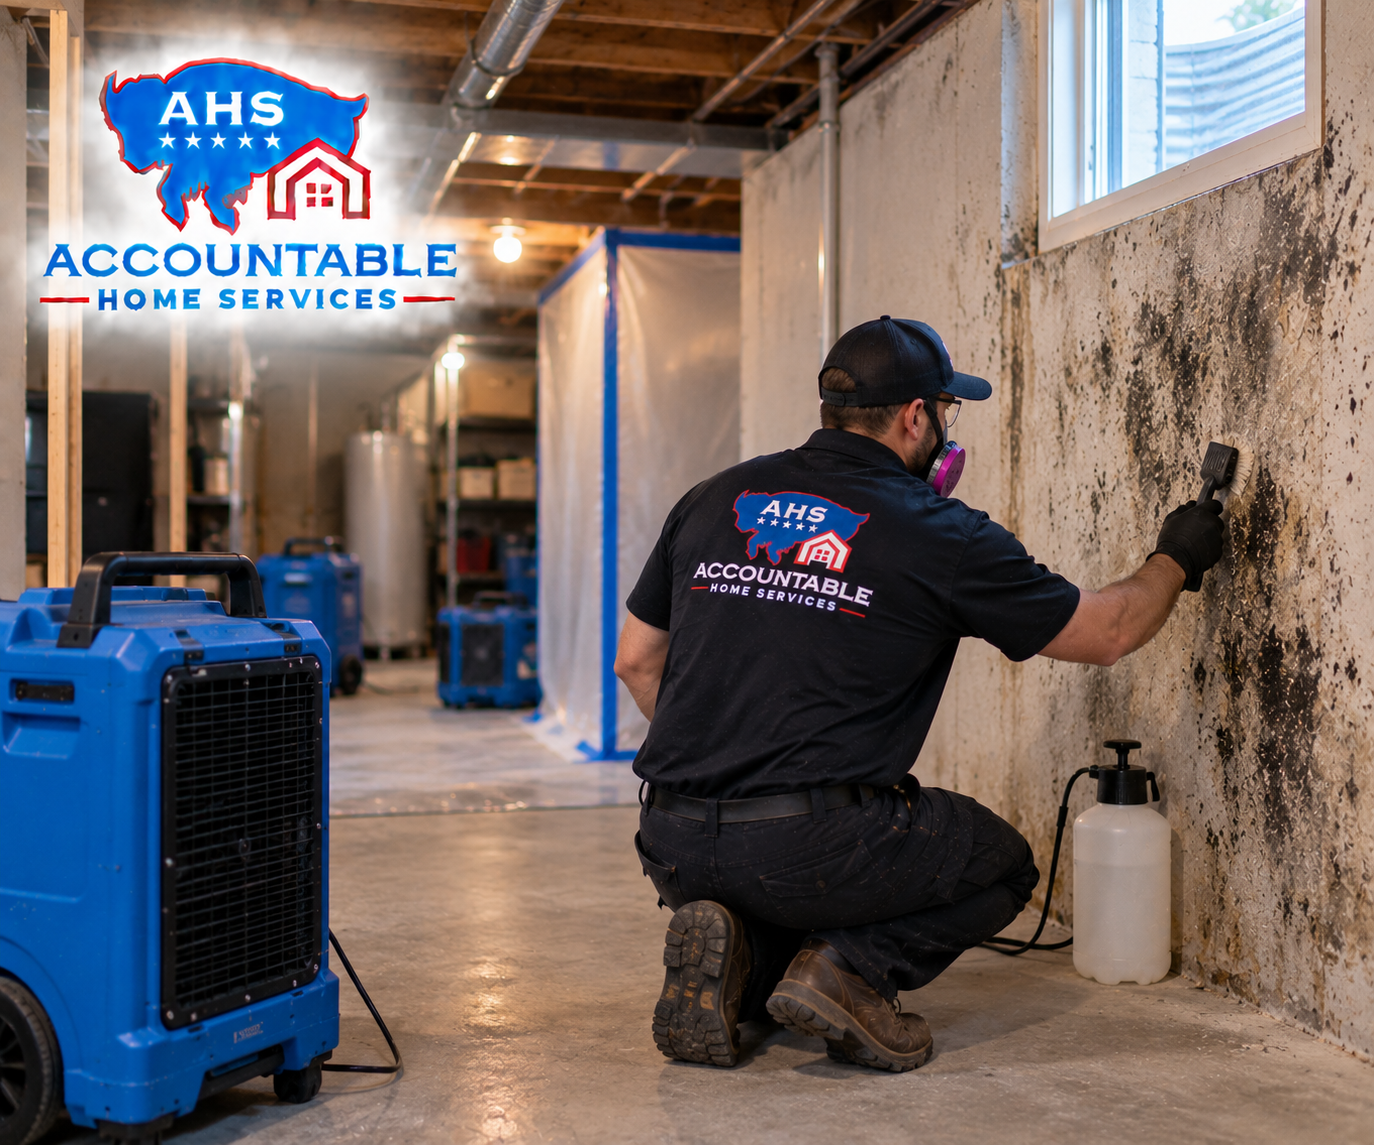
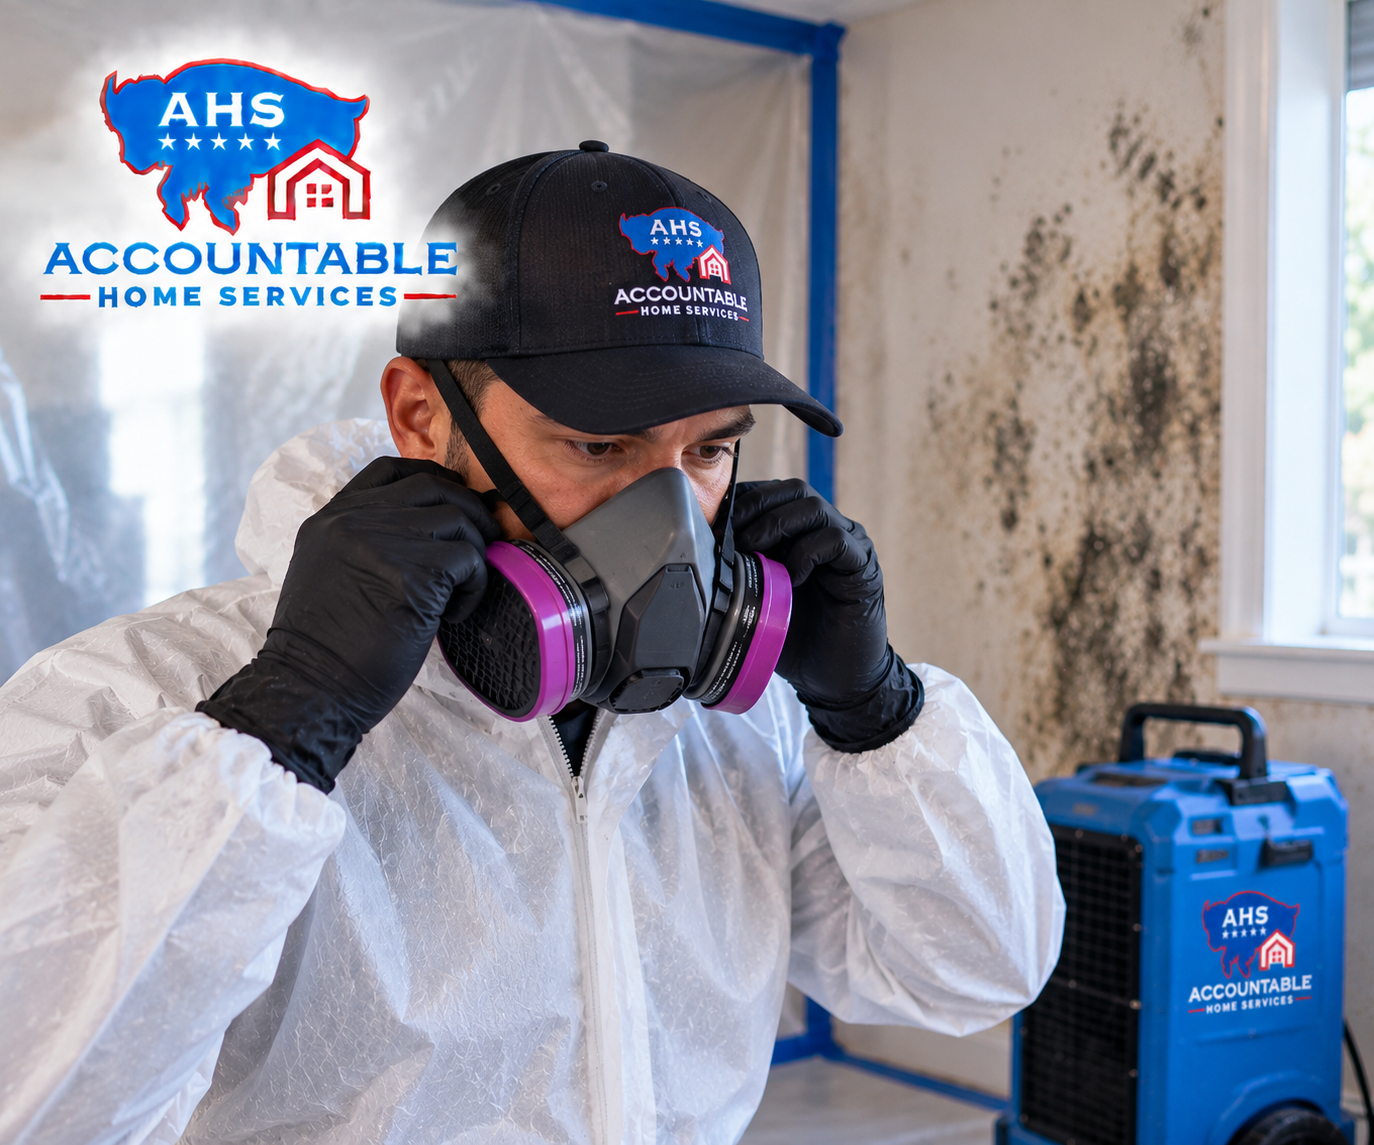
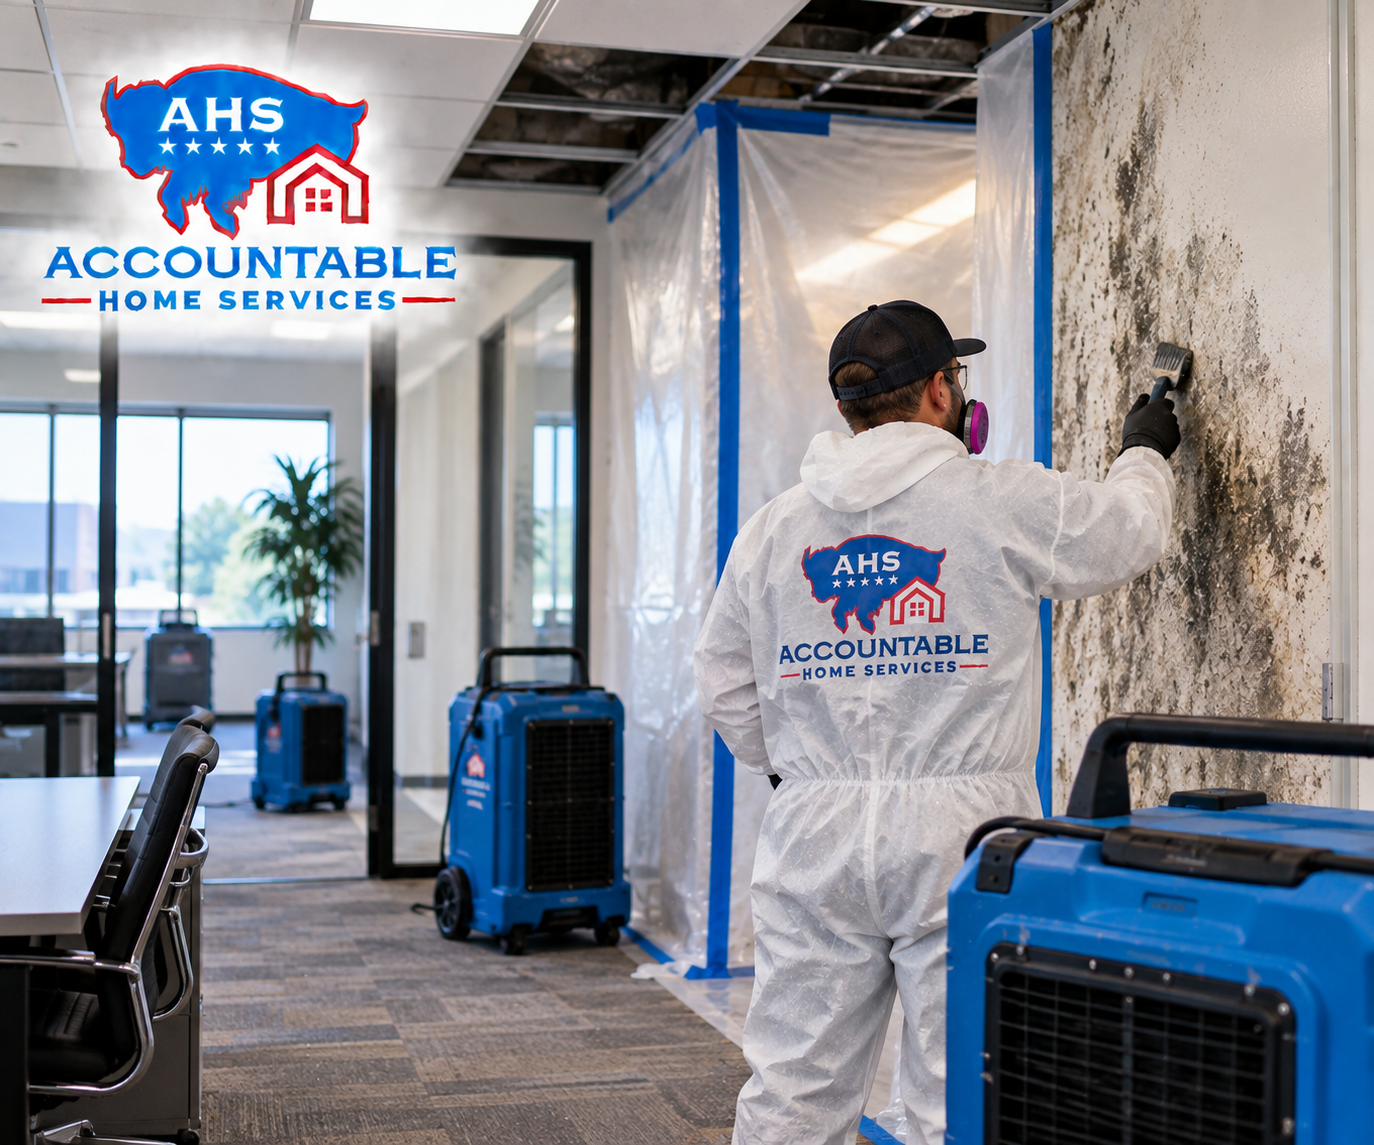
Mold behind drywall is a concern because enclosed damp spaces dry slowly and receive little light or ventilation. Mold risk rises when wet drywall, paper facing, wood framing, dust, and insulation remain damp long enough for growth to begin. Homeowners should not assume every stain is mold, but they also should not paint over an area that has not been dried and evaluated.
Bleach is not a dependable fix for mold inside porous drywall. It may lighten surface discoloration, but it does not solve moisture trapped in the gypsum core or behind the panel. If mold growth is visible, if a musty odor persists, or if the affected area is large or recurring, removal and professional remediation may be necessary.
Health concerns also matter. People with asthma, allergies, immune concerns, or heightened sensitivity may react to damp materials or mold amplification. In those situations, it is wise to reduce disturbance, avoid aggressive DIY demolition, and bring in qualified help for containment, cleanup, and drying.
A practical homeowner checklist before repair
Before patching, priming, or repainting, work through the basics. Skipping these steps can turn a simple water damage cleanup into a repeat repair.
- Stop the water source. Call a plumber first if the leak is active, the pipe is still pressurized, or you suspect supply, drain, water heater, or appliance failure.
- Protect the area. Move contents away, avoid using electrical fixtures near wet materials, and keep people out from under sagging ceilings.
- Document the damage. Take clear photos and videos before removing materials, including the water source, stains, affected rooms, flooring, trim, and contents.
- Check for spread. Look below, beside, and behind the obvious stain. Water can travel through framing cavities and along ceiling lines.
- Measure moisture. Use moisture readings to confirm whether the drywall, trim, and nearby materials are actually drying.
- Consider the wall cavity. If insulation is wet, odors are present, or readings remain high, drying from the surface may not be enough.
- Do not close too soon. New drywall, paint, or cabinets should not be installed over damp framing or unresolved leaks.
This checklist is also useful for insurance agents, plumbers, and property managers who are trying to help a client or tenant understand the next step. Clear documentation protects the claim process, reduces confusion, and helps everyone see what was affected before repairs changed the scene.
When professional water restoration is the safer choice
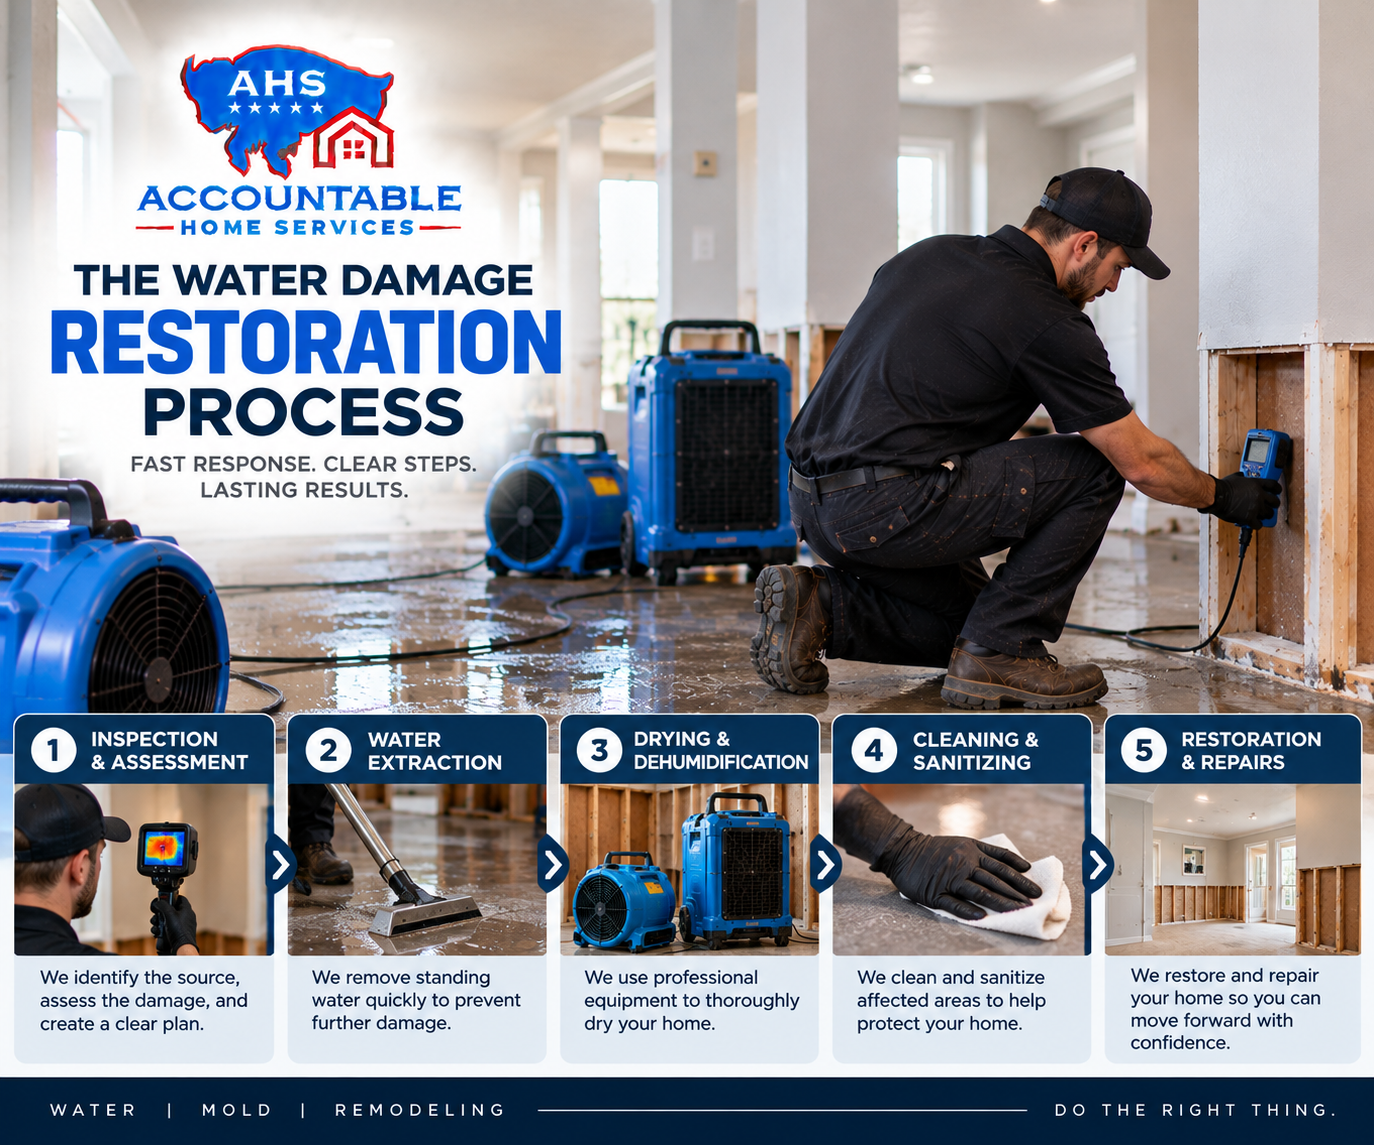
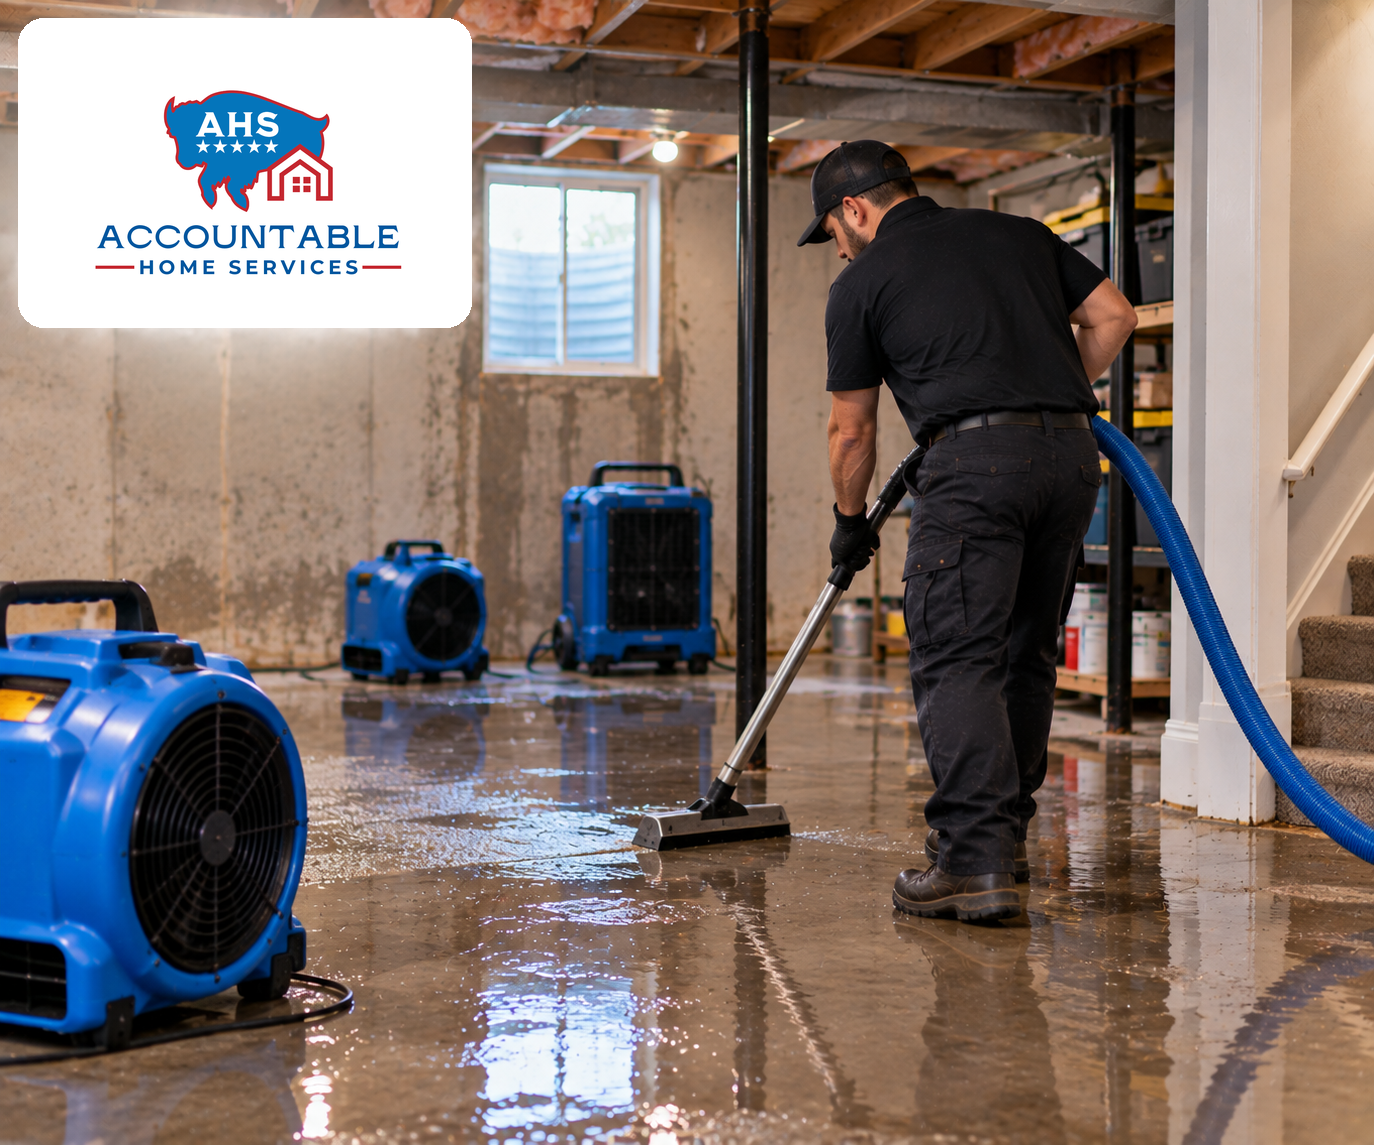
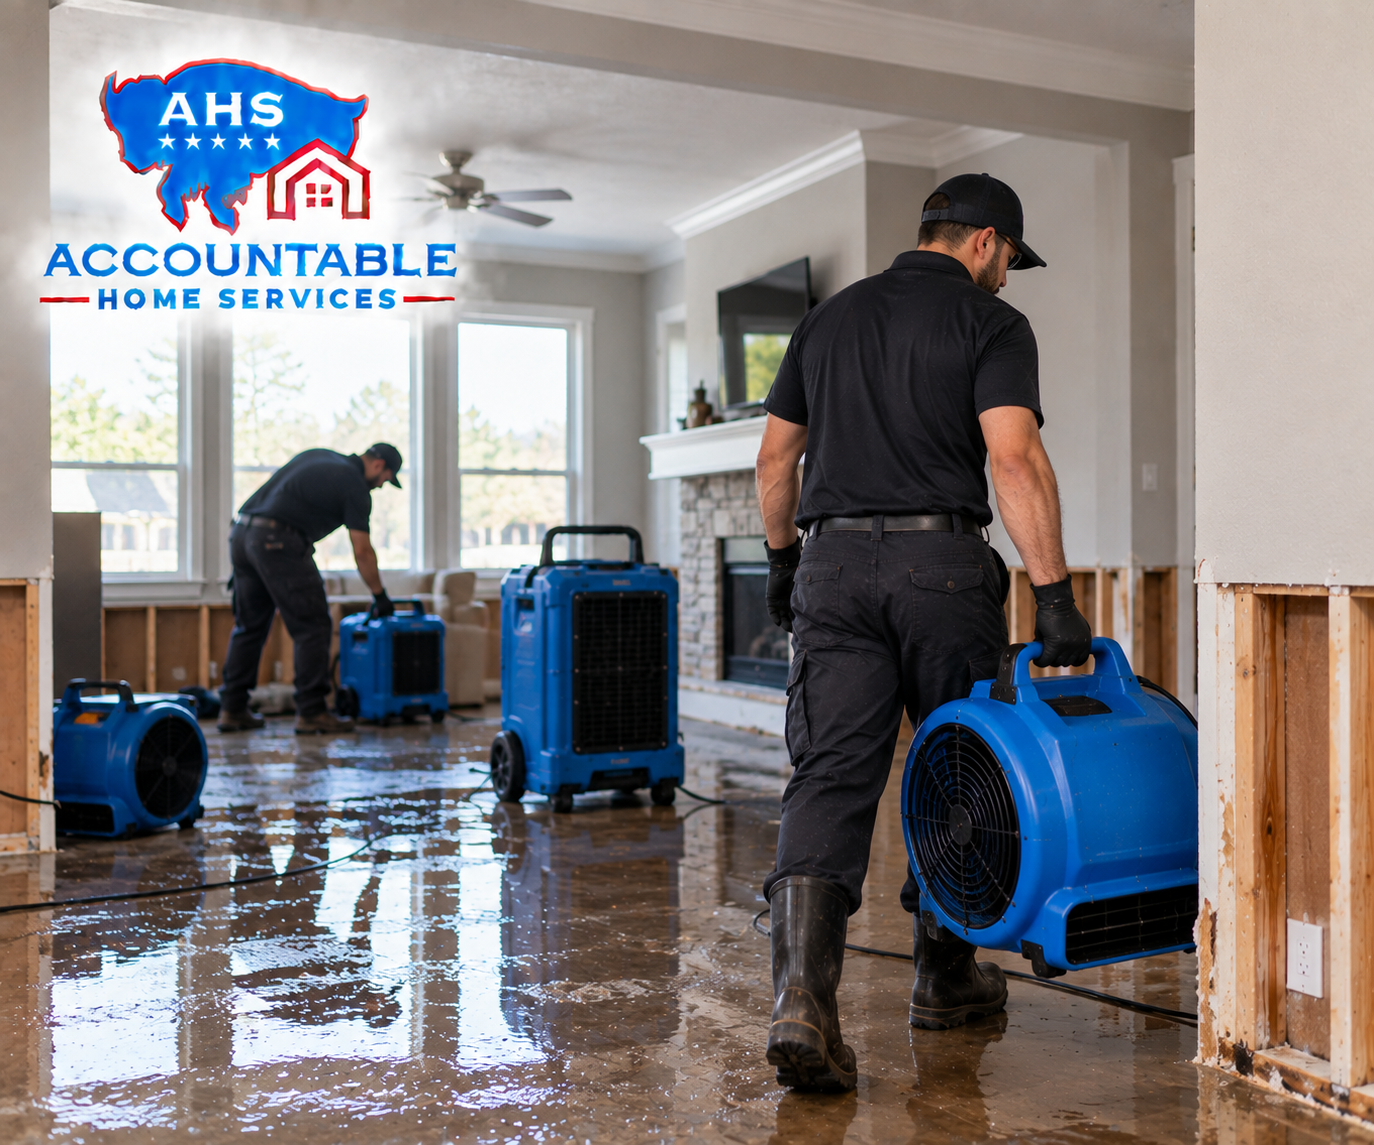
Professional help is appropriate when the affected area is more than a small, clean-water spot, when water entered multiple rooms, when ceilings are involved, or when mold, odor, contamination, or electrical concerns are present. A water damage restoration Cherry Hills Village team can assess the materials, set drying equipment, monitor progress, and explain what must be removed versus what can be saved.
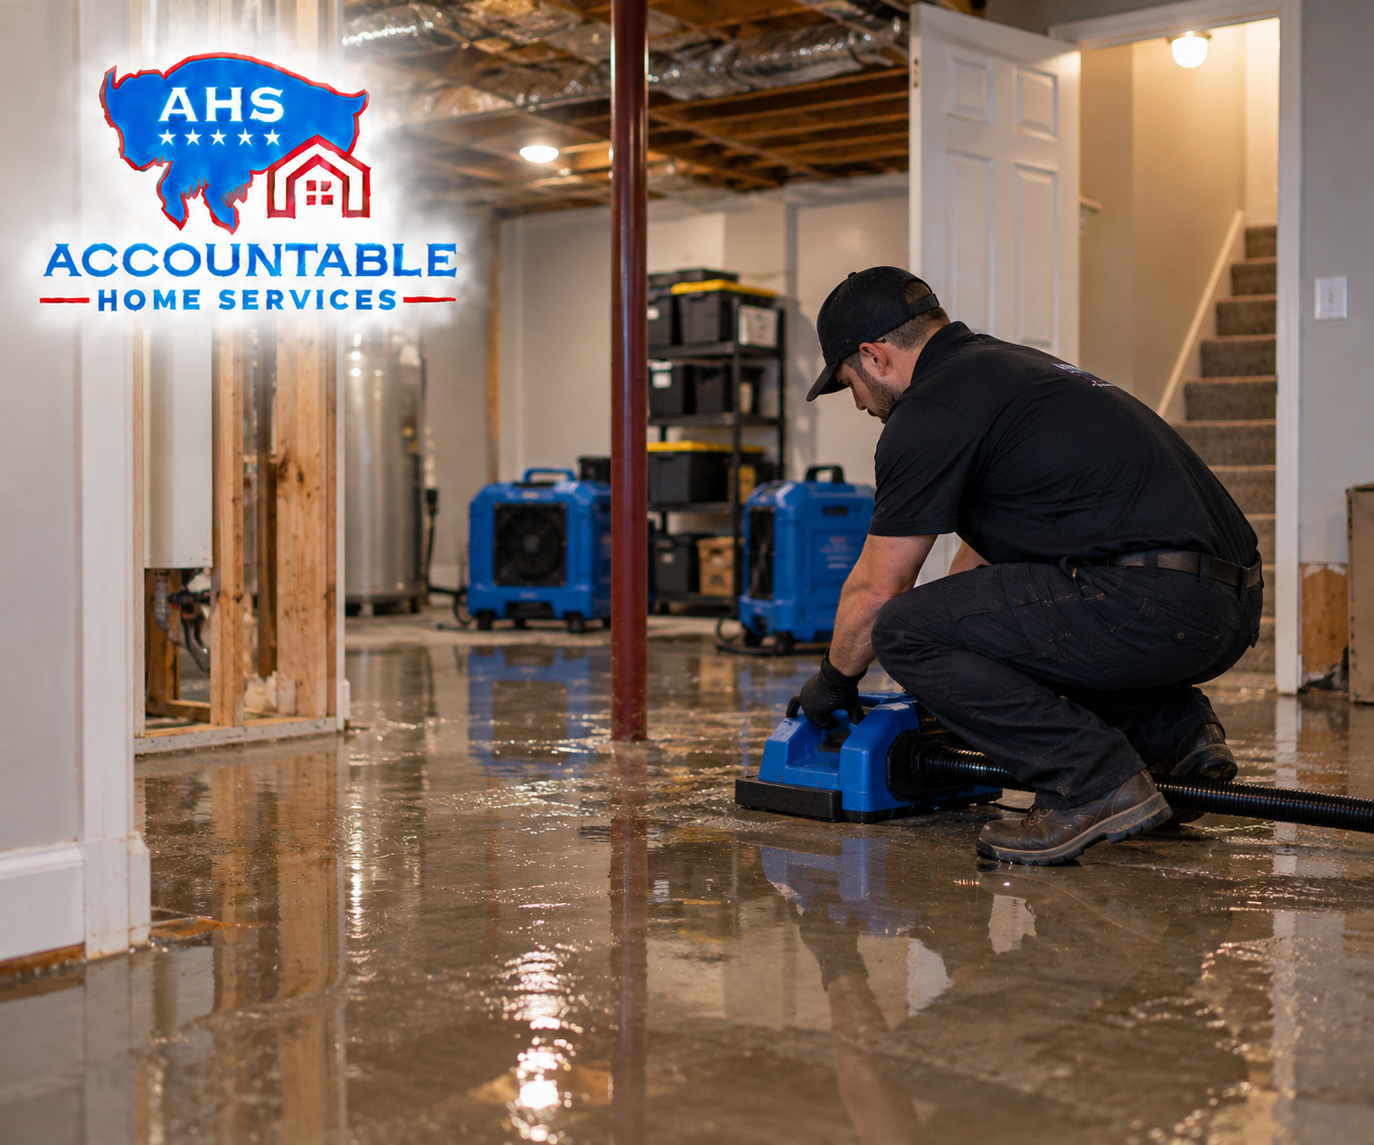
For plumbers, this is where the handoff matters. Repairing the leak stops the source, but it does not automatically dry the structure. A customer with burst pipe drywall damage may need extraction, controlled demolition, dehumidification, air movement, moisture mapping, and daily or periodic documentation after the plumbing repair is complete.
For property managers, speed and communication are central. Tenants usually report what they can see: bubbling paint, a wet floor, a ceiling stain, or a musty smell. The owner needs to know whether the building is protected from further loss. Proper mitigation helps reduce secondary damage and creates a clearer record for decision-making.
For insurance agents, the concern is often process clarity. Homeowners are stressed, unsure what is covered, and worried that opening a wall will make the claim more complicated. In reality, good documentation can make the situation easier to understand by showing the cause, the affected materials, the drying effort, and the reason removal was or was not necessary.
Repair should follow drying, not replace it
Drywall repair comes after the moisture problem is controlled. If the drywall can be saved, repairs may involve stain-blocking primer, minor compound work, texture matching, and repainting. If it must be removed, the damaged section is typically cut back to sound material, often to framing or with proper backing so the patch can be secured.
A careful repair includes replacing compromised insulation when needed, confirming framing is dry, installing new drywall, taping seams, applying multiple coats of joint compound, sanding, matching texture, priming, and painting. In bathrooms, laundry rooms, basements, and other moisture-prone areas, mold-resistant drywall may be a reasonable upgrade, although it is not a substitute for fixing leaks and maintaining ventilation.
The main mistake is treating water damage as only a cosmetic issue. Paint can hide a stain, but it cannot dry a wall cavity. New drywall can cover framing, but it should not cover wet materials. A proper sequence protects the home and reduces the chance of repeated staining, odor, or mold behind drywall.
The right answer depends on evidence
Wet drywall can sometimes be dried, but not always. If the panel is firm, the water was clean, the exposure was brief, and moisture readings show steady drying, saving it may be reasonable. If there is swelling, softness, sagging, wet insulation, persistent hidden moisture in walls, contamination, or mold risk, removal is often the more responsible choice.
For drywall water damage, the best next step is a calm assessment before repair. Stop the source, document the condition, check the moisture, and make the dry-or-remove decision based on what the materials are actually doing. For Cherry Hills Village homeowners and the professionals who support them, that practical approach helps protect the property, the claim, and the people living in the home.