The Water Damage Restoration Process in Commerce City, CO: What Homeowners Should Expect
The Water Damage Restoration Process in Commerce City, CO: What Homeowners Should Expect
Water damage feels overwhelming at first, but the cleanup process is easier to understand when you know the order of events. In Commerce City homes, the goal is simple: stop more water from entering, remove what is there, find hidden moisture, dry the structure, document the work, and put the home back together. This guide walks through the water damage restoration process in plain language so homeowners, insurance agents, plumbers, and property managers know what should happen next.
What should homeowners expect during water damage restoration?
Homeowners should expect a step-by-step process that starts with inspection and ends with a final walkthrough. A good restoration team will explain what they see, protect the home from further damage, use drying equipment where needed, monitor progress, document the loss, and help the homeowner understand what information may support a water damage insurance claim Colorado carriers can review. The process should feel organized, not mysterious.
Water damage restoration Commerce City CO calls often begin after a burst pipe, failed water heater, appliance leak, toilet overflow, roof leak, sump pump problem, or flooded basement. Some situations look obvious, like standing water on the floor. Others are quieter, with water trapped behind baseboards, under flooring, inside cabinets, or in wall cavities. That is why professional water mitigation Commerce City service is about more than removing visible water.
For a first-time homeowner, the most important thing to remember is this: do not wait to ask for help if water has reached flooring, drywall, insulation, cabinets, ceilings, or multiple rooms. Fast action can reduce damage, lower the chance of mold growth, and create clearer documentation from the beginning.
The homeowner roadmap for water damage cleanup
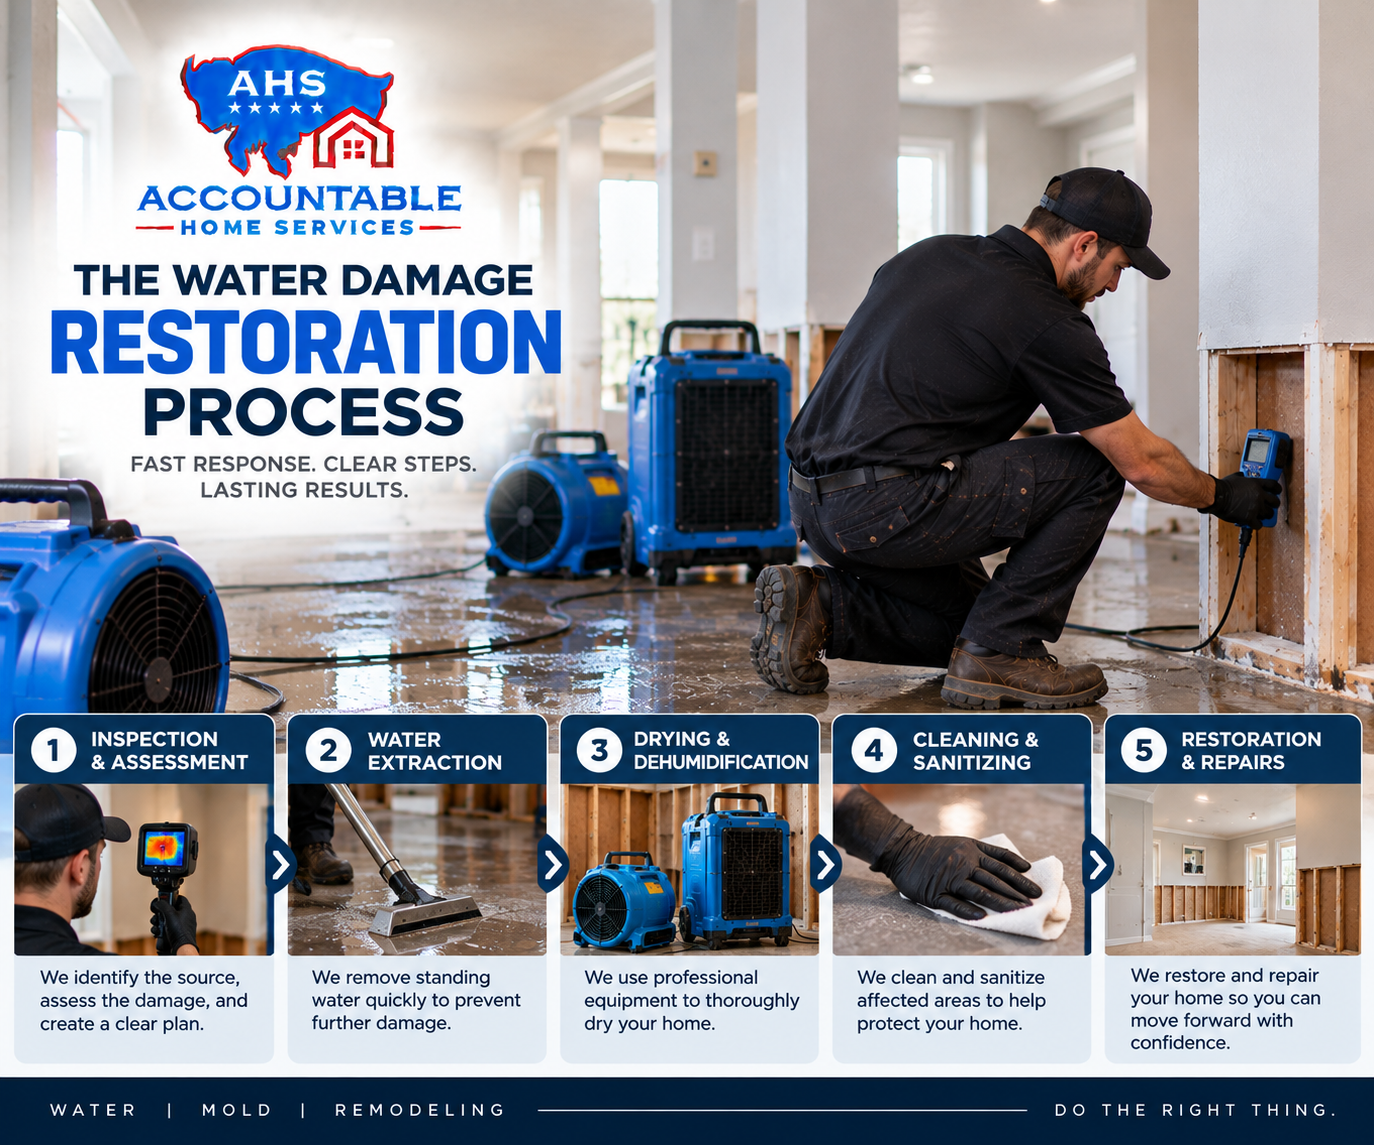
The steps below follow the typical restoration order. Every home is different, and safety comes first, but this roadmap gives you a clear picture of what usually happens and why each step matters.
1. Inspection
The process starts with an inspection. A restoration technician looks at the affected rooms, checks where the water traveled, asks when the loss happened, and identifies what materials may be wet. This first visit helps decide what needs immediate attention and what can wait.
Inspection is not just a quick look at the puddle. Water can move under vinyl plank flooring, soak carpet pad, wick up drywall, run behind cabinets, or collect in a basement corner. In a flooded basement cleanup, the technician may check walls, stairs, storage areas, utility rooms, and any rooms connected to the water path.
During this step, homeowners should share anything they know, including when the water was first noticed, whether the source is still active, and what rooms were affected. If you already called a plumber, keep that information handy. The restoration company and plumber often work together, especially with burst pipe water damage, failed supply lines, or drain-related issues.
2. Stop the source
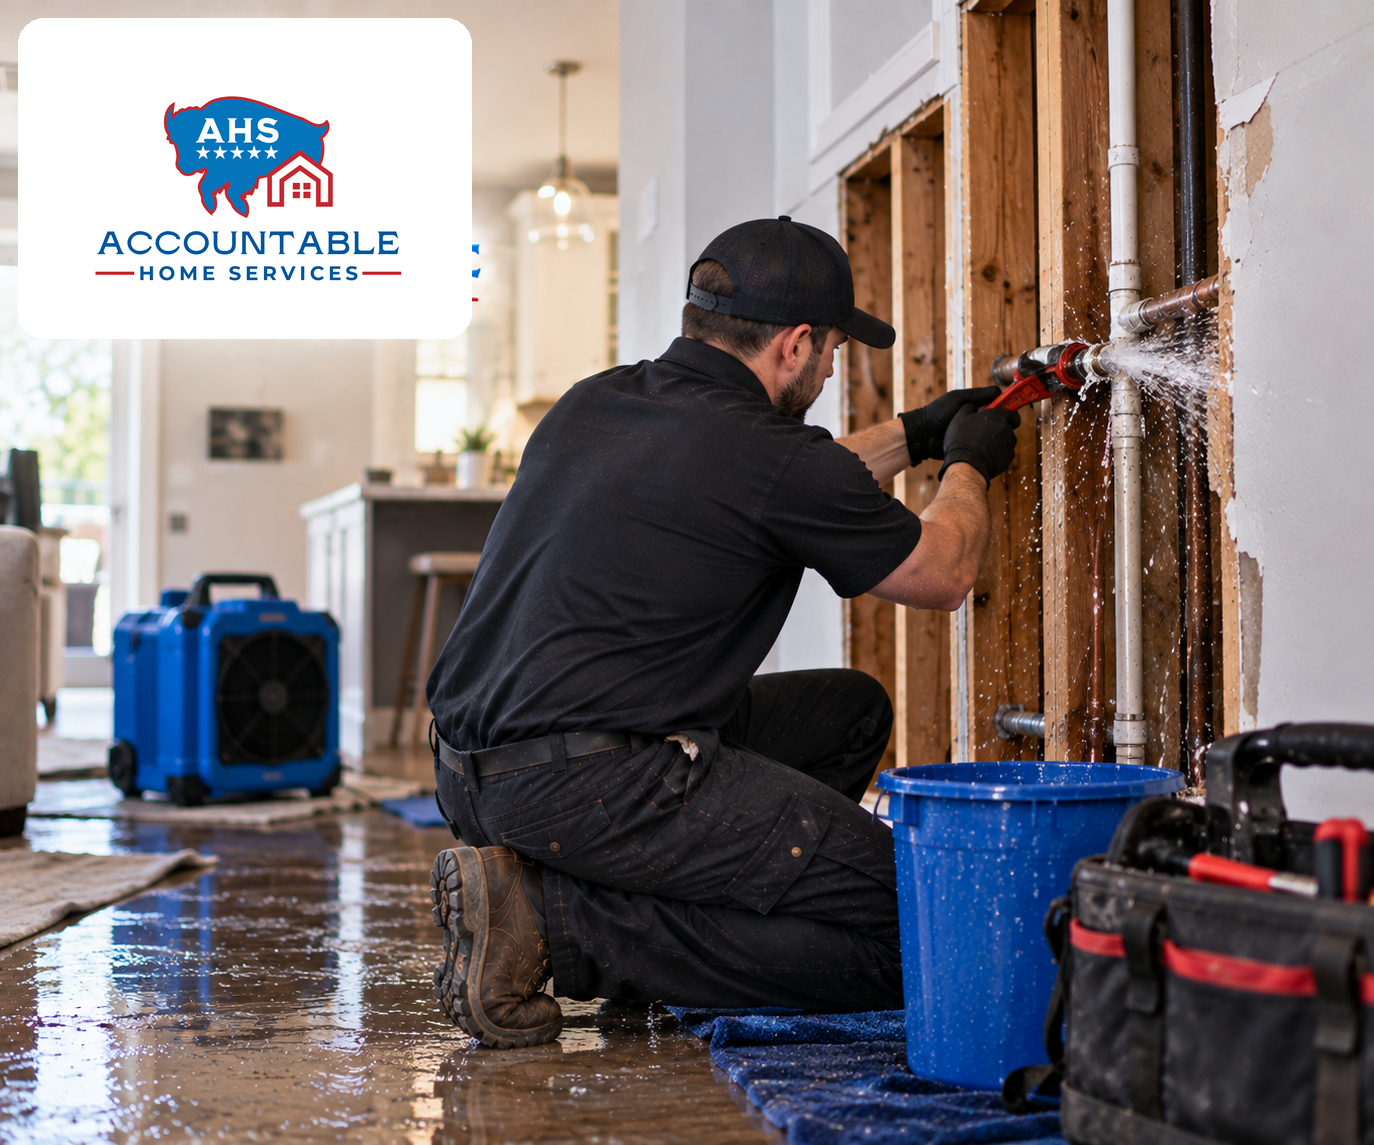
Before drying can work, the water source must be stopped. If water is still entering the home, cleanup will not hold. This may mean shutting off the main water valve, turning off an appliance supply line, stopping a toilet overflow, repairing a pipe, or waiting for a plumber to complete the needed fix.
Restoration teams do not always perform plumbing repairs, and plumbers do not always handle drying. That is normal. The plumber fixes the cause of the leak, while the restoration team handles water extraction, drying, cleanup, documentation, and mold prevention after water damage.
If you are not sure where the water is coming from, avoid guessing if there are electrical hazards, sewage concerns, ceiling sagging, or standing water near outlets. Leave the area if it feels unsafe. Take quick photos if you can do so safely, but do not put yourself at risk for documentation.
3. Extraction
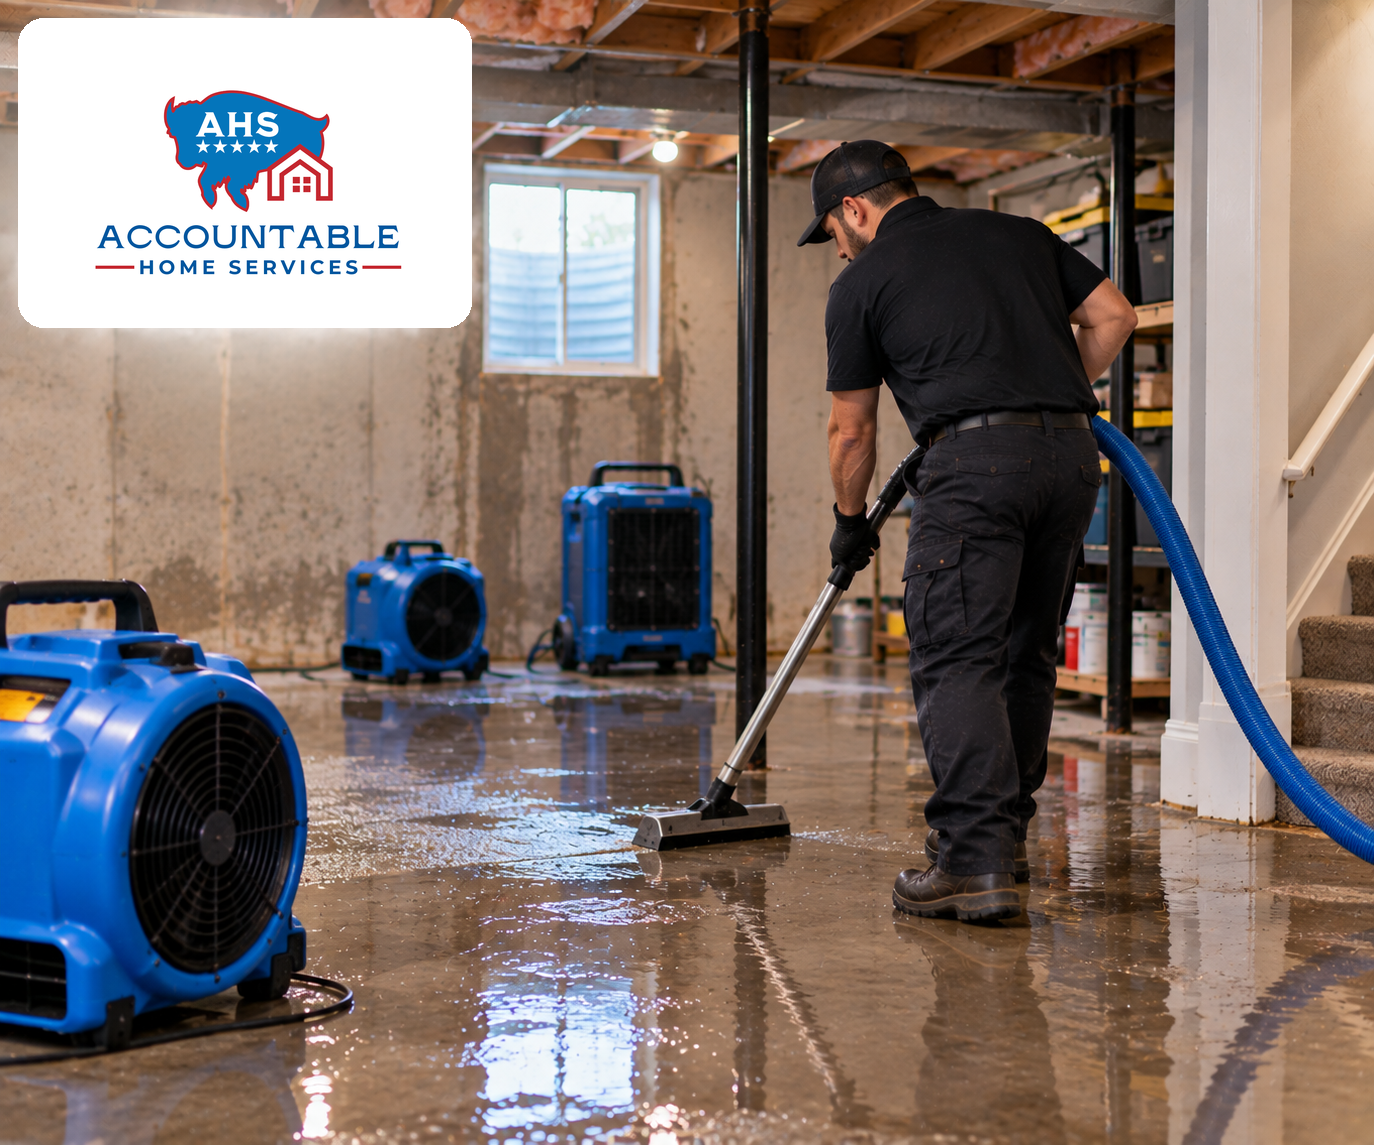
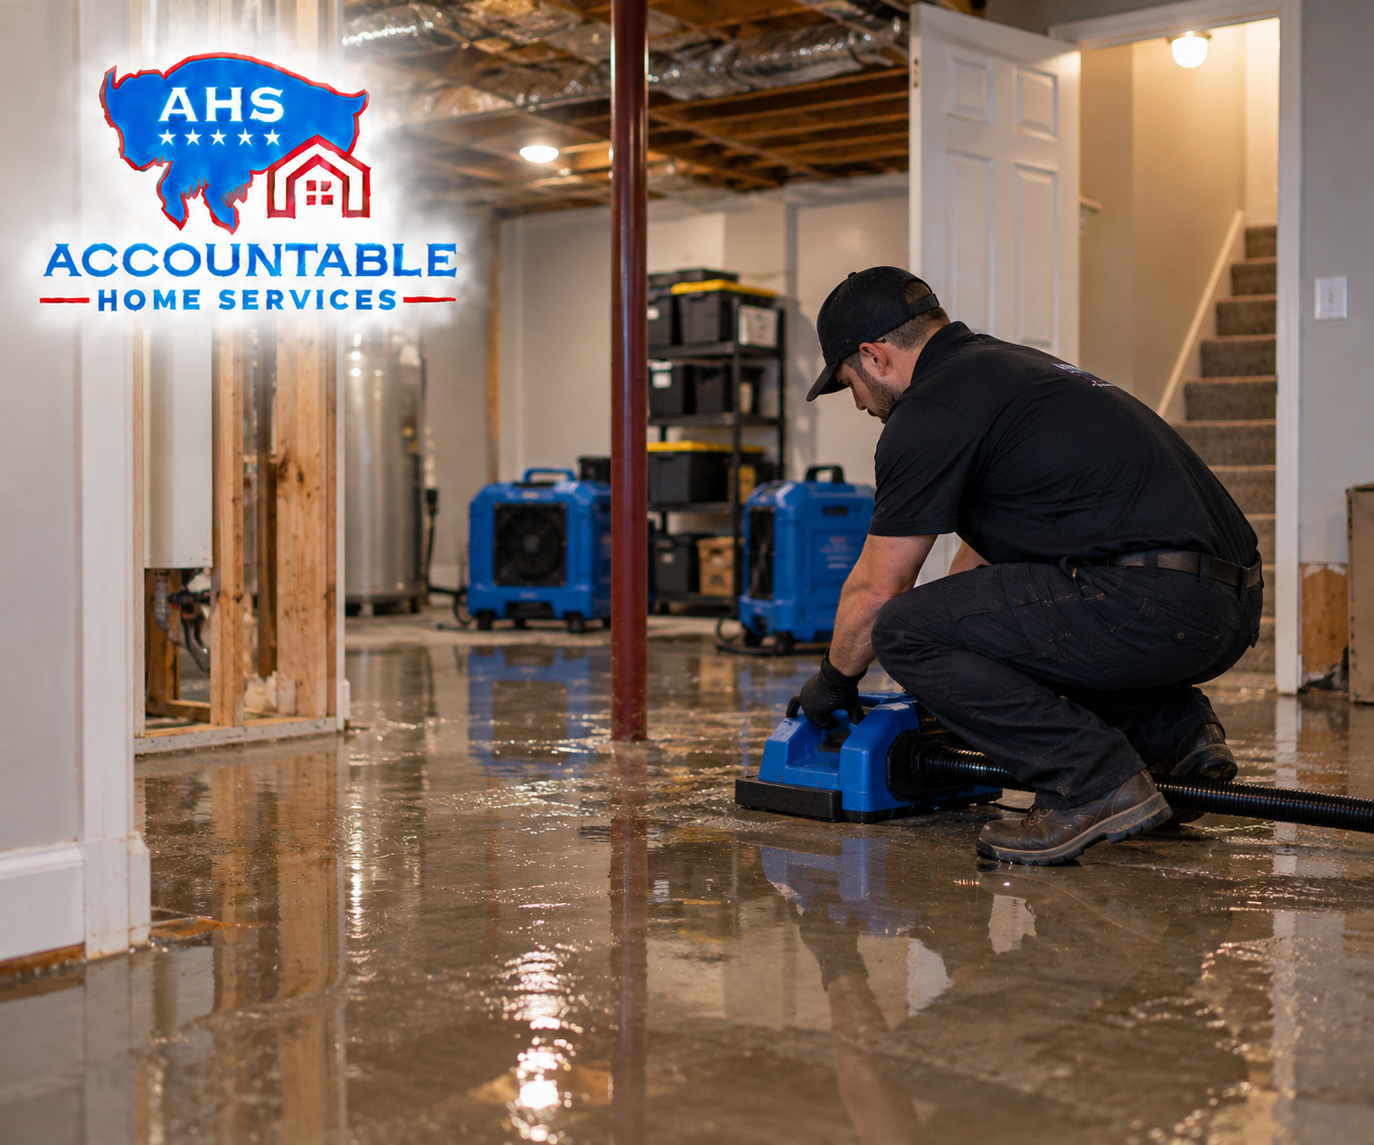
Once the source is stopped and the area is safe to enter, the next step is extraction. This means removing standing water and as much trapped water as possible from floors, carpet, and other affected surfaces. Water extraction Commerce City work may use pumps, wet vacuums, weighted extraction tools, or other professional equipment depending on the amount of water and the materials involved.
Extraction matters because drying equipment works better after bulk water is removed. A soaked carpet or flooded basement floor will take much longer to dry if water is left sitting. The longer materials stay wet, the greater the chance of swelling, staining, odors, microbial growth, and more expensive water damage repair.
Homeowners can help by keeping children and pets away from wet areas and moving small personal items only if it is safe. Do not use a household vacuum on standing water. If the water may be contaminated, such as from a sewage backup or toilet overflow, avoid contact and wait for professional guidance.
4. Moisture mapping
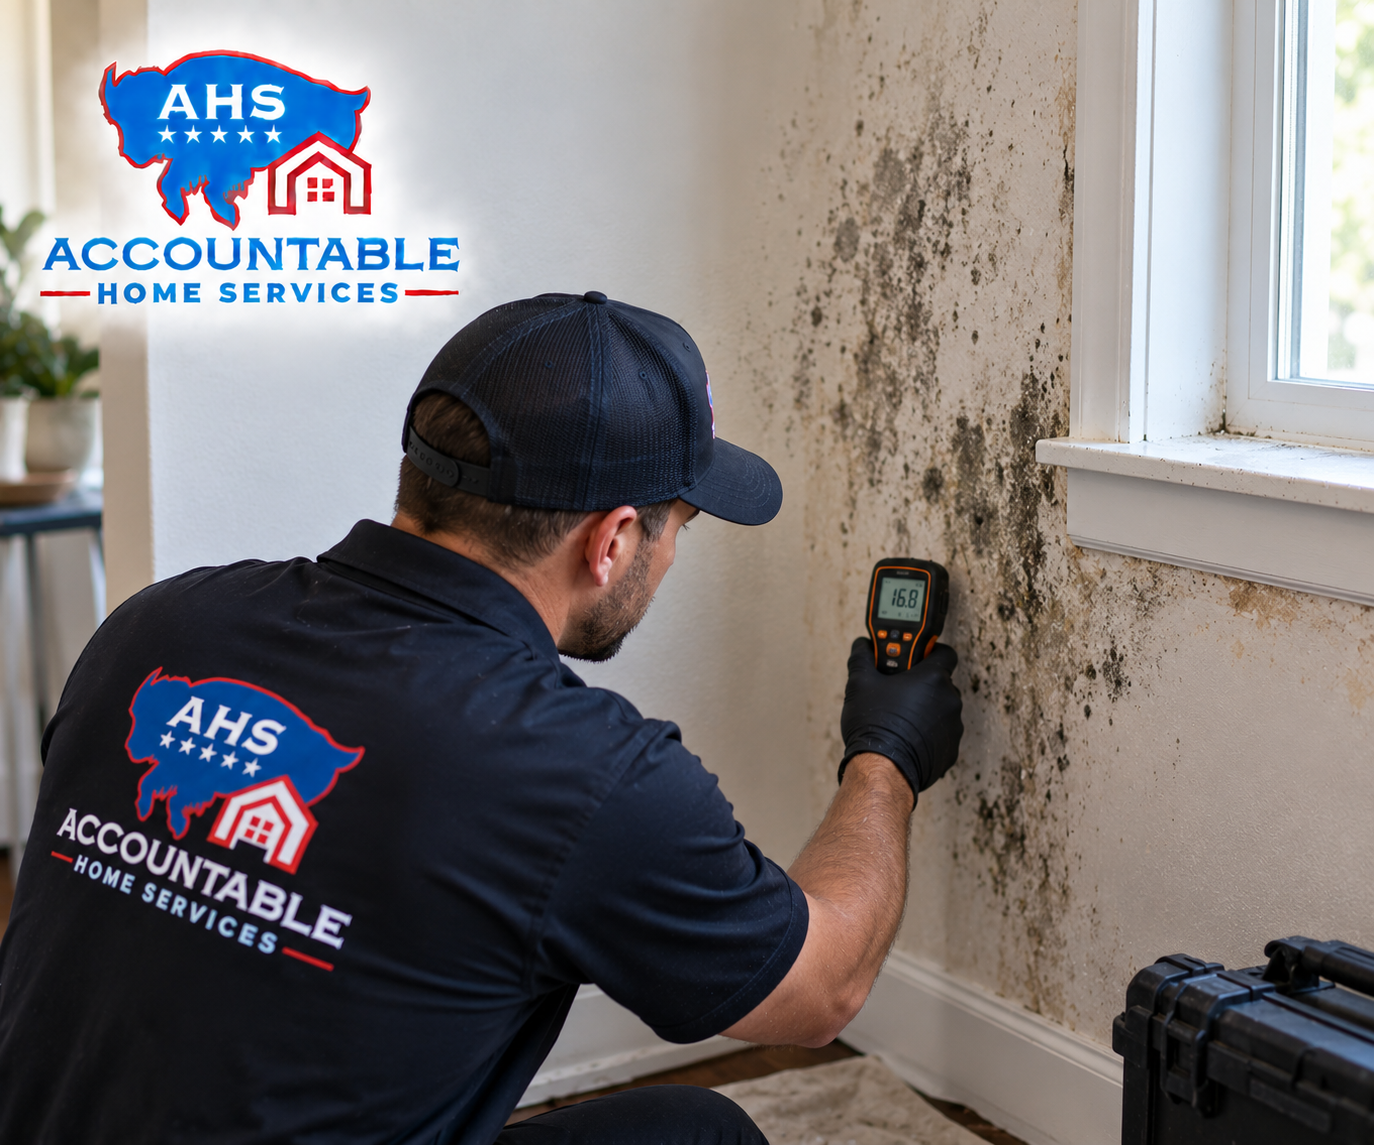
After visible water is removed, the team checks for hidden moisture. Moisture mapping is a simple term for finding where water went and marking what is wet, damp, or dry. Technicians may use moisture meters, thermal imaging, and careful visual checks to understand the full affected area.
This step is important because water rarely stays in one neat spot. It can travel along framing, under trim, beneath finished flooring, and into nearby rooms. A floor may look dry on top while moisture remains below. A wall may feel normal while the base plate or insulation is wet.
For insurance agents, property managers, and homeowners, moisture mapping also supports clearer communication. It helps explain why equipment is placed in certain rooms, why baseboards may need to be removed, or why one wall is being watched more closely than another. Good notes and photos at this point can help reduce confusion later in the claim.
5. Drying
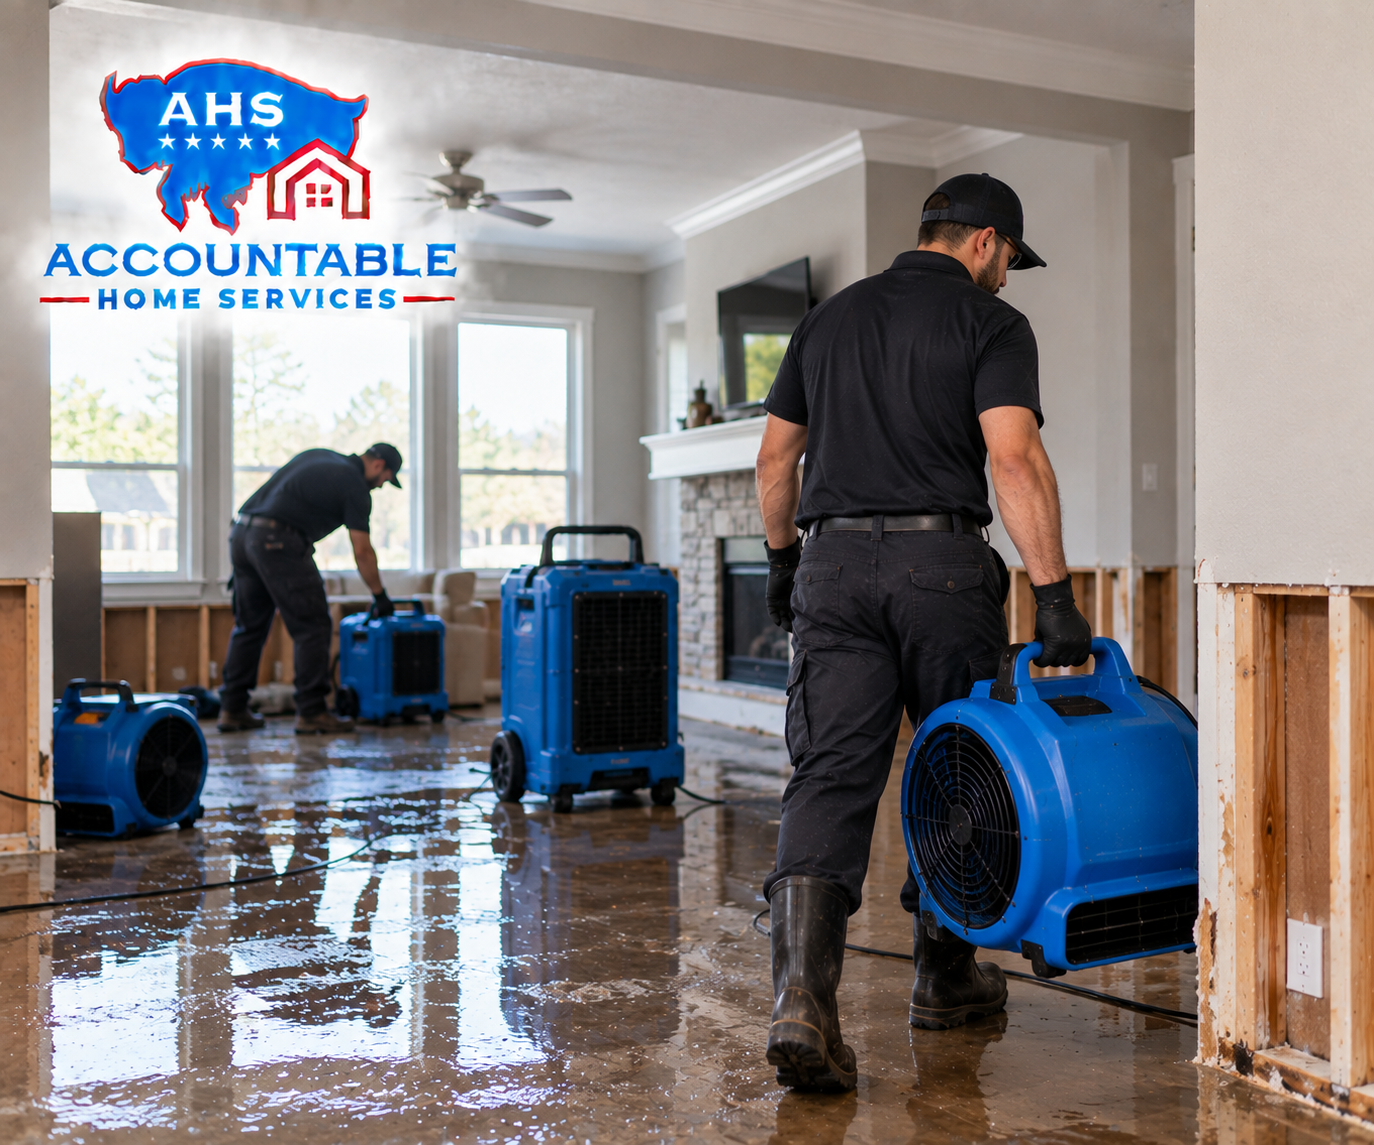
Drying begins after the wet areas are identified. This may include air movers, dehumidifiers, containment, and other drying methods based on the building materials involved. Structural drying means drying the parts of the home that support or make up the structure, such as subfloors, framing, drywall, and other fixed materials when they can be saved.
Drying is not just “put fans in the room and hope.” The goal is controlled airflow and humidity reduction. Air movers help moisture leave wet materials, while dehumidifiers pull moisture from the air. Together, they help the home move toward normal moisture levels.
Some homeowners worry about the noise or heat from equipment. Drying equipment can be loud, and rooms may feel warm or dry while it runs. That is often part of the process. Before turning equipment off, talk with the restoration company, because stopping too soon can leave hidden moisture behind.
6. Monitoring
Monitoring is the step where technicians come back to check progress. They take new moisture readings, look at equipment placement, review humidity levels, and adjust the drying plan if needed. This is how the team confirms whether materials are improving or whether something is not drying as expected.
Good monitoring keeps the job from becoming guesswork. If a wall is drying well, the team may keep equipment in place until it reaches the right condition. If flooring is holding moisture, they may recommend a change in approach. If humidity is not dropping, equipment may need to be moved or adjusted.
For property managers, this step is especially helpful because it creates updates for owners and tenants. For insurance agents, monitoring notes can help show that the restoration company did not simply drop off equipment and disappear. Clear communication during monitoring is one of the best ways to reduce frustration during a water loss.
7. Removal of damaged materials if needed
Not every wet material has to be removed. Some materials can be dried in place when the water is clean, the damage is limited, and drying is working. Other materials may need removal because they are damaged, contaminated, swollen, delaminated, moldy, or blocking the drying of other materials.
Common removal items may include wet carpet pad, damaged drywall, baseboards, insulation, flooring, toe kicks, or cabinet parts. In a flooded basement cleanup, contents stored on the floor may also need sorting, cleaning, disposal, or drying depending on the situation.
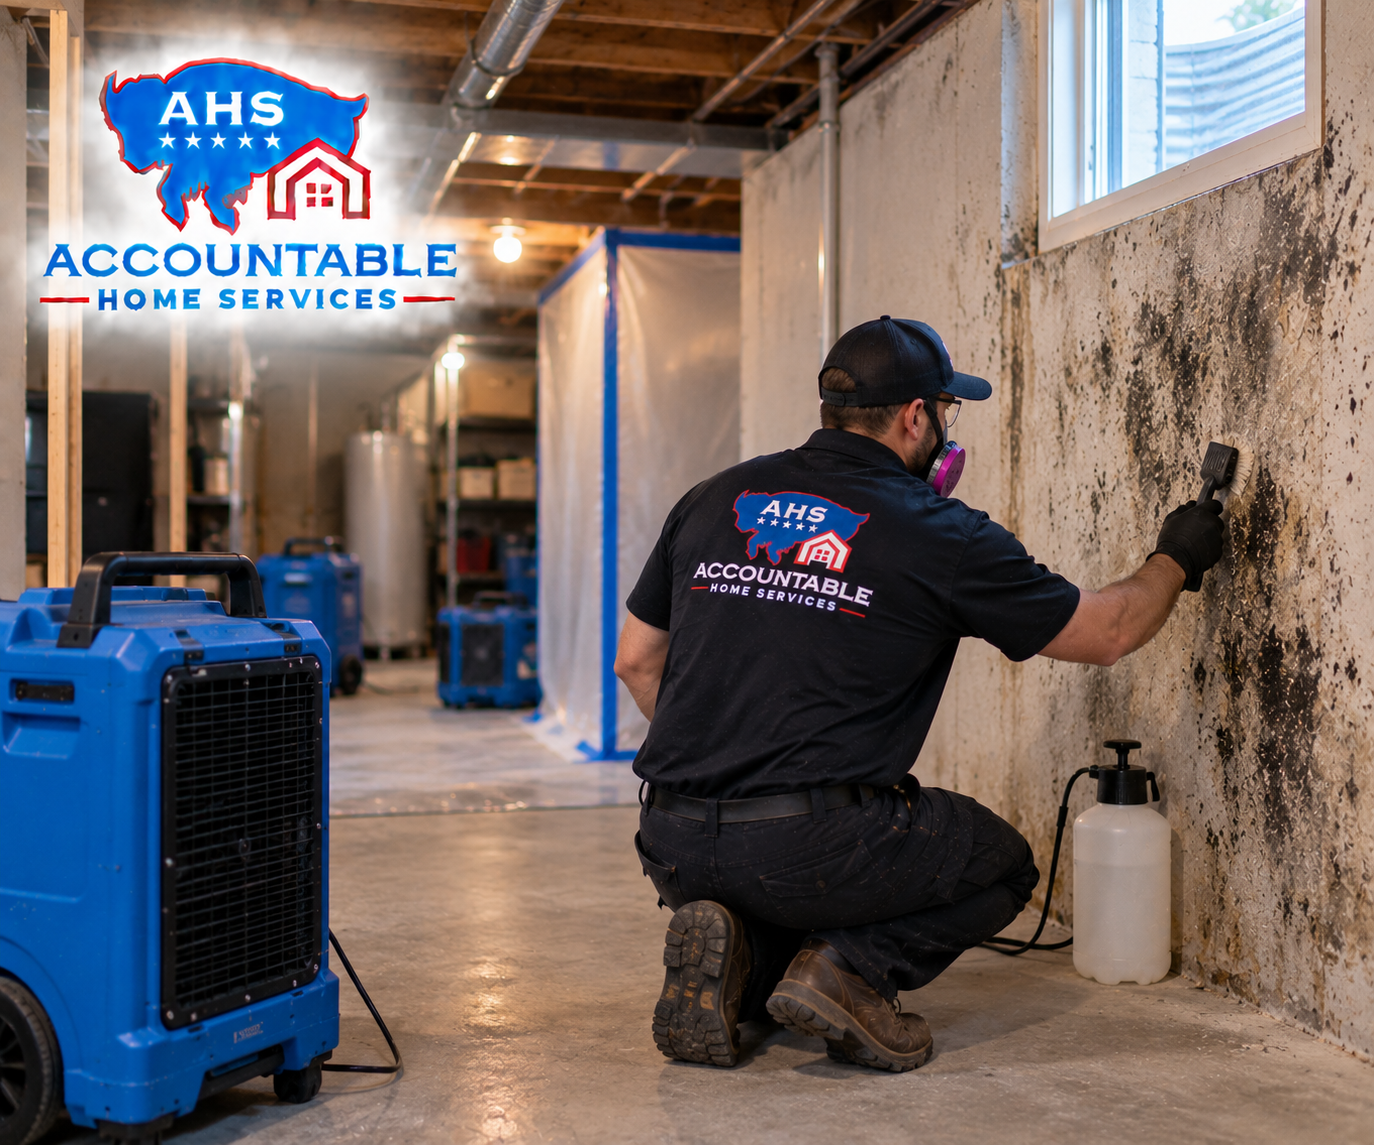
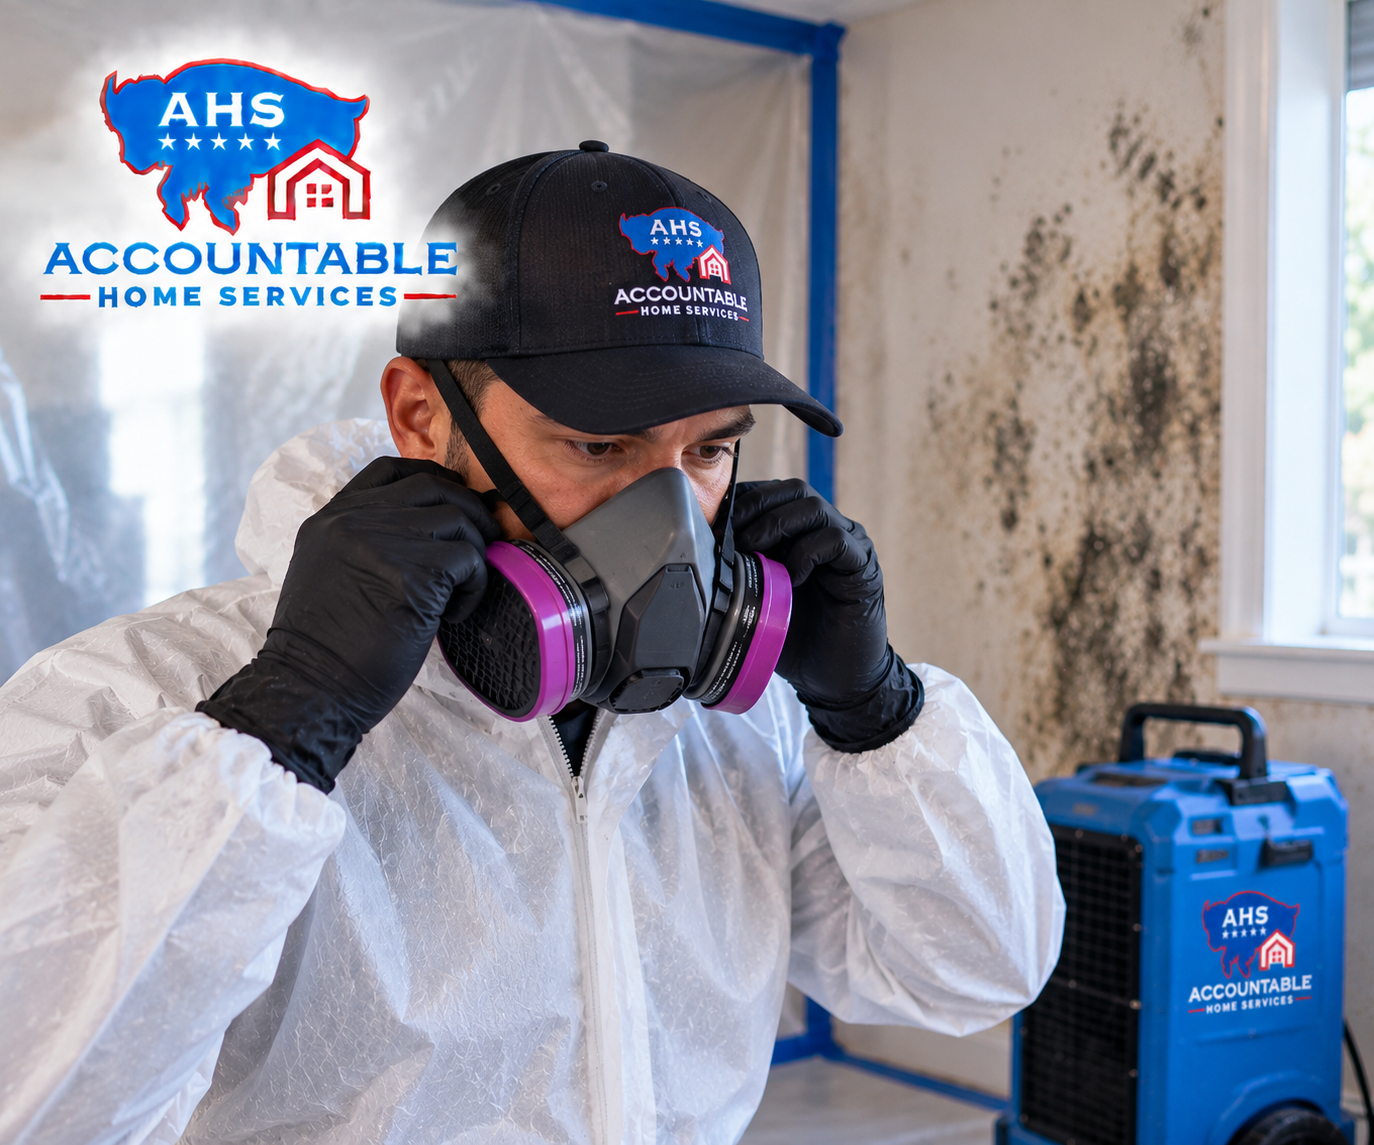
This step should be explained clearly before work continues. Homeowners deserve to know why something is being removed and how that decision supports drying, safety, or future repairs. If mold is already present or suspected, the company may recommend mold remediation procedures instead of basic cleanup. Mold work should be handled carefully so affected materials are removed or cleaned without spreading contamination through the home.
How does documentation help a water damage insurance claim?
Documentation helps tell the story of the loss. It can show what happened, where water traveled, what steps were taken to reduce further damage, what materials were affected, and what work was needed. For a water damage insurance claim Colorado homeowners submit, clear documentation may make the process easier to follow for the homeowner, agent, adjuster, and contractor.
8. Documentation
Documentation usually includes photos, moisture readings, job notes, equipment logs, sketches, affected material lists, and records of communication. The goal is not to make the claim complicated. The goal is to make the damage and the response easier to understand.
Homeowners can support this step by keeping related records in one place. Save plumber invoices, restoration paperwork, claim numbers, adjuster contact information, and photos from the first day. If you had to move items, throw away damaged belongings, or stay elsewhere, ask your insurance company what records they want before discarding anything important.
A helpful restoration partner will not promise coverage, because coverage decisions belong to the insurance carrier. What they can do is provide accurate job documentation, explain the scope of work, and communicate professionally. That helps protect the homeowner experience and gives agents, plumbers, and property managers confidence when referring a client.
9. Repairs and reconstruction
After mitigation and drying are complete, repairs can begin. Repairs and reconstruction may include replacing drywall, installing trim, painting, reinstalling flooring, repairing cabinets, or restoring other damaged finishes. The exact work depends on what had to be removed and what the homeowner, contractor, and insurance process allow.
This is the point where homeowners sometimes get confused. Water mitigation and water damage repair are related, but they are not always the same phase. Mitigation stops further damage and dries the structure. Repairs put the home back together.
Before repairs begin, make sure the affected areas are dry and the repair scope is clear. Installing new materials over hidden moisture can create future problems. If mold prevention after water damage is a concern, the best prevention is proper drying, removal of unsalvageable wet materials, and confirmation that moisture levels are acceptable before closing walls or replacing finishes.
10. Final walkthrough
The final walkthrough is the last check. The restoration or repair team reviews the completed work with the homeowner or property representative, answers questions, and confirms that the affected areas are ready to return to normal use. This is a good time to ask about paperwork, remaining concerns, equipment pickup, repair details, and any maintenance steps that may help prevent future damage.
For homeowners, the final walkthrough brings closure to a stressful event. For property managers, it helps confirm that the unit or building is ready for tenants. For insurance agents and plumbers, it helps show the client was not left guessing after the emergency phase.
Do not rush this step. Walk the affected areas, look at repaired surfaces, ask what was dried or removed, and make sure you understand any next steps. If something does not look right, bring it up before the job is closed.
Practical tips for the first 24 hours
The first day after water damage is often messy, but a few simple actions can make the rest of the process smoother.
- Stop the water if it is safe. Shut off the nearest valve or main water supply when you can do it safely.
- Call the right help early. A plumber may be needed to fix the leak, and a restoration company may be needed for water damage cleanup and drying.
- Take photos before moving things. Only do this if the area is safe.
- Do not ignore small wet areas. Hidden moisture can remain behind walls, under flooring, and inside cabinets.
- Avoid DIY drying for larger losses. Household fans may dry the surface while moisture stays trapped below.
- Keep paperwork together. Save invoices, photos, claim information, and communication notes.
- Ask questions. A good restoration partner should explain what they are doing and why.
Signs the job needs professional restoration help
Some small spills can be handled with towels and normal cleaning. But many home water losses need a professional response, especially when building materials are wet. Calling early is usually better than waiting several days and hoping everything dries on its own.
Professional help is a smart next step when you notice:
- Water spreading into more than one room
- Wet carpet, pad, drywall, insulation, or cabinets
- A basement with standing water or repeated seepage
- Burst pipe water damage inside walls or ceilings
- Musty odors after a leak
- Staining, bubbling paint, swelling trim, or warped flooring
- Water from a toilet overflow, sewer backup, or drain issue
- Moisture near electrical systems or appliances
- A tenant, owner, or insurance contact asking for documentation
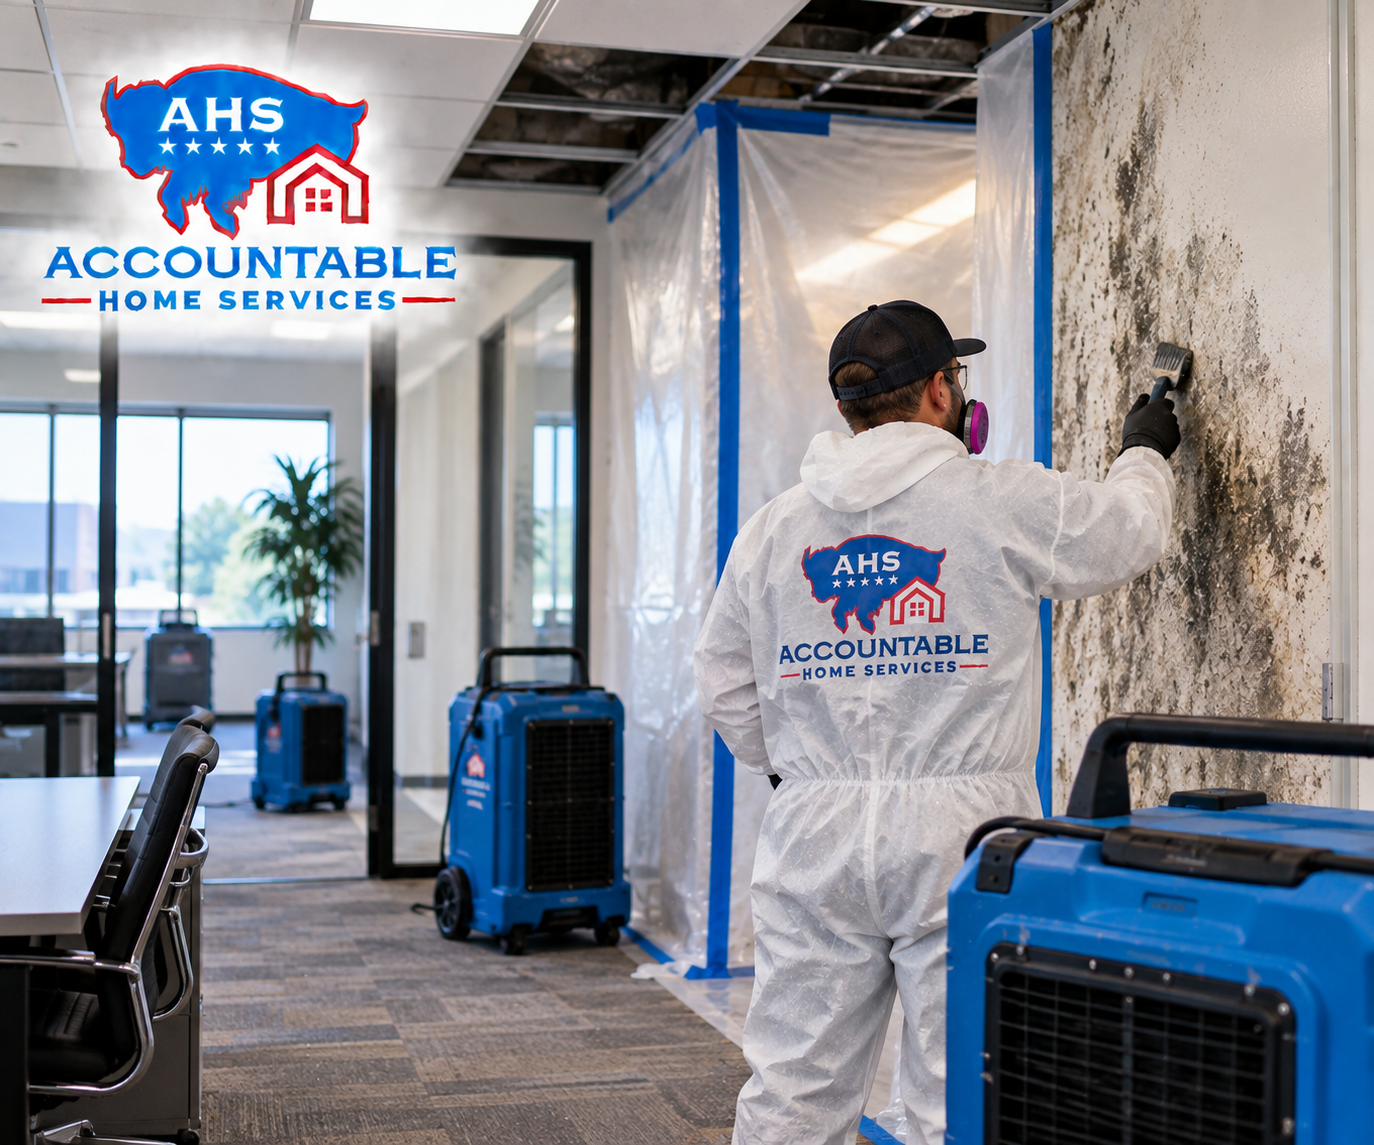
If mold is visible, or if wet materials sat for too long, mold remediation may be needed before repairs. That does not mean panic is the right response. It means the situation should be evaluated carefully and handled with the right containment, removal, cleaning, and drying steps.
Clear communication makes the process easier
Water damage is stressful because it interrupts normal life and creates a lot of quick decisions. Homeowners want to know what is wet, what can be saved, what must be removed, how long drying may take, and what information the insurance company may need. Agents, plumbers, and property managers want the same thing: a reliable restoration partner who communicates clearly and does not create extra headaches.
The best restoration experience is organized from the first inspection through the final walkthrough. Each step should have a reason. Each recommendation should be explained in plain language. Each document should help tell the story of the loss.
If you are dealing with water damage restoration Commerce City CO needs, do not wait for the damage to “look worse” before asking for help. A calm, timely response can reduce further damage, support better documentation, and help the home move from emergency cleanup to complete repair with fewer surprises.